How To Properly Repair The Chuck On A Impact Driver
Can You Properly Repair The Chuck On A Impact
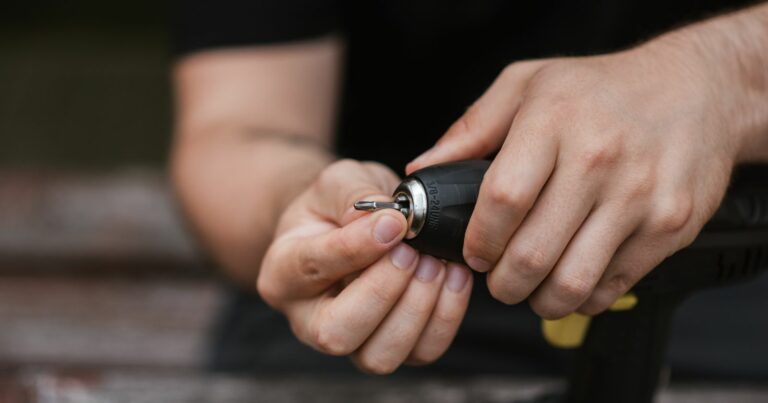
Steps to Swap Out the Chuck on a Impact Driver
First, take off the retaining ring. Employ a pick and a tiny screwdriver to lever up one edge of the retaining ring. …
Next, detach the chuck assembly. Extract the flat washer, spring, and chuck collar. … Proceed to fit the chuck assembly. …
Lastly, secure it by reinstalling the retaining ring..
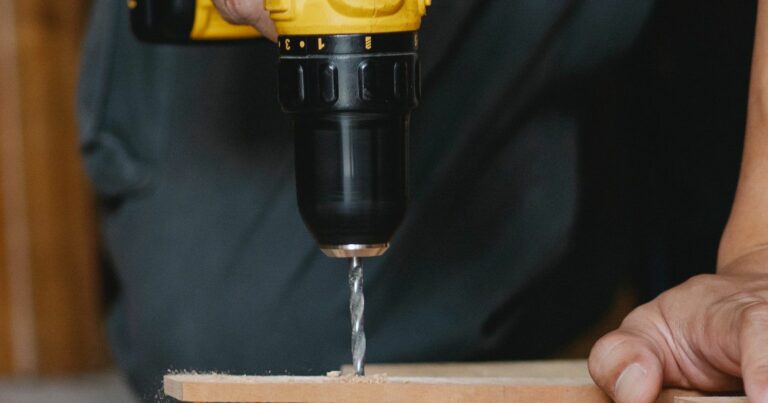
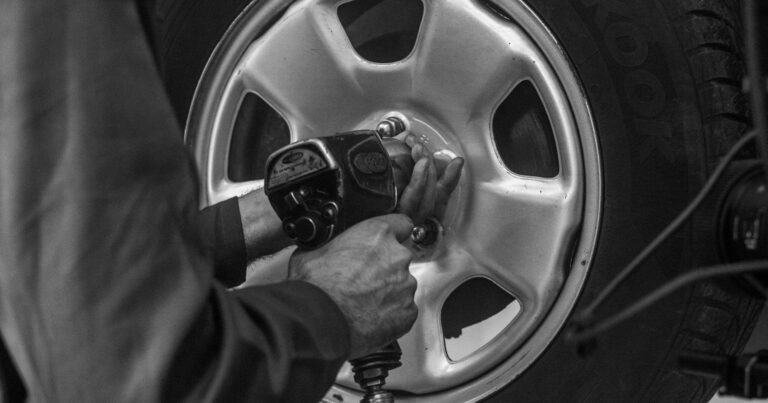
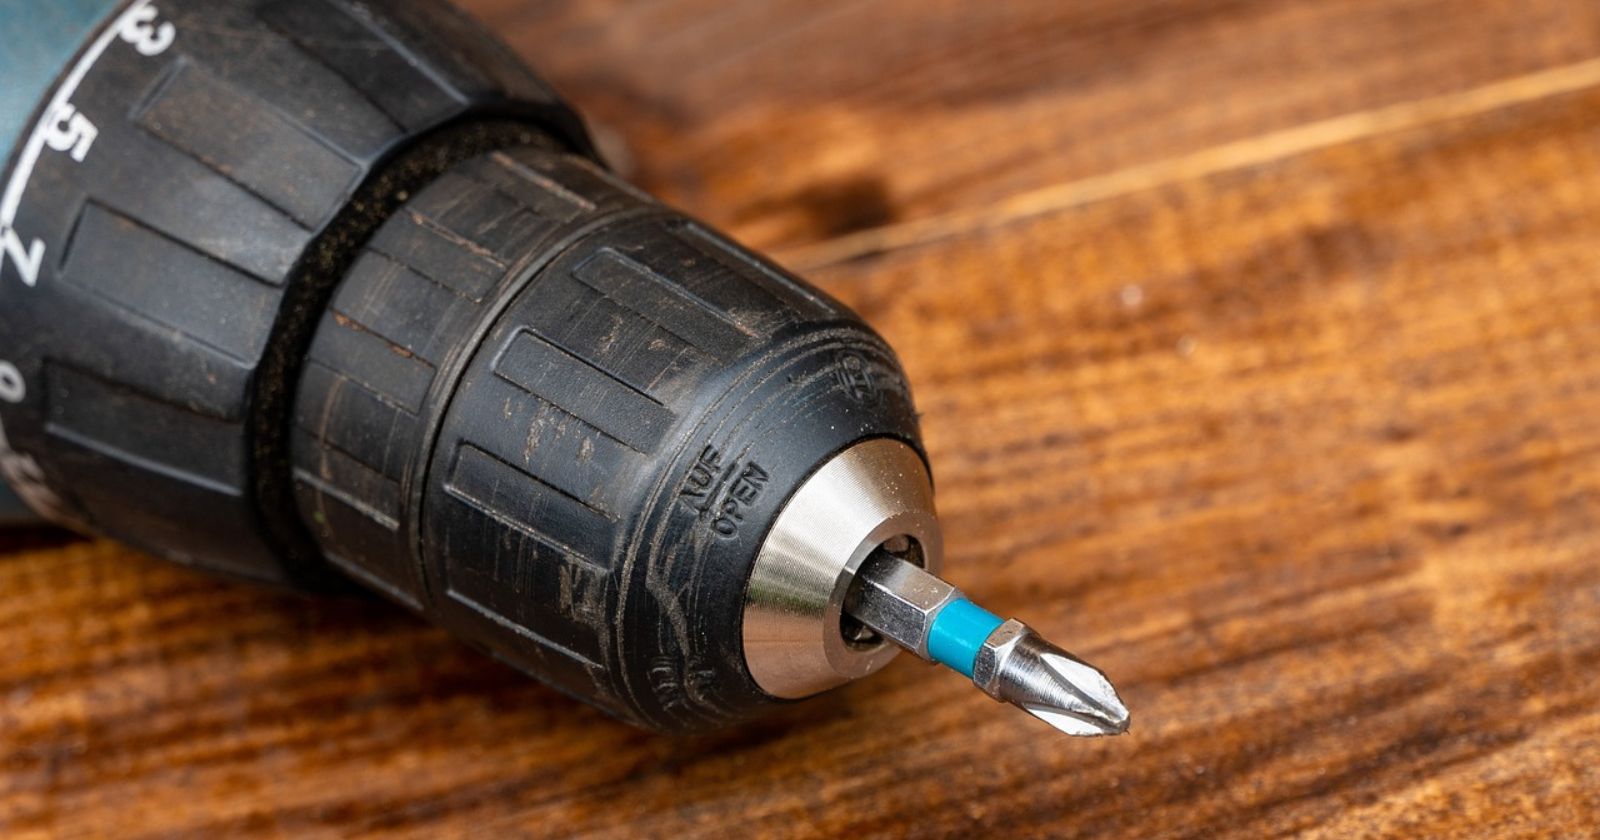
As a DIY enthusiast, I’ve come to appreciate the power and versatility of impact drivers. These tools are essential for any serious DIY project, delivering impressive torque and rotational force that makes driving screws and bolts into challenging materials like wood, metal, and concrete a breeze. The heart of an impact driver’s functionality lies in its chuck, a critical component that securely holds the screw or bit in place, ensuring precision and safety during operation.
So, whether you’re a seasoned DIY veteran who’s handled countless projects or a beginner just starting out on your DIY journey, this guide on How To Properly Repair The Chuck On A Impact Drive will prove invaluable. It’s designed to be easy to follow, regardless of your experience level. So, let’s dive in and get your impact driver back to performing at its best. Remember, a well-maintained tool not only performs better but also lasts longer. Happy DIY-ing!

Step-by-Step Guide to Repairing The Chuck
1: Remove the Old Chuck
- Turn off and unplug your impact driver from its power source.
- Open the chuck jaws as wide as possible.
- Look for the screw located inside the chuck, and unscrew it using a screwdriver in a counterclockwise motion.
- Insert the chuck key into the chuck jaws and tighten it, then strike the key with a mallet or hammer to loosen the chuck from the spindle.
2: Clean the Spindle
- Clean the spindle with a clean cloth and make sure there are no debris or dirt left on it.
- If you notice any rust or corrosion on the spindle, use fine sandpaper to clean it off.
3: Install the New Chuck
- Apply a small amount of lubricant or grease to the threads of the new chuck.
- Insert the chuck onto the spindle and turn it clockwise by hand.
- Use the chuck key to tighten the chuck onto the spindle. Make sure to use the correct size key that matches the chuck you are using.
- Tighten the chuck jaws completely by hand.
4: Test the Chuck
- Turn on your impact driver and test the chuck by inserting a drill bit or screwdriver into the jaws and turning it on.
- Make sure the chuck is holding the tool securely and there is no wobbling or shaking.
Congratulations, you have successfully repaired the chuck on your impact driver! Remember to always take care of your tools and keep them clean and well-maintained. This will ensure they last longer and perform better.
For more information on impact driver drills click here.
Watch This Video And See How To Properly Repair The Chuck On A Impact Driver
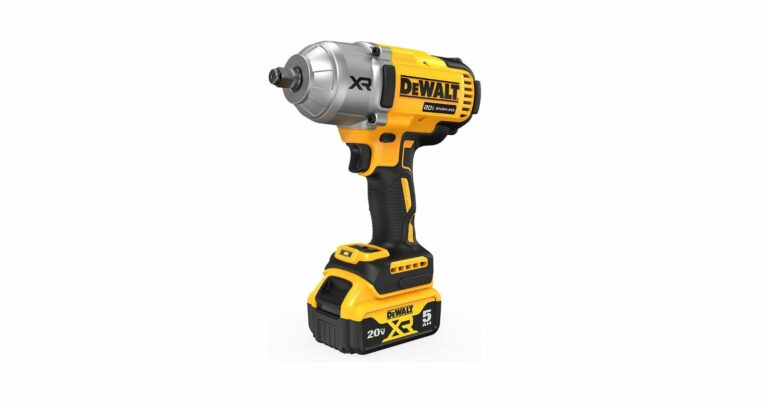
Maybe its time to get a new impact driver? Check out the Best Impact Driver Drill Under $100.
Preventive Measures: How I Prolong the Lifespan of My Impact Driver’s Chuck
As a passionate DIY enthusiast, I’ve learned the importance of maintaining my tools. Proper care not only ensures their longevity but also guarantees optimal performance and safety. One tool that I pay special attention to is my impact driver, specifically its chuck. The chuck is a crucial component that securely holds the bit in place, and its condition can significantly affect the tool’s performance. In this section, I’ll share some preventive measures I take to maintain the chuck on my impact driver, prevent damage, and prolong its lifespan.
Routine Inspection
I make it a habit to regularly inspect my impact driver’s chuck. I look out for signs of wear and tear, rust, or any visible damage. I also check for any wobbling or slipping of the bit when in use. These could be signs that my chuck needs attention. I’ve found that early detection of potential issues can save me from costly repairs or replacements down the line.
Cleaning and Lubrication
I ensure my chuck is clean and well-lubricated for smooth operation. After each use, I clean the chuck and remove any debris or dust that may have accumulated. I use a dry cloth or a small brush for this purpose. Additionally, I apply a small amount of lubricant to the chuck’s jaws periodically. This reduces friction during operation and prevents rusting.
Proper Usage
The way I use my impact driver also affects the chuck’s lifespan. I avoid over-tightening the chuck as it can lead to unnecessary strain and eventual damage. I always use the correct bits for the job and ensure they are properly inserted into the chuck. Forcing the wrong bit into the chuck or using the driver with a loosely fitted bit can damage the chuck.
Storage and Handling
I’ve found that proper storage and handling of my impact driver can go a long way in maintaining the chuck’s condition. When not in use, I store my impact driver in a dry, clean place. I protect it from extreme temperatures and moisture, as these can lead to rusting or degradation of the chuck. Also, I handle my tool with care to avoid any accidental drops or impacts that could damage the chuck.
Replacement Schedule
Even with the best care and maintenance, parts of my impact driver, like the chuck, will eventually wear out. I’ve made it a practice to replace the chuck periodically, even if it doesn’t appear to be damaged. This ensures optimal performance of my impact driver.
Training
If you’re using the impact driver in a professional setting like I do, proper training for all users is crucial. This can prevent misuse that could damage the chuck or other parts of the driver.
Manufacturer’s Guidelines
Lastly, I always follow the manufacturer’s guidelines for maintenance and care of my specific impact driver model. These guidelines are designed to ensure the longevity and optimal performance of the tool.
Remember, preventive measures are always better than repairs. By following these guidelines, you can ensure the longevity of your impact driver and its components. Let’s keep our tools in the best shape possible and enjoy our DIY projects!

If you’re looking for more information on how to maintain your impact driver.
Safety Precautions: My Approach to Safely Repairing the Chuck on an Impact Driver
When I’m immersed in a DIY project or tackling professional contracting work, I always prioritize safety. This is particularly important when I’m working with power tools like an impact driver. In this section, I’ll share the essential safety precautions I always follow when repairing the chuck on an impact driver. These tips have helped me prevent accidents or injuries, ensuring I can continue my work safely and confidently.
Wearing Protective Gear
Before I start any repair work, I make sure I’m equipped with the right protective gear. I always wear safety glasses to shield my eyes from any flying debris, gloves to safeguard my hands, and sturdy footwear to protect my feet in case I accidentally drop any tools or components.
Disconnecting Power
One rule I never break is to always disconnect the power before starting any repair work on my impact driver. If it’s a corded model, I unplug it from the power source. If it’s battery-operated, I remove the battery. This precaution prevents any accidental activation of the tool while I’m working on it.
Using the Right Tools
I’ve learned that using the wrong tools for the job can lead to accidents. So, I ensure I have the correct tools for repairing the chuck on my impact driver. If I’m unsure, I refer to the manufacturer’s instructions or consult a professional.
Working in a Well-Lit Area
Good lighting is crucial when I’m working on small components like the chuck of an impact driver. It helps me see what I’m doing clearly, preventing mistakes that could lead to accidents or further damage to the tool.
Not Rushing
I take my time when repairing the chuck on my impact driver. Rushing can lead to mistakes or accidents. If I’m not sure about something, I take a moment to double-check or consult a professional.
Keeping My Work Area Clean
A cluttered work area can lead to accidents. So, I make sure my workspace is clean and organized before I start repairing my impact driver. I keep all tools and components neatly arranged so I can easily find what I need.
Following Manufacturer’s Instructions
I always follow the manufacturer’s instructions when repairing my impact driver. They provide specific guidelines and safety measures for their products. If the instructions are unclear or I’m unsure about something, I don’t hesitate to contact the manufacturer or a professional for help.
Remember, safety should never be compromised. By following these safety precautions, you too can repair the chuck on your impact driver without risking accidents or injuries. Stay safe and enjoy your DIY projects!
Troubleshooting Guide: Diagnosing Common Issues with Your Impact Driver’s Chuck
As a DIY enthusiast, I’ve faced my fair share of tool-related challenges. One of the most common issues I’ve encountered is with the chuck on my impact driver. In this section, I’ll share some of the typical problems you might face with the chuck on your impact driver and how to diagnose them. This troubleshooting guide will help you identify the issue quickly and take the necessary steps to resolve it.
Problem 1: The Chuck Won’t Hold the Bit
If your impact driver’s chuck won’t hold the bit securely, it can lead to inefficient operation and even safety hazards. This issue could be due to wear and tear, a buildup of debris, or damage to the chuck’s internal components.
Diagnosis: Try cleaning the chuck thoroughly and removing any debris. If the problem persists, inspect the chuck for visible signs of damage.
Problem 2: The Chuck is Stuck
A stuck chuck can be frustrating and hinder your work. This could be due to rust, a jammed bit, or a mechanical issue within the chuck itself.
Diagnosis: Check for any visible rust or a jammed bit. If the chuck is still stuck after addressing these issues, it might be a mechanical problem that requires disassembly or replacement.
Problem 3: The Chuck Wobbles During Operation
A wobbling chuck can affect the precision of your work and even pose a safety risk. This could be due to a loose chuck, a bent drive shaft, or an issue with the bearing.
Diagnosis: First, check if the chuck is properly tightened. If the wobble persists, inspect the drive shaft and bearing for any signs of damage.
Problem 4: The Chuck Won’t Release the Bit
If the chuck won’t release the bit, it can disrupt your workflow. This could be due to a jammed bit, a mechanical issue, or a problem with the release mechanism.
Diagnosis: Check for a jammed bit and try to gently remove it. If the chuck still won’t release the bit, it might be a mechanical issue that requires further inspection.
Remember, while this troubleshooting guide can help you diagnose common issues with your impact driver’s chuck, always refer to your tool’s user manual for specific instructions and safety guidelines. If you’re unsure about any step of the process, don’t hesitate to consult a professional. Your safety and the longevity of your tools should always be your top priority. Happy DIY-ing!
FAQs: How To Properly Repair The Chuck On A Impact Driver
When I first started repairing the chuck on an impact driver, I had a lot of questions. It’s a common experience, whether you’re a seasoned DIY enthusiast like me or a beginner just starting out. Understanding the process can make the task safer and more effective. In this section, I’ll share my answers to some of the most common questions I had and that I often hear from others about repairing the chuck on an impact driver.
Is it possible to repair a chuck on an impact driver without special tools?
No, it is not possible to repair a chuck on an impact driver without special tools. You will need a chuck key, a screwdriver, and pliers to remove the old chuck and install the new one.
How often should I check and maintain the chuck on my impact driver?
It is recommended to check and maintain the chuck on your impact driver at least once a year or more frequently if you use it frequently or notice any issues with the chuck.
Can I use any size chuck on my impact driver?
No, you cannot use any size chuck on your impact driver. You must use a chuck that is compatible with your specific impact driver model. Check your owner’s manual or contact the manufacturer for more information.
Further Reading: When Not To Use An Impact Driver.
Wrapping Up How To Properly Repair The Chuck On A Impact Driver
I’ve found that the task of repairing the chuck on an impact driver, while it may initially seem daunting, is actually quite straightforward. Regardless of your level of expertise, you can accomplish this with the right tools and knowledge. By following the steps I’ve outlined in this guide, especially the section on How To Properly Repair The Chuck On A Impact Driver, I’ve been able to save valuable time and keep my hard-earned money by not having to invest in a new impact driver.
In the end, the satisfaction I get from successfully repairing and maintaining my own tools is a reward in itself. It’s a testament to my growing skills as a DIY enthusiast and a step towards becoming more self-reliant. So, I encourage you not to shy away from these tasks. Embrace them, learn from them, and watch as your confidence and capabilities grow. Happy DIY-ing!
More Troubleshooting Post:
Since You’re Here Check Out Some More DIY Based Posts I Wrote