How to Use an Impact Driver to Remove Bolts: In 6 Steps
As a seasoned DIY enthusiast, I’ve come to appreciate the profound significance of employing the right tool for any given task. This principle holds especially true in the world of construction and home improvement, where the complexity and variety of tasks demand a wide array of specialized tools. One such task that can be daunting, yet is frequently encountered, is the removal of bolts. Bolts, often used to secure various components together, can become stubbornly lodged over time due to factors like rust, cross-threading, or over-tightening.
When faced with such a challenge, using the appropriate tool not only simplifies the process but also enhances efficiency, saving you valuable time and effort. An impact driver, with its unique combination of rotational force and concussive blows, is a powerful ally in this endeavor. It’s designed to handle high-torque applications like driving long lag bolts into wooden beams or removing stubborn, over-torqued nuts and bolts. This makes the impact driver an ideal tool to remove bolts.
In this post, I aim to demystify the process of using an impact How to Use an Impact Driver to Remove Bolts. I will provide a comprehensive, step-by-step guide titled How to Use an Impact Driver to Remove Bolts that will equip you with the knowledge and confidence to tackle this task effectively. Whether you’re a seasoned contractor seeking to refine your technique or a DIY enthusiast looking to expand your toolkit, this guide is designed with you in mind. We’ll explore everything from the basic operation of the impact driver to advanced tips for dealing with particularly stubborn bolts. So, let’s dive in and discover how to make the most of your impact driver in remov,[pl
For a helpful resource click here.

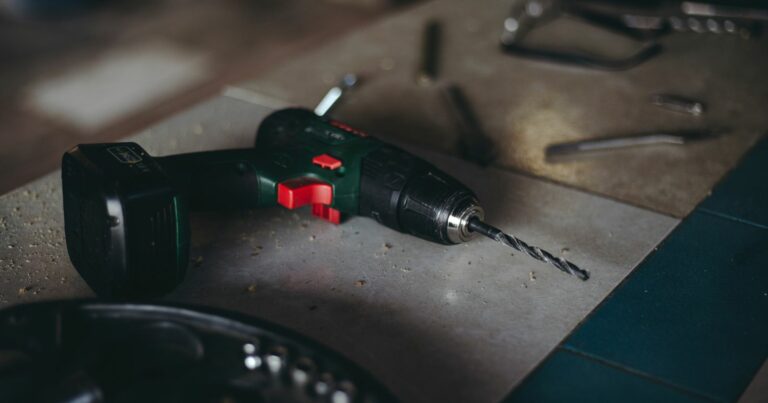
1: Choose the Right Impact Driver
The first step in using an impact driver to remove bolts is selecting the appropriate impact driver for the job. Impact drivers come in various sizes and types, and it’s important to choose the right one for the task at hand.
For removing bolts, we recommend using a cordless impact driver with a hexagonal chuck. This type of impact driver is lightweight, portable, and easy to maneuver in tight spaces. Additionally, it provides the necessary torque to remove stubborn bolts.
2: Prepare the Bolt for Removal
Before using the impact driver, it’s important to prepare the bolt for removal. Begin by identifying the bolt you want to remove. Then, clean the area around the bolt to ensure there is no debris or dirt that may affect the performance of the impact driver.

Next, apply penetrating oil to the bolt to help loosen it. Penetrating oil is specially designed to penetrate the threads of the bolt and make it easier to remove. Let the oil sit for a few minutes before moving on to the next step.
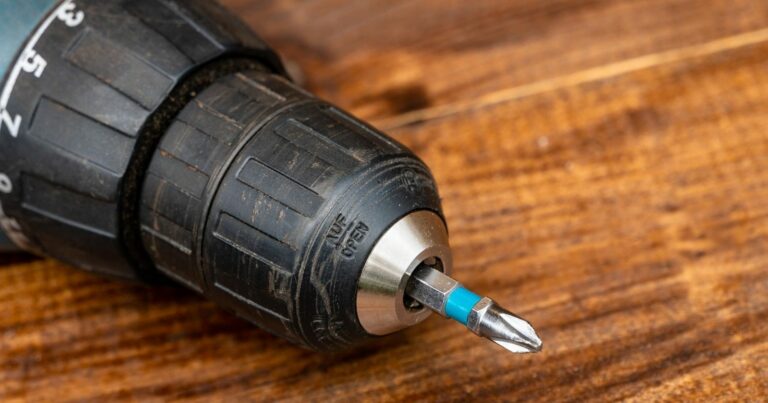
3: Attach the Correct Bit
Now that the bolt is prepared for removal, it’s time to attach the correct bit to the impact driver. Impact driver bits come in various shapes and sizes, and it’s important to choose the right one for the bolt you want to remove.
To attach the bit, insert the hexagonal end of the bit into the chuck of the impact driver. Then, tighten the chuck securely to ensure the bit is firmly attached to the impact driver.
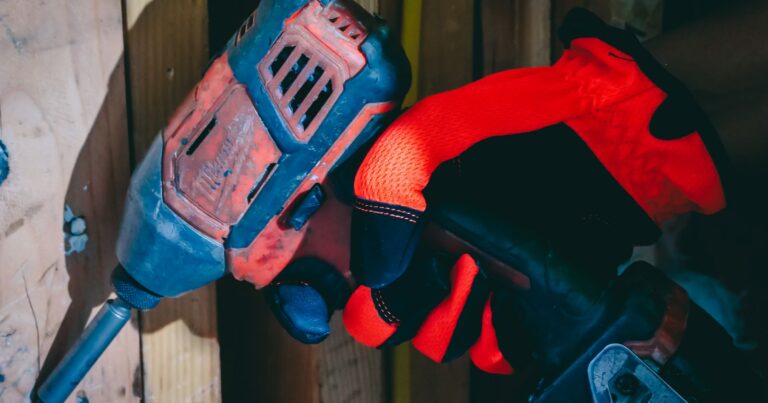
4: Use the Impact Driver to Remove the Bolt
With the bolt prepared and the bit attached, it’s time to use the impact driver to remove the bolt. Hold the impact driver with both hands, and position the bit at the center of the bolt.
Apply steady pressure to the impact driver, and let the tool do the work. The impact driver will begin to rotate the bit and apply a series of quick, powerful bursts of force to the bolt. This action will loosen the bolt and make it easier to remove.
Watch This Video And Learn How to Use an Impact Driver to Remove Bolts
5: Finish Up
After removing the bolt, it’s important to properly store the impact driver and accessories. This will help ensure the tool remains in good condition for future use. Additionally, it’s important to maintain the impact driver for optimal performance. Regular cleaning and lubrication can help extend the life of the tool.
Finally, remember to always follow proper safety precautions when using an impact driver or any other power tool. Wear appropriate safety gear, such as eye and ear protection, and never attempt to use a tool if you are not familiar with its proper operation.
As a helpful resource, we recommend checking out this guide on impact driver accessories from Family Handyman. Additionally, if you’re looking for more tips and advice on contractor tools, be sure to check out our sitemap for a range of helpful articles.
FAQs – How to Use an Impact Driver to Remove Bolts
If you’re still unsure about using an impact driver to remove bolts, here are some common questions and answers that may help:]

1. Can I use any impact driver to remove bolts?
Not all impact drivers are created equal, so it’s important to choose an impact driver that’s suitable for removing bolts. We recommend using a cordless impact driver with a hexagonal chuck, as this type of impact driver provides the necessary torque and is easy to maneuver in tight spaces.
2. Do I need to use penetrating oil before using the impact driver?
It’s highly recommended to use penetrating oil before using the impact driver to remove bolts. Penetrating oil helps to loosen the threads of the bolt, making it easier to remove.
3. How do I know which bit to use with the impact driver?
The type of bit you need will depend on the type of bolt you are trying to remove. It’s important to choose a bit that is the correct size and shape for the bolt. It’s also helpful to have a set of various bit types and sizes on hand for different types of bolts.
Be sure to check us out click here.
Conclusion
Using an impact driver to remove bolts can save time and effort, but it’s important to use the tool correctly and safely. By following the step-by-step guide we’ve provided, you can remove bolts with ease and precision. Remember to select the right impact driver, prepare the bolt for removal, attach the correct bit, use the impact driver to remove the bolt, and properly store and maintain the tool for future use. By using the appropriate tool for the job and following proper safety precautions, you can complete your projects efficiently and safely. We hope this guide has been helpful, and don’t forget to check out our sitemap for more helpful articles and resources on contractor tools.