How To Put A Drill Bit On A Impact Driver Drill: In 4 Easy Steps
To attach the bit, simply insert it into your impact driver drill. While using an impact driver to drill into wood may seem somewhat forceful, it effectively accomplishes the task, resulting in a neatly drilled hole
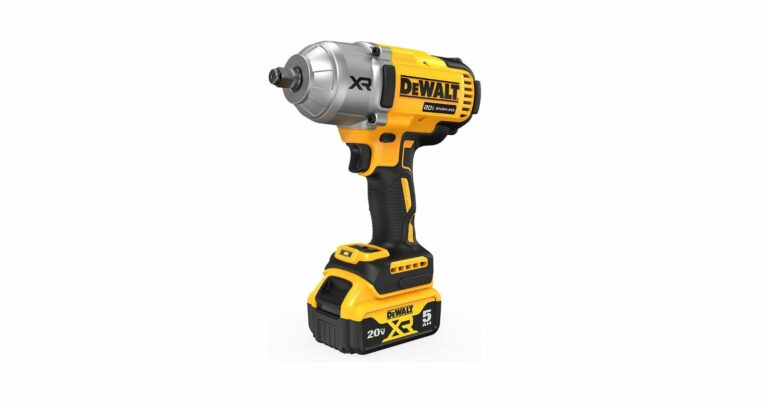
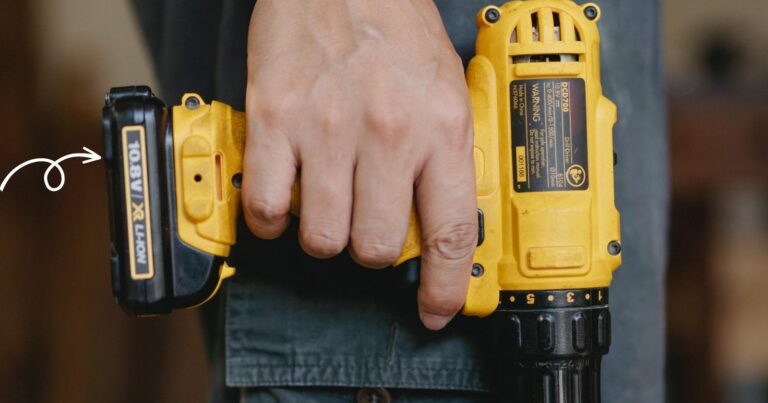
An impact driver drill is a potent tool that I often use for driving screws and bolts. When compared to a regular drill, an impact driver drill provides significantly higher torque, making it my go-to choice for challenging tasks. However, to wield an impact driver drill effectively, just like me, you need to understand How To Put A Drill Bit On A Impact Driver Drill . This is a crucial step in using this tool. In this post, I will guide you, step by step, through the process of learning How To Put A Drill Bit On A Impact Driver Drill.

Step-by-Step Guide: How I Attach a Drill Bit to My Impact Driver Drill
Step 1: Gather Your Tools
Before we begin, it’s important to ensure we have all the necessary tools at hand. For this task, you’ll need your impact driver drill and the drill bit you intend to use. Make sure the drill bit is compatible with your impact driver drill. Also, it’s a good idea to have a clean, well-lit workspace to make the process easier.
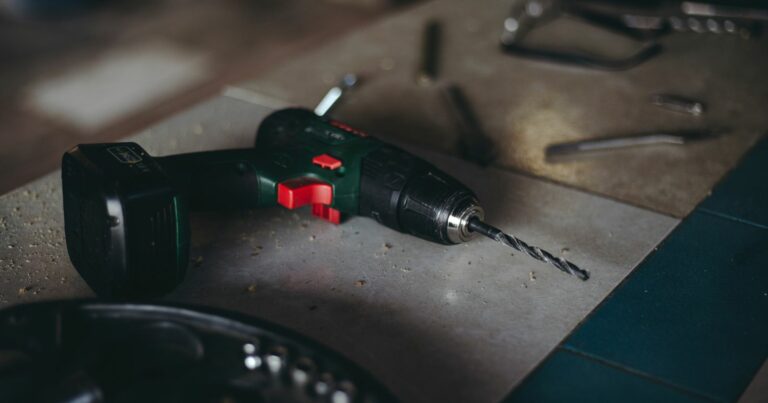
Step 2: Prepare Your Impact Driver Drill
First, make sure your impact driver drill is powered off and disconnected from any power source. This is a crucial safety measure to prevent any accidental activation of the drill. Once it’s safe, locate the chuck of the drill – this is the part where I will be inserting the drill bit.
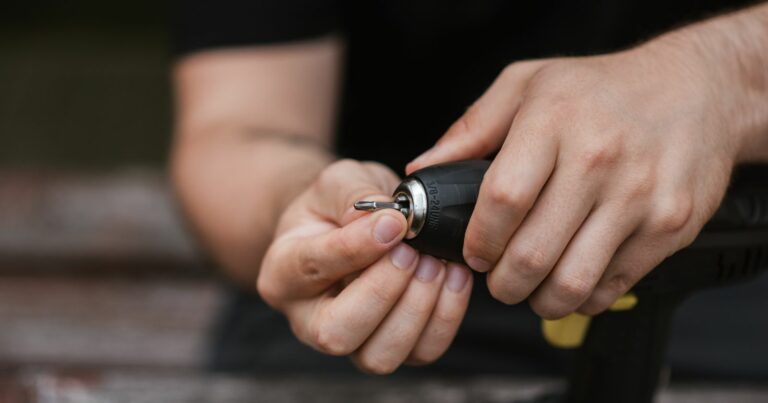
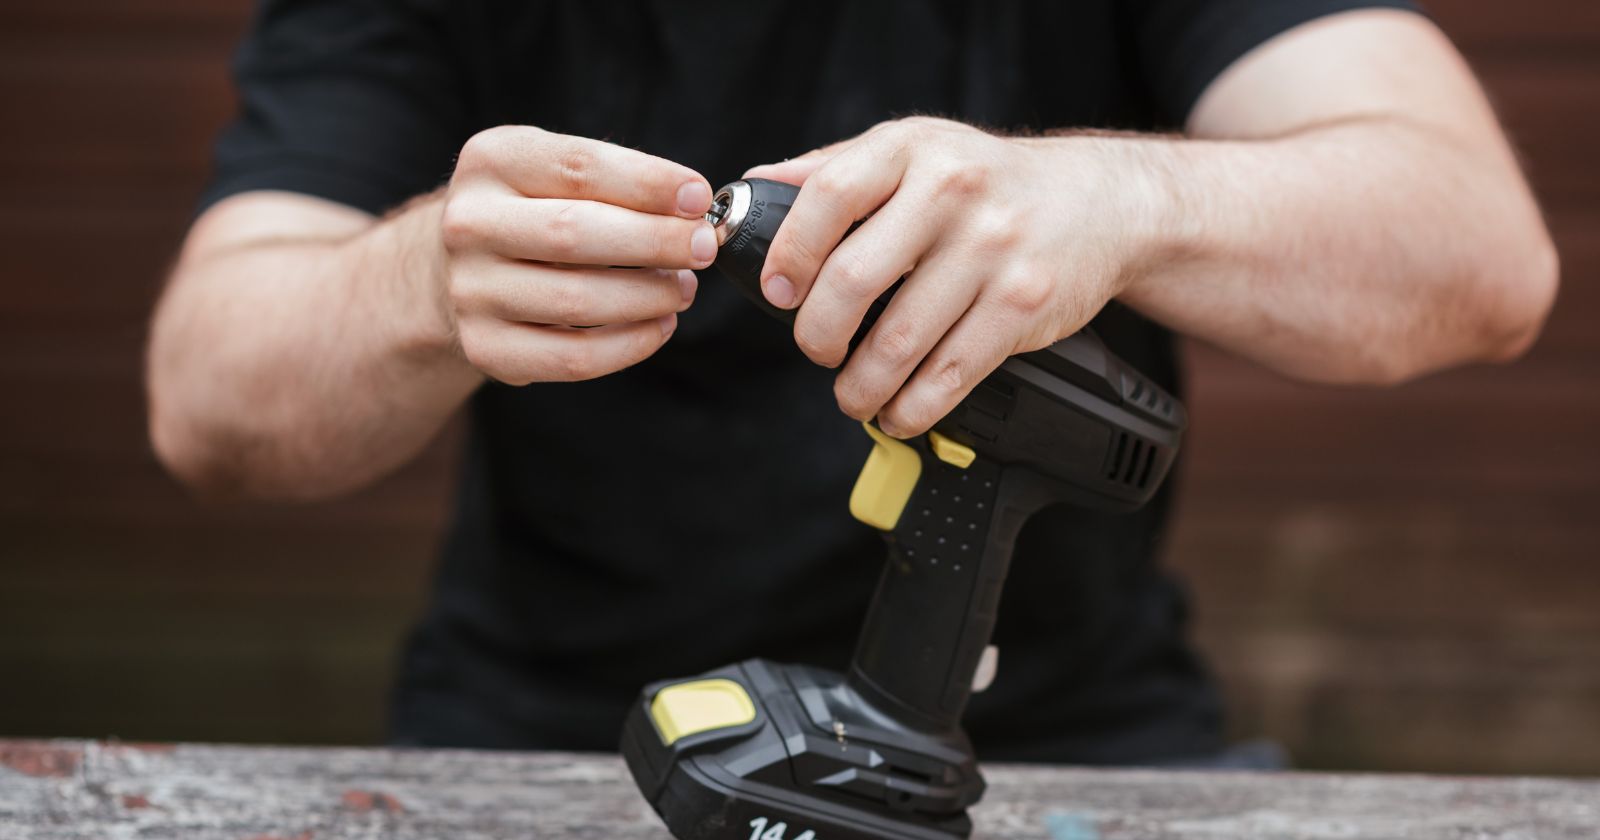
Step 3: Insert the Drill Bit
Now, hold the drill bit with the pointed end facing out. Align it with the chuck of the drill. Once aligned, insert the drill bit into the chuck. You should feel it slide in and fit snugly. If it doesn’t, check to make sure you’re using the correct size and type of drill bit for your specific impact driver drill.
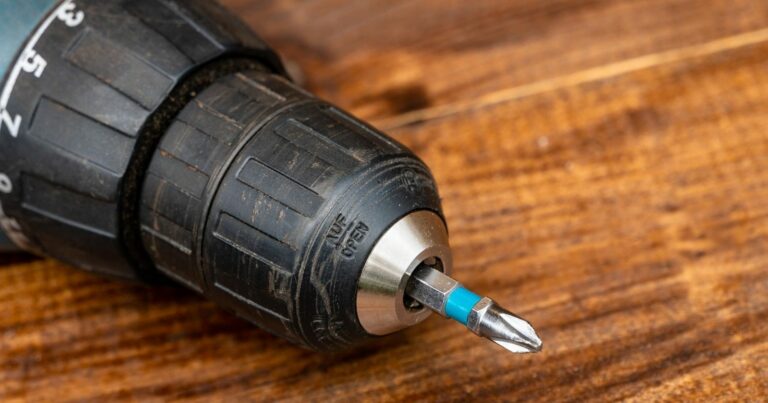
Step 4: Secure the Drill Bit
After the drill bit is inserted, it’s time to secure it. Most impact driver drills have a keyless chuck, which means you can tighten it by hand. Hold the drill bit in place and turn the chuck clockwise until it’s tight. Make sure the drill bit is secure and doesn’t wobble when you try to move it.
And there you have it! You’ve successfully attached a drill bit to your impact driver drill. Remember, safety should always be your top priority when working with power tools. Always follow the manufacturer’s instructions and take necessary precautions. Happy drilling!
Watch This Video And Learn How To Put A Drill Bit On A Impact Driver Drill
Maybe its time to get a new Drill. Check out the Best Drill Under $100
Now that you’ve successfully put a drill bit on your impact driver drill, you’re ready to tackle your project.
However, before you start, here are a few tips to keep in mind:
Always wear eye protection when using an impact driver drill.
Use the correct drill bit for the job. Using the wrong drill bit can damage the bit and the impact driver drill.
Avoid applying too much pressure to the impact driver drill. Let the tool do the work.
Always turn off the impact driver drill and unplug it before changing the drill bit.
Clean the drill bit and chuck after each use to prevent debris buildup.
Safety Precautions
While using an impact driver drill can significantly simplify your work, it’s essential to prioritize safety to prevent accidents and injuries. Here are some safety precautions to keep in mind:
1. Wear Appropriate Safety Gear:
Before you start working with an impact driver drill, ensure you’re wearing the right safety gear. This includes safety glasses to protect your eyes from flying debris, durable gloves to protect your hands, and sturdy footwear to protect your feet. If you’re working in a noisy environment, consider wearing ear protection as well.
2. Handle the Drill Properly:
Always hold the drill with both hands for maximum control. Make sure your hands are dry and clean to prevent the drill from slipping. Always keep your fingers away from the rotating parts of the drill.
3. Work in a Safe Environment:
Make sure your work area is clean, well-lit, and free of any potential hazards. Avoid working in damp or wet locations as this can increase the risk of electric shock.
4. Inspect the Tool Before Use:
Before using the impact driver drill, inspect it for any damage or wear. Check the power cord for any signs of damage and ensure the drill bit is securely attached. Never use a damaged or malfunctioning tool.
5. Use the Correct Drill Bit:
Always use the correct drill bit for the job. Using the wrong drill bit can lead to damage or breakage, potentially causing injury.
6. In Case of an Accident:
If an accident occurs, switch off the drill and unplug it immediately. Seek medical attention if necessary. Never try to remove a stuck drill bit with the power on, as this could lead to serious injury.
Remember, safety should always be your top priority when working with power tools. By following these safety precautions, you can ensure a safe and productive working environment.

Maintenance and Care
Proper maintenance and care of your impact driver drill and drill bits not only prolong their lifespan but also ensure they operate efficiently and safely. Here are some tips on how to maintain and care for these tools:
1. Cleaning:
After each use, clean your impact driver drill and drill bits to remove any dust or debris. You can use a dry cloth or a brush for this purpose. Avoid using any harsh chemicals or solvents that could damage the tool. For the drill bits, consider using a wire brush to remove any stubborn debris.
2. Lubrication:
Regularly lubricate the chuck of the impact driver drill as per the manufacturer’s instructions. This helps in smooth operation and prevents rusting.
3. Storage:
Store your impact driver drill and drill bits in a dry, clean place. If possible, use a carrying case or a toolbox to protect them from dust and moisture. Always remove the drill bit from the drill before storage to prevent accidental injury.
4. Regular Inspection:
Regularly inspect your impact driver drill and drill bits for any signs of wear or damage. Check the power cord, switches, and other parts of the drill for any signs of damage. For drill bits, look for any signs of dullness or damage.
5. Replacing Parts:
If any part of your impact driver drill or drill bit is damaged or worn out, replace it immediately. Using damaged tools can lead to poor performance and can also be dangerous. Always use parts that are specifically designed for your model of impact driver drill.
6. Battery Care (for cordless models):
If your impact driver drill is cordless, make sure to charge the battery as per the manufacturer’s instructions. Avoid overcharging as it can reduce the battery’s lifespan. Store batteries in a cool, dry place and remove them from the drill if you’re not planning to use it for a while.
Remember, regular maintenance and care can significantly extend the life of your impact driver drill and drill bits, ensuring they remain a valuable part of your toolkit for years to come.

Suggested Reading: Why An Impact Driver Is So Freakin Awesome
Troubleshooting Common Issues
Like any tool, you may encounter some issues while using an impact driver drill. Here are some common problems and their solutions:
1. Drill Bit Doesn’t Fit:
If your drill bit doesn’t fit into the chuck, it’s possible that the bit is too large for your particular model of impact driver drill. Always check the maximum bit size your drill can accommodate and ensure your bits are compatible.
2. Drill Bit Slips:
If your drill bit slips during operation, it may not be properly secured in the chuck. Make sure the chuck is tightened adequately. If the problem persists, the bit may be worn or damaged and need replacing.
3. Drill Bit is Stuck:
If your drill bit is stuck in the chuck, first ensure the drill is switched off and unplugged. Then, try gently wiggling the bit while holding the chuck in place. If this doesn’t work, you may need to use a pair of pliers or a wrench to carefully loosen the bit.
4. Drill Doesn’t Operate:
If your drill doesn’t operate, check to make sure it’s plugged in and the outlet is working (for corded models), or that the battery is charged (for cordless models). If the drill still doesn’t work, it may have a faulty switch or motor and may need professional repair.
5. Drill Overheats:
If your drill overheats during use, stop using it immediately and let it cool down. Overheating can be caused by heavy-duty use over extended periods, or it could indicate a problem with the motor. If your drill consistently overheats during normal use, it may need to be serviced.
Remember, if you’re unable to resolve an issue with your impact driver drill, it’s best to consult with a professional or contact the manufacturer’s customer service. Attempting to repair a complex issue on your own could lead to further damage or potential safety risks.

FAQs: How To Put A Drill Bit On A Impact Driver Drill
An impact driver drill is a powerful tool that can make drilling holes and driving screws much easier and faster. However, if you’re new to using an impact driver drill, you may be wondering how to attach a drill bit to it. In this FAQ section, I will answer three common questions about how to put a drill bit on an impact driver drill.
What type of drill bits can I use with an impact driver drill?
Impact driver drills are compatible with most standard drill bits, including twist bits, spade bits, and hole saws. However, it’s important to choose a drill bit that matches the size and type of the screw or fastener you’re using. For example, if you’re driving a Phillips head screw, you’ll want to use a Phillips head drill bit.
How do I attach a drill bit to an impact driver drill?
To attach a drill bit to an impact driver drill, first, loosen the chuck by turning it counterclockwise. Insert the drill bit into the chuck and tighten it by turning it clockwise. Make sure the drill bit is centered and secure before using the impact driver drill.
Can I use an impact driver drill without a drill bit?
No, you cannot use an impact driver drill without a drill bit. The drill bit is what allows the impact driver to drill holes or drive screws. If you try to use an impact driver drill without a drill bit, it can damage the tool or the material you’re working on. Always make sure to attach a drill bit before using an impact driver drill.
Suggested Reading: How To Make A Socket For Your Cordless Impact Driver Out Of A Bolt- In 6 Easy Steps
Wrapping up How To Put A Drill Bit On A Impact Driver Drill
Putting a drill bit on an impact driver drill is a simple process, but it’s important to do it correctly to avoid damaging the tool or the drill bit. By following the steps outlined in this post, you can ensure that your drill bit is properly inserted and secured, and ready for use. Happy drilling!