How To Properly Fix A Bit That Breaks Inside Impact Driver
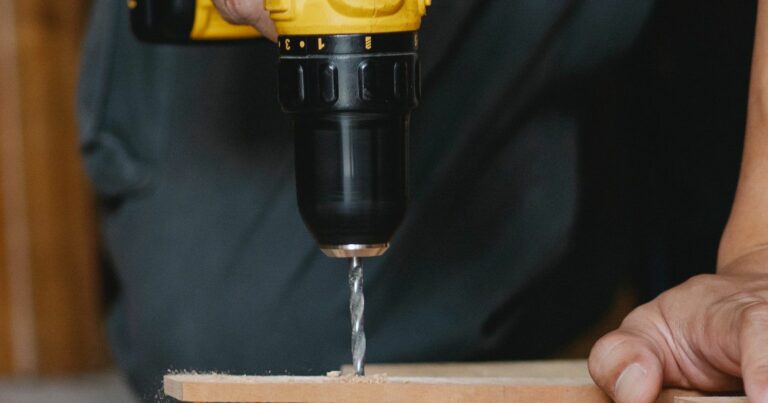
As a contractor or DIY enthusiast, I understand how frustrating it can be when a bit breaks inside my impact driver. It not only disrupts my workflow but also leaves me wondering how to fix the issue. In this guide titled “How To Properly Fix A Bit That Breaks Inside Impact Driver”, I will show you the steps to properly address this problem without causing any damage to your tool.
Step-by-Step Guide to Fixing a Broken Bit Inside an Impact Driver
Safety First
Before you start fixing the broken bit inside your impact driver, ensure your safety by following these precautions:
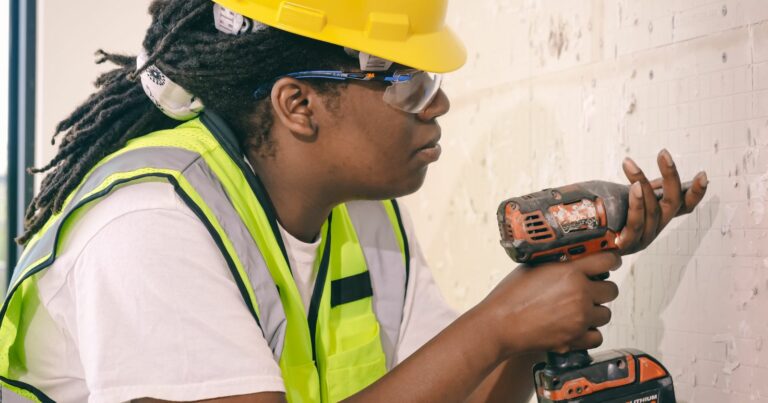
- Wear protective gloves and eye goggles to avoid any flying debris.
- Ensure that the impact driver is not connected to any power source.
- Remove the battery from the impact driver to prevent accidental activation.
Watch This Video And Learn How To Properly Fix A Bit That Breaks Inside Impact Driver
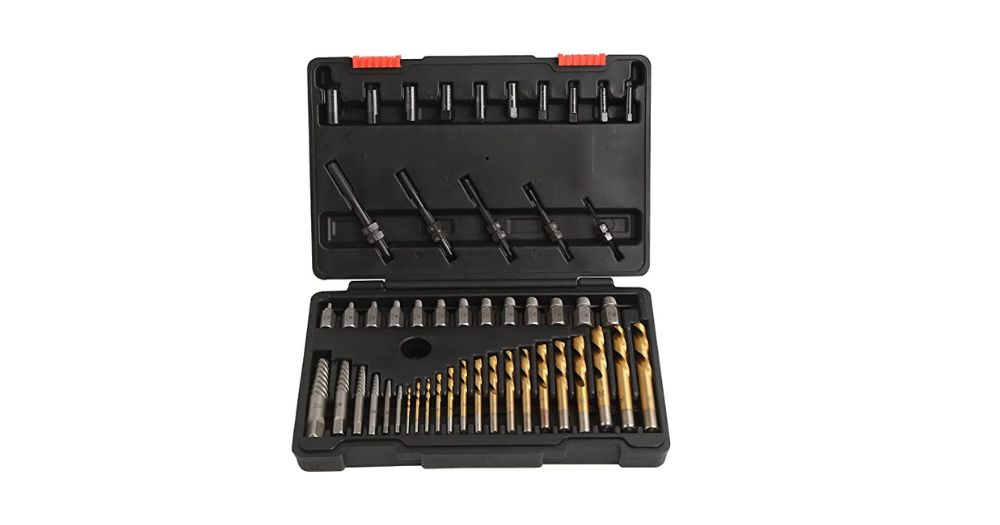
Maybe its time to get a new bit set? Check out the Best Impact Driver Bit Set.
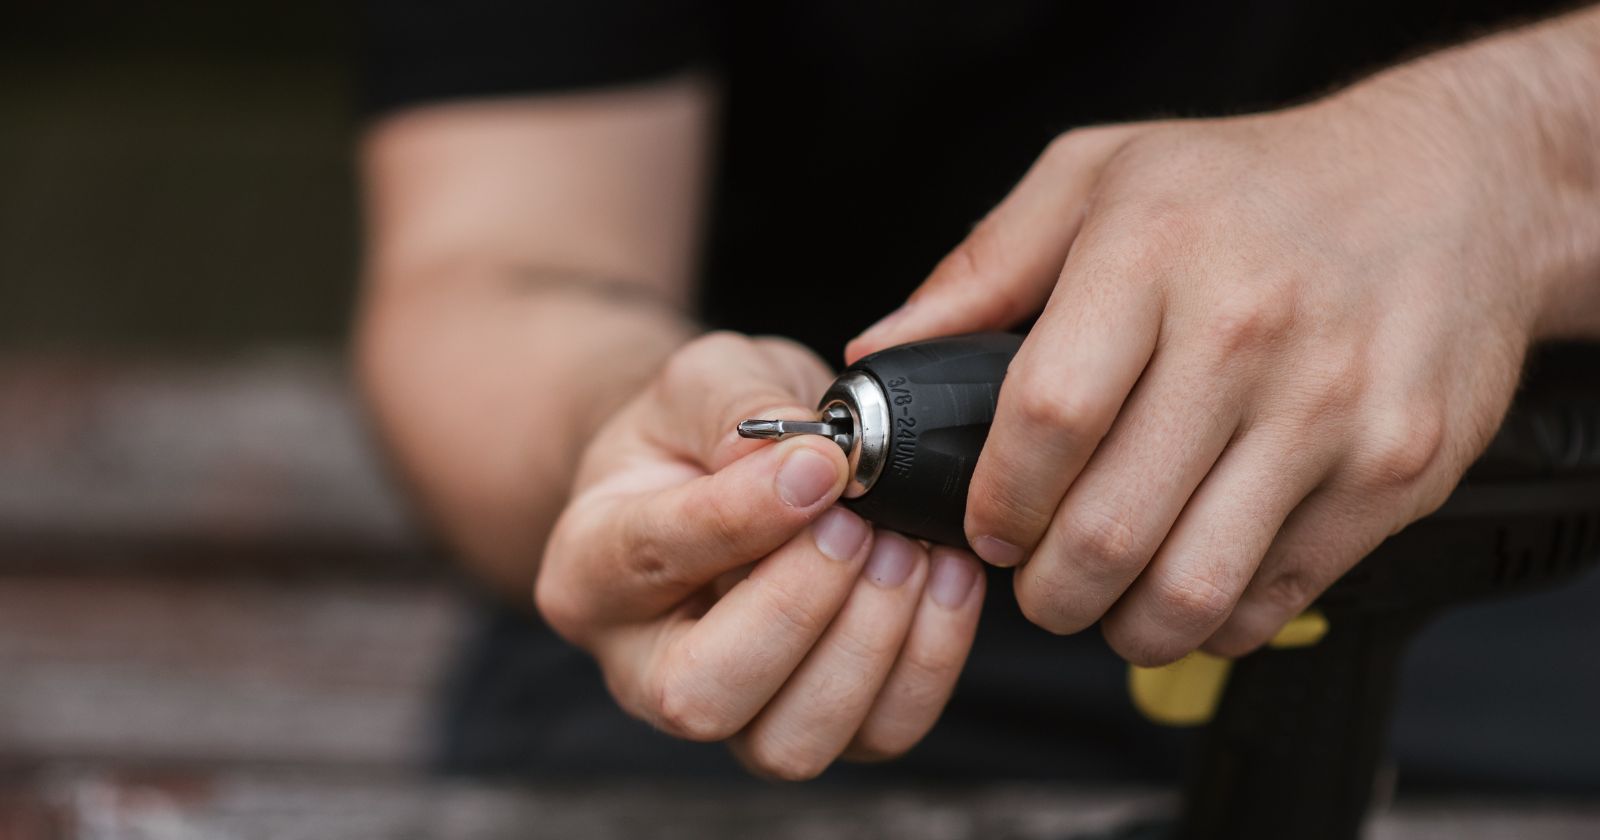
Remove the Chuck
Once you’ve ensured your safety, the next step is to remove the chuck. Here’s how:
- Insert an Allen wrench or similar tool into the chuck.
- Rotate the tool counterclockwise to loosen the chuck.
- Remove the chuck by pulling it straight out from the impact driver.
Remove the Broken Bit
After removing the chuck, it’s time to remove the broken bit from the impact driver. Follow these steps:
- Use a pair of pliers to grip the broken bit firmly.
- Slowly and gently pull the bit straight out of the impact driver.
- If the bit doesn’t come out, use a pair of needle-nose pliers to remove any remaining bit pieces.
Clean the Chuck and Collet
Once you’ve removed the broken bit, it’s time to clean the chuck and collet. Use a clean cloth or a toothbrush to remove any debris or dust that may have accumulated in the chuck or collet.

Reinstall the Chuck
After cleaning the chuck and collet, it’s time to reinstall the chuck. Follow these steps:
- Insert the chuck back into the impact driver.
- Use the Allen wrench to tighten the chuck by turning it clockwise.
- Ensure that the chuck is tightened securely.
Test the Impact Driver
Now that you’ve reinstalled the chuck, it’s time to test the impact driver to ensure it’s working correctly. Reconnect the battery and test the driver with a new bit to ensure everything is working correctly.
What Causes a Bit to Break Inside an Impact Driver?
Before we get into the steps of fixing a broken bit inside an impact driver, it’s essential to understand the causes of the problem. The following are some of the common reasons why a bit breaks inside an impact driver:
- Overuse: Overusing a bit, especially when it’s dull, can cause it to break inside the impact driver.
- Low-quality bits: Using low-quality bits can also result in them breaking easily, even when they’re new.
- Over-torquing: Over-torquing a screw or bolt can cause the bit to break, especially when it’s not designed to handle the amount of force applied.
- Incorrect bit size: Using the wrong size of bit can lead to it breaking inside the impact driver.
Now that you know the possible causes let’s dive into the steps of fixing a bit that breaks inside an impact driver.
Types of Bits and Their Uses
As a seasoned DIY enthusiast, I’ve come to appreciate the importance of using the right tools for the job. One of the most critical aspects of this is choosing the right bit when using an impact driver. In this section, I’ll share my insights on the different types of bits, their uses, and how to select the right one for your specific task. Understanding this can significantly reduce the chances of bit breakage, saving you time, money, and frustration.
Understanding the Different Types of Bits
There’s a wide variety of bits available, each designed for a specific purpose. Here are some of the most common ones you’ll encounter:
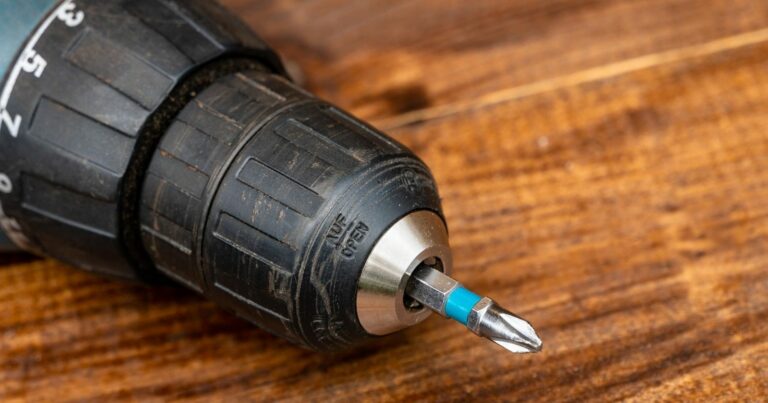
- Phillips Bits: These are probably the most common bits you’ll come across. They’re designed for screws with a cross-shaped indentation and come in various sizes to fit different screw heads.
- Flathead Bits: These are used for screws with a single, straight indentation. Like Phillips bits, they come in different sizes.
- Torx Bits: These are used for screws with a star-shaped indentation. They’re often used in automotive and electronic applications.
- Hex Bits: These are designed for screws with a hexagonal indentation. They’re commonly used in furniture assembly and bicycle maintenance.
- Square Bits: Also known as Robertson bits, these are used for screws with a square indentation. They’re popular in Canada and offer a good grip on the screw.
Choosing the Right Bit for the Job
Selecting the right bit isn’t just about matching the shape of the screw head. It’s also about choosing the right size. Using a bit that’s too large or too small can strip the screw head, making it difficult to drive or remove the screw. It can also lead to bit breakage.
To choose the right bit, first, examine the screw head and determine its shape. Once you’ve identified the shape, select a bit that fits snugly into the screw head. If you’re unsure, it’s better to err on the side of a bit that’s slightly too small rather than one that’s too large.
Remember, using the correct bit not only makes your job easier but also extends the life of your bits and your impact driver. So, take the time to choose wisely, and your DIY projects will be all the smoother for it.
Maintenance Tips for Impact Drivers and Bits
As someone who frequently uses impact drivers and bits, I’ve learned that proper maintenance is key to ensuring their longevity. Over time, I’ve developed a routine that keeps my tools in top shape, and I’m excited to share these tips with you. By following these guidelines, you can keep your impact driver and bits performing at their best, extending their lifespan and saving you money in the long run.
Cleaning Your Impact Driver and Bits
Keeping your tools clean is one of the most straightforward maintenance tasks, but it’s also one of the most important. Dust, debris, and grime can build up over time, affecting the performance of your impact driver and bits. Here’s how I keep my tools clean:
- After each use, I wipe down my impact driver and bits with a clean, dry cloth to remove any dust or debris.
- For stubborn grime, I use a soft brush (an old toothbrush works great) to gently scrub the tool. If necessary, I dampen the brush with a little bit of soapy water, but I make sure to dry the tool thoroughly afterward to prevent rust.
- For the bits, I occasionally give them a soak in a solution of warm water and mild detergent. After soaking, I scrub them with a brush, rinse them thoroughly, and dry them completely before storing.
Storing Your Impact Driver and Bits
Proper storage is another crucial aspect of tool maintenance. Here’s what I do:
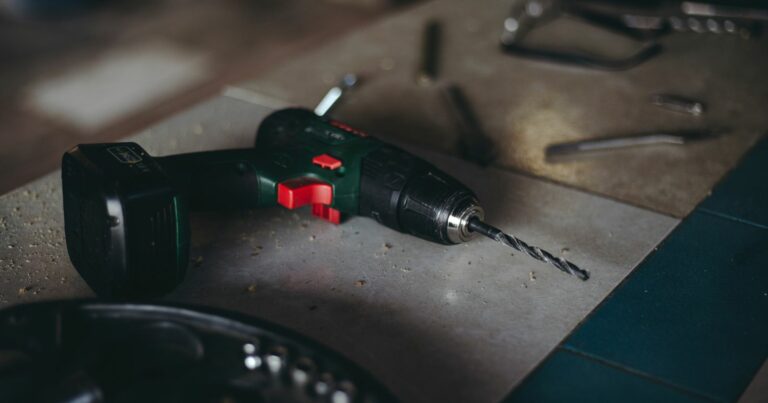
- I store my impact driver and bits in a cool, dry place. Moisture can cause rust, and extreme temperatures can damage the tool.
- I keep my bits organized in a bit holder or case. This not only protects the bits but also makes it easier to find the right bit when I need it.
Regular Checks for Wear and Tear
Regularly inspecting your impact driver and bits can help you catch and address issues before they become serious problems. Here’s what I look for:
- I check the bits for signs of wear, such as dullness or damage. If a bit is worn or damaged, I replace it. Using worn-out bits can damage the screw head and the impact driver.
- I inspect the impact driver for any signs of damage or unusual noise. If I notice anything unusual, I consult the user manual or contact the manufacturer’s customer service.
Remember, taking a little time for maintenance can extend the life of your impact driver and bits, saving you money and hassle in the long run. Happy DIY-ing!
Safety Tips for Using Impact Drivers
As an avid DIYer, I’ve learned that safety is paramount when working with power tools like impact drivers. While I’ve briefly touched on safety in previous sections, I believe it’s important enough to warrant its own dedicated section. In my experience, understanding and following safety guidelines can prevent accidents and ensure a smooth, enjoyable DIY experience. So, let’s dive into some comprehensive safety tips for using impact drivers.
Proper Handling of the Tool
Handling your impact driver correctly is the first step towards a safe working environment. Here’s what I always keep in mind:
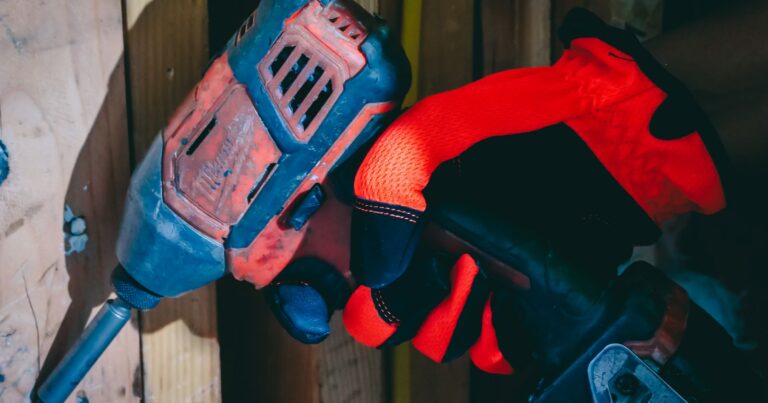
- Always hold the impact driver with both hands. This gives you better control over the tool and helps prevent accidental slips.
- Keep your hands away from the rotating bit. It might seem obvious, but it’s easy to forget in the heat of the moment.
- Don’t force the tool. If the bit isn’t driving a screw or bolt smoothly, forcing it can lead to breakage or injury. Instead, stop and check if you’re using the right bit or if the bit is worn out.
What to Do in Case of an Accident
Despite our best efforts, accidents can still happen. Here’s what I recommend:
- Have a first aid kit handy. It should include bandages, antiseptic wipes, tweezers, and other basic first aid supplies.
- If a serious injury occurs, seek medical attention immediately. Don’t try to tough it out – your health is more important than any DIY project.
- If a bit breaks and pieces fly off, protect your eyes and immediately turn off the tool. Once it’s safe, collect the broken pieces to prevent further accidents.
Importance of a Safe Workspace
Finally, maintaining a safe workspace is crucial. Here’s how I ensure my workspace is safe:
- Keep your workspace clean and organized. Clutter can lead to accidents, so I always make sure to clean up after each work session.
- Ensure good lighting. Working in a well-lit area helps you see what you’re doing and can prevent mishaps.
- Keep children and pets away from the workspace. They might be curious, but it’s safer to keep them at a distance while you’re working.
Remember, safety should always be your top priority when working with power tools. By following these tips, you can enjoy your DIY projects while keeping yourself and those around you safe. Happy and safe crafting!
FAQs How To Properly Fix A Bit That Breaks Inside Impact Driver
Are you still unsure about how to properly fix a bit that breaks inside your impact driver? Don’t worry, we’ve got you covered with some frequently asked questions!
Is it possible to remove a broken bit without disassembling the impact driver?
Yes, it is possible to remove a broken bit without disassembling the impact driver. One method is to use a pair of pliers or vice grips to grip the broken bit and gently twist it out of the chuck. Another method is to use a small screwdriver to tap the broken bit out of the chuck from the back end.
Can I continue to use my impact driver if a bit is broken inside it?
It is not recommended to continue using your impact driver if a bit is broken inside it. The broken bit can cause damage to the impact driver’s mechanism and decrease its performance. It’s best to remove the broken bit before using the impact driver again.
How can I prevent a bit from breaking inside my impact driver?
To prevent a bit from breaking inside your impact driver, it’s important to use the right size and type of bit for the job. You should also make sure to properly insert the bit into the chuck and securely tighten the chuck before use. Additionally, avoid putting too much pressure on the bit or using it at an angle.
Further Reading: When Not To Use An Impact Driver.
Conclusion
Fixing a bit that breaks inside an impact driver may seem daunting, but it’s a relatively simple process. Just follow these steps, and you’ll be back to work in no time. Remember to use high-quality bits, avoid over-torquing, and ensure that you’re using the correct size of bit