Installing Shelves And Brackets With An Impact Driver
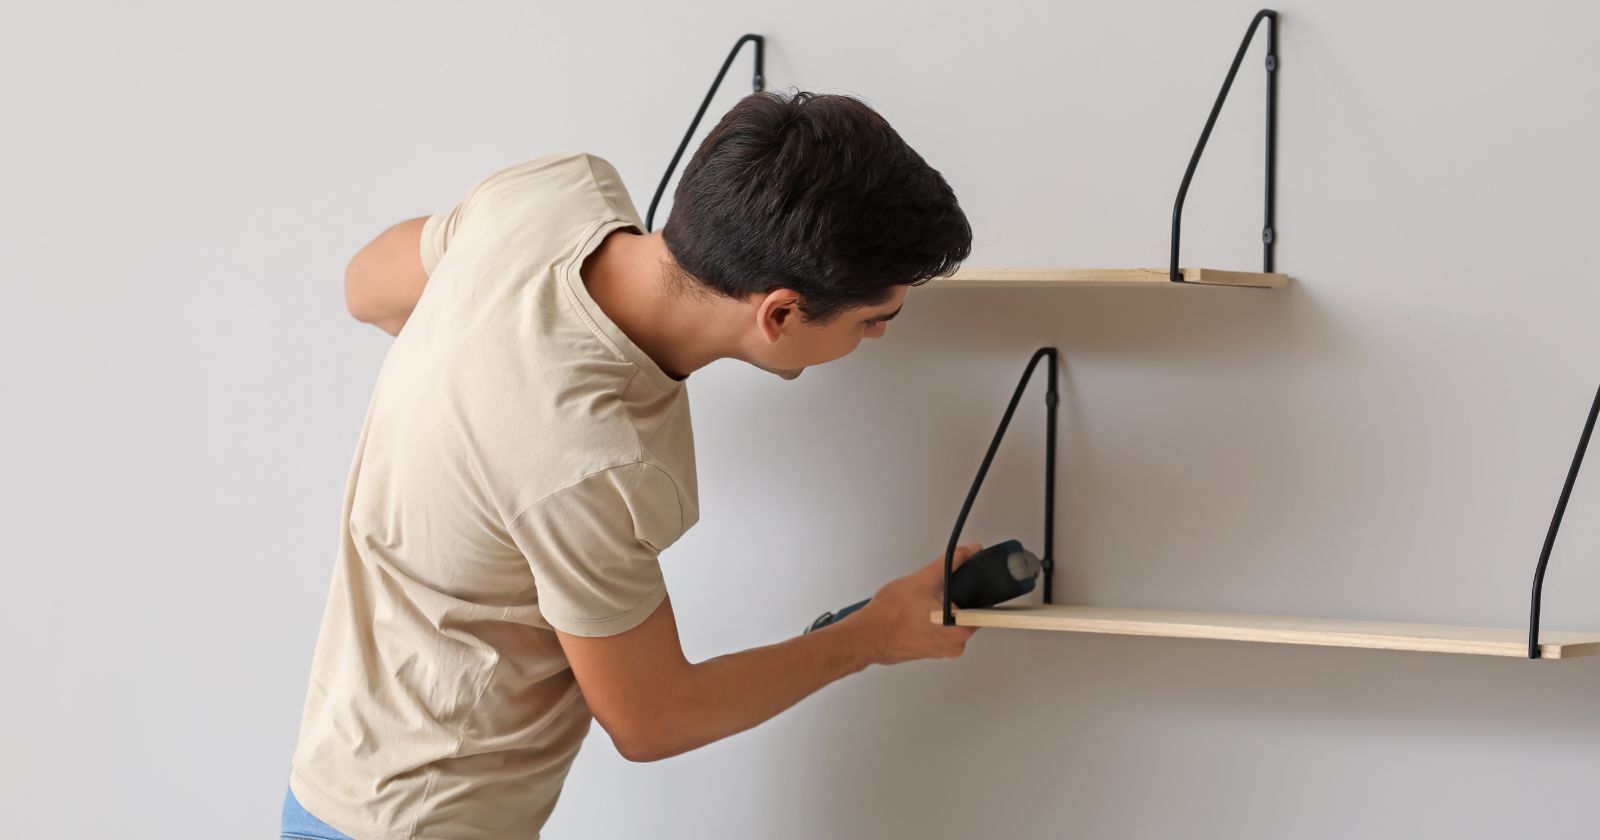
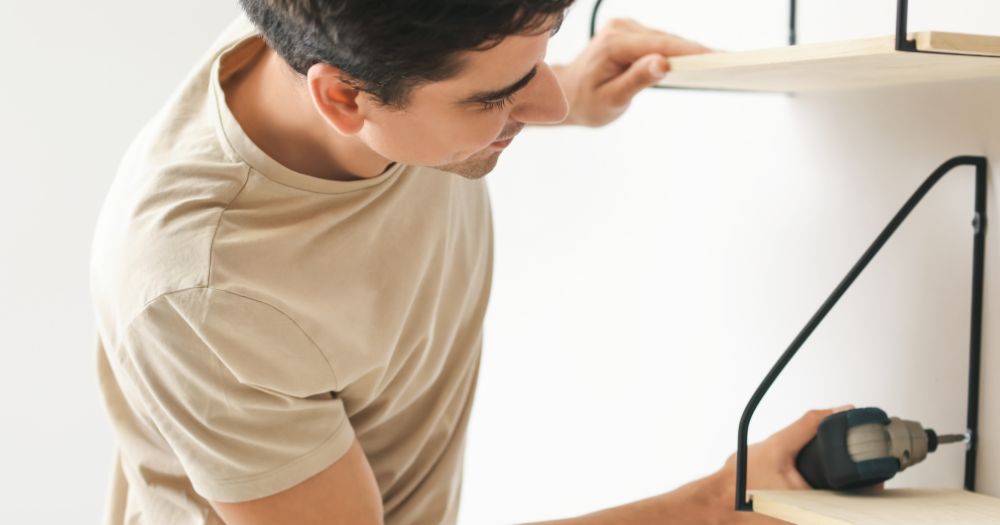
Shelves are more than just pieces of wood attached to our walls; they are the unsung heroes of organization and decor, both at home and in the office. They provide a perfect platform for displaying our favorite books, photos, and collectibles, while also keeping essential items within easy reach. But the process of installing these shelves, especially when it comes to securing brackets firmly, can often seem daunting. That’s where the magic of an impact driver comes into play. In this guide, I will dive into the art of Installing Shelves And Brackets With An Impact Driver, a method that not only simplifies the installation process but also ensures your shelves are securely mounted, ready to hold your cherished items.
Stay tuned as I explore the step-by-step process, tips, and tricks for installing shelves and brackets with an impact driver, ensuring your next project is not only successful but also a testament to your handiwork.
Why Use an Impact Driver for Shelf Installation?
When it comes to DIY projects or professional tasks like installing shelves and brackets, the choice of tools can make a significant difference in both the process and the outcome. While traditional drills have been the go-to for many years, the advent of impact drivers has revolutionized how we approach these tasks. Let’s dive into why an impact driver is your best bet for installing shelves and brackets efficiently and effectively.
The Power Behind the Tool
At first glance, impact drivers and traditional drills might seem similar, but the differences in their operation and capabilities are vast. Here’s a quick comparison:
- Torque: Impact drivers deliver a higher torque compared to traditional drills. This means you can drive screws into tougher materials without much effort.
- Speed: Thanks to their high torque, impact drivers can complete tasks more quickly, saving you time on your shelf installation project.
- Efficiency: With an impact driver, you’re less likely to strip screws or overdrive them into the material. This efficiency is crucial when working with delicate shelving materials.
The benefits of using an impact driver for installing shelves and brackets are clear. Its power and efficiency ensure that you can handle even the most challenging materials, making your DIY or professional projects smoother and faster.
Precision and Control
One of the most significant advantages of using an impact driver is the level of control and precision it offers:
- Control: Impact drivers are designed to handle the high torque they produce, meaning you’re less likely to lose control or cause damage to your work surface. This control is especially important when installing shelves, where precision is key to ensuring a level and secure fit.
- Precision: The impact mechanism of these tools helps to drive screws with precision, reducing the risk of damaging the head or the material. This precision is vital for installing brackets securely, ensuring that your shelves are both aesthetically pleasing and functional.
The combination of power, efficiency, control, and precision makes an impact driver an indispensable tool for anyone looking to install shelves and brackets. Whether you’re a DIY enthusiast or a professional contractor, an impact driver can elevate your project’s quality and reduce the time and effort required to complete it.
Preparing for Installation
Before diving into the actual installation of shelves and brackets with your trusty impact driver, it’s crucial to gather all necessary tools and materials and plan your shelf placement meticulously. Proper preparation will not only make the installation process smoother but also ensure that your shelves are both functional and aesthetically pleasing.
Tools and Materials Needed
To get started, here’s a comprehensive list of the tools and materials you’ll need:
- Impact Driver: The star of the show, providing the power and precision required for the job.
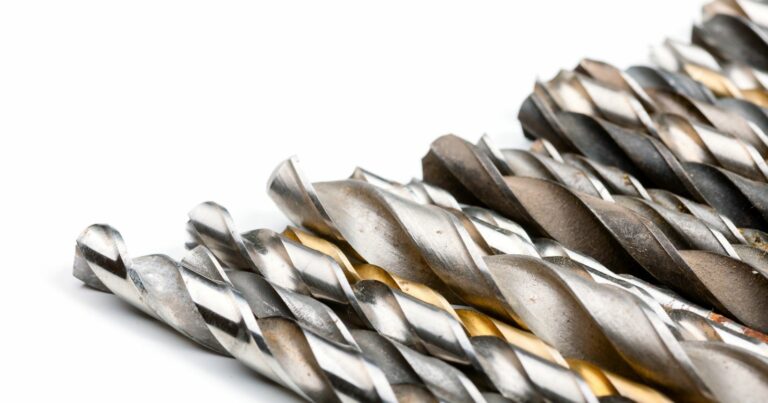
- Drill Bits: For pre-drilling holes in the wall and shelf material, if necessary.
- Level: To ensure your shelves are perfectly horizontal.
- Stud Finder: Essential for locating studs in the wall, which is critical for secure shelf installation.
- Screws and Anchors: Selecting the right screws and anchors for your shelf brackets is paramount. The type of wall (drywall, plaster, concrete, etc.) will dictate the best choice.
- Tape Measure: For accurate spacing and alignment of your shelves.
- Pencil: To mark drill points and level lines on the wall.
- Shelves and Brackets: Of course, the main components of your project.
The importance of choosing the right screws and anchors for shelf brackets cannot be overstated. Using the incorrect type can lead to weak installations that might fail under weight, causing damage to your wall and potentially leading to injuries. Research or consult with a professional if you’re unsure about the best options for your specific wall material and shelf weight.
Planning Your Shelf Placement
Deciding on the height and spacing of your shelves is more than just a matter of personal preference; it requires careful consideration of both aesthetics and functionality:
- Height: Consider the items you plan to store on the shelves and the ease of access. In a kitchen, for example, you’ll want frequently used items within easy reach.
- Spacing: The distance between shelves should accommodate the tallest items you plan to store, with a little extra room for easy removal and placement.
- Wall Material: Different wall materials can bear different amounts of weight. Studs are ideal for mounting, but if you’re working with drywall alone, ensure you use the appropriate anchors.
- Load: Be realistic about the weight your shelves will need to support. Books, for example, are heavier than decorative items. This consideration will influence both the materials you choose and the spacing of your supports.
Taking the time to plan your shelf placement carefully will pay off in the long run. Not only will your shelves be more functional, but you’ll also avoid the frustration of having to redo your work due to oversight or miscalculation. With your tools, materials, and plan in place, you’re now ready to move on to the actual installation process, where your impact driver will truly shine.
Watch This Video And Learn About Installing Shelves And Brackets With An Impact Driver
Step-by-Step Guide to Installing Shelves And Brackets With An Impact Driver
Installing shelves and brackets can seem daunting, but with an impact driver and the right approach, it’s a task that can be accomplished with precision and ease. Follow this step-by-step guide to ensure your shelves are not only functional but also perfectly aligned and secure.
Marking the Wall
The first step in installing shelves is to accurately mark where they will go. This is perhaps the most crucial part of the installation process, as accurate marks lead to well-placed shelves.
- Step 1.Decide on the Placement: Determine where you want your shelves to be. Consider the items you plan to store on them and the aesthetics of the room.
- Step 2.Use a Level: A level is essential to ensure your shelves will not be tilted. Place the level against the wall and draw a light line where the top of the shelf will be.
- Step 3.Measuring Tape for Spacing: If installing multiple shelves, use a measuring tape to evenly space them. Mark the wall lightly with a pencil where each bracket will go.
The importance of using a level and measuring tape cannot be overstated. Even a slight deviation can make your shelves look off and affect their functionality.
Drilling Pilot Holes
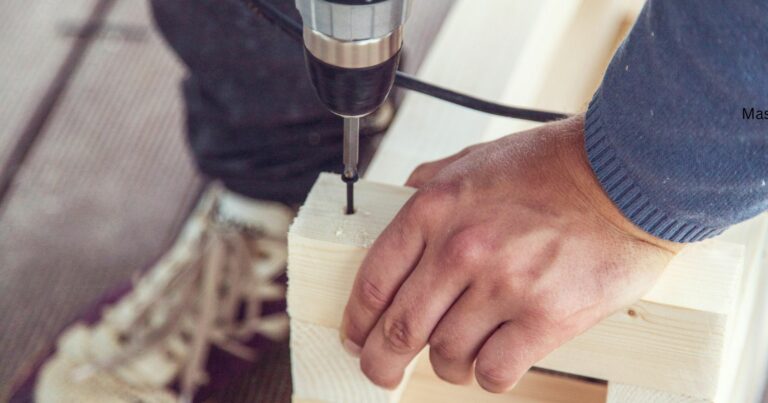
Before you can secure the brackets with your impact driver, you’ll need to drill pilot holes. This step is crucial for a secure installation.
- Step 4.Select the Correct Drill Bit Size: The drill bit should be slightly smaller than the screw you’ll be using. This ensures the screw has enough material to grip onto.
- Step 5.Drill Pilot Holes: Hold the drill steady and drill into the wall where you’ve marked for your brackets. Go straight in to ensure the holes are not angled.
Drilling pilot holes prevents the material from splitting and ensures the screws can be driven in smoothly and securely.
Securing the Brackets
With your pilot holes drilled, it’s time to secure the brackets to the wall using your impact driver.
- Step 5.Position the Bracket: Place the bracket against the wall, aligning it with the pilot holes.
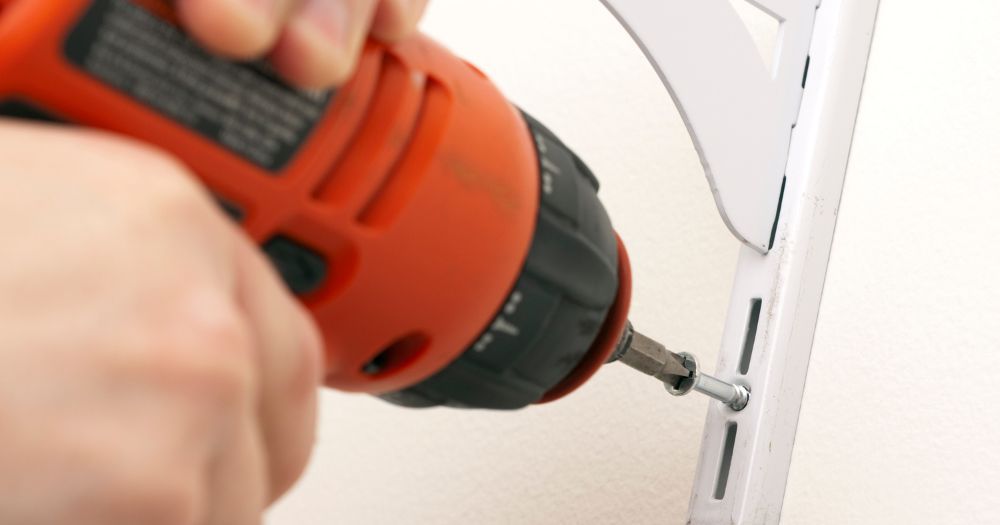
- Step 6.Drive the Screws: Using your impact driver, drive the screws through the bracket and into the pilot holes. The impact driver’s torque will make this step quick and efficient.
- Step 7.Check for Level: After securing the brackets, place a level on top to ensure they are perfectly horizontal. Adjust as necessary before fully tightening the screws.
Tips for ensuring brackets are perfectly level include adjusting the screws slightly if needed and double-checking with the level after each adjustment.
Attaching the Shelf
With the brackets securely in place, it’s time to attach the shelf.
- Step 8.Place the Shelf: Carefully place the shelf on top of the brackets. If your shelf has pre-drilled holes for securing it to the brackets, align these holes with the bracket tops.
- Step 9.Secure the Shelf: If your shelf design requires it, use your impact driver to drive small screws through the shelf and into the top of the brackets. This step prevents the shelf from shifting.
Additional tips for adjusting and aligning shelves include using small shims under the shelf if minor adjustments are needed for levelness. Also, consider the weight distribution on the shelf to ensure it remains secure and stable.
By following these detailed steps and utilizing the power and precision of an impact driver, you can install shelves and brackets that are not only aesthetically pleasing but also sturdy and functional. Whether you’re a DIY enthusiast or a professional, these tips will help you achieve a successful installation.
Troubleshooting Common Installation Issues
Even with careful planning and execution, you might encounter some hiccups during the installation of shelves and brackets. Here’s how to troubleshoot some of the most common issues, ensuring your project remains on track and your installations are as perfect as you envisioned.
Bracket Misalignment
Occasionally, despite your best efforts, you might find that your brackets aren’t perfectly level or aligned after installation. Here’s how to correct this:
- Reassess and Mark: Remove the bracket and use your level to reassess the alignment. It’s crucial to mark the correct positions clearly.
- Adjust the Holes: If the misalignment is minor, you may be able to use the same holes. For more significant adjustments, you’ll need to drill new pilot holes. Remember to fill in any unnecessary holes with spackle or a similar compound to maintain the wall’s integrity.
- Reinstall the Bracket: Once you’ve made the necessary adjustments, reinstall the bracket, double-checking for levelness before fully tightening the screws.
Stripped Screws
Stripped screws can be a frustrating challenge, especially when using a powerful tool like an impact driver. Here are tips for dealing with this issue:
- Use Rubber Bands: Place a rubber band over the stripped screw head and then try removing it with your impact driver set on a low speed. The rubber band can provide enough grip to allow the screw to come out.
- Drill Out the Screw: In more stubborn cases, you might need to carefully drill out the stripped screw. Use a drill bit that is slightly smaller than the screw shaft and work slowly to avoid damaging the surrounding material.
Wall Damage
It’s not uncommon to cause minor wall damage during the installation process, whether it’s from drilling pilot holes or accidentally knocking the surface with a tool. Here’s how to handle it:
- Preventative Measures: Always use a stud finder to avoid drilling into pipes or wires. Use painter’s tape on the wall where you’ll be working to help protect the surface.
- Fixing Minor Damage: For small holes or scratches, use spackle or wall filler to repair the area. Apply the compound with a putty knife, smooth it out, and allow it to dry completely before sanding it down to a smooth finish. Repaint the area if necessary.
By being prepared to address these common issues, you can ensure a smoother installation process and a more professional-looking result. Remember, patience and precision are key to overcoming these challenges and achieving the perfect shelf installation.
Wrapping Up Things With Installing Shelves And Brackets With An Impact Driver
Throughout this comprehensive guide, I’ve explored the ins and outs of installing shelves and brackets with an invaluable tool: the impact driver. Its unmatched power, efficiency, precision, and control make it an essential asset for both DIY enthusiasts and professional builders alike. By harnessing the capabilities of an impact driver, you can ensure that your shelving projects are not only aesthetically pleasing but also securely fastened and perfectly aligned.
Don’t forget to follow my blog for more handy guides, tool reviews, and expert advice. Whether you’re tackling your next big project or fine-tuning your skills, I am here to support your journey and help you achieve professional-looking results with every project.
Thank you for joining us on this guide to installing shelves and brackets with an impact driver. Happy building, and here’s to many successful projects ahead!

