Effective Techniques For Removing Screws With An Impact Driver
When it comes to DIY projects or professional construction tasks, the devil often lies in the details, such as the simple act of removing screws. It might seem straightforward, but anyone who’s stripped a screw head or battled with a stubborn fastener knows the frustration all too well. Effective techniques for removing screws with an impact driver can transform this common challenge into a more manageable and even efficient process.
So, let’s dive into the world of impact drivers and unveil the strategies that make screw removal not just a task, but a craft in itself.

Preparing to Remove Screws With an Impact Driver
Before you dive into your project with an impact driver in hand, preparation is key. This preparation not only involves selecting the right bit for your screws but also ensuring that you and your workspace are adequately protected. Let’s walk through these essential steps to ensure a smooth, safe, and efficient process.
Selecting the Right Bit
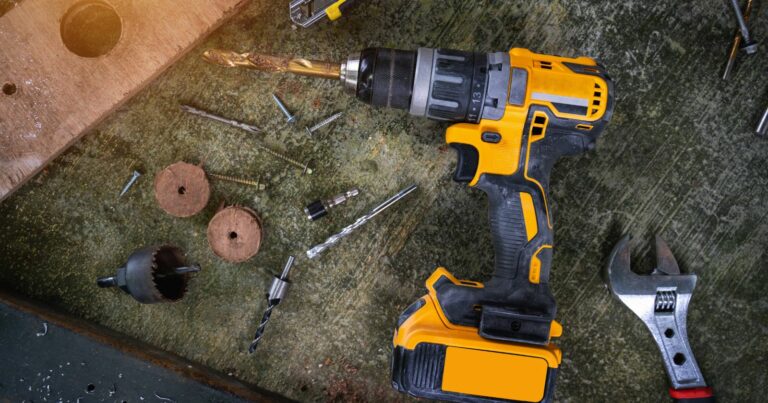
The secret to the successful removal of screws with an impact driver lies in the bit. Not all bits are created equal, and using the wrong one can lead to stripped screws, damaged tools, or even personal injury. Here’s a quick guide to making the right choice:
- Match the Bit to the Screw Head: The most common types include Phillips, flathead, Torx, and hex. Using a bit that perfectly fits the screw head is crucial for maximizing the impact driver’s efficiency and preventing the bit from slipping.
- Consider Bit Material: For most household tasks, a bit made from high-speed steel (HSS) is sufficient. However, for more demanding projects, especially those involving harder materials or larger screws, bits made from tougher materials like titanium or black oxide offer enhanced durability and longevity.
- Size Matters: Using a bit that’s too small or too large for the screw head can result in poor engagement and increased wear on both the screw and the bit. Ensure the bit size matches the screw size for a snug fit.
- Impact-Rated Bits: Given the additional torque and percussive action of an impact driver, selecting bits specifically rated for impact use is advisable. These bits are engineered to withstand the forces exerted by the driver, reducing the risk of breakage.
Safety Measures
Safety should never be an afterthought when working with power tools. Here are some key safety measures to keep in mind:
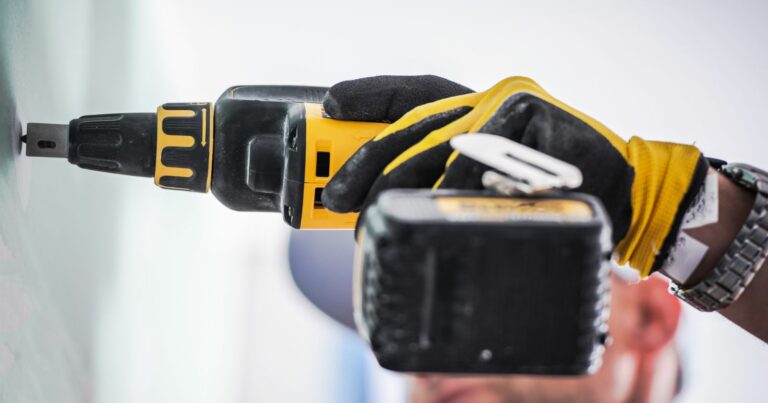
- Protective Gear: Always wear protective gear when using an impact driver. Safety goggles protect your eyes from flying debris, while gloves can safeguard your hands from sharp edges and the vibration of the tool. Consider ear protection as well, especially for prolonged use or in enclosed spaces where the noise level can be amplified.
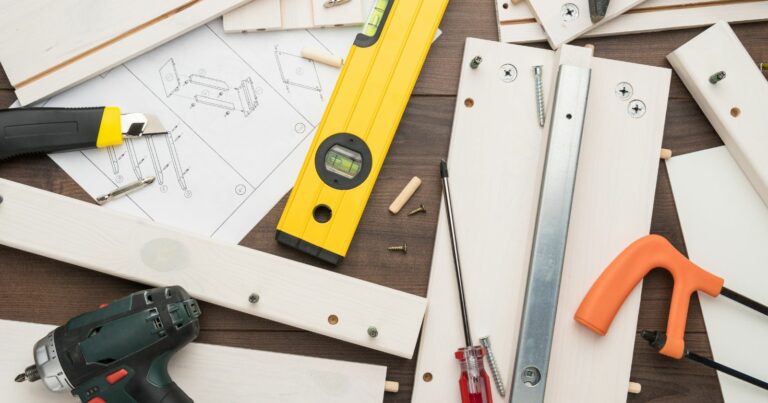
- Secure Work Area: Make sure your work area is clean and well-lit. Remove any unnecessary objects or debris that could pose a tripping hazard or interfere with your work. If you’re working on a piece that could move, secure it with clamps or a vise to prevent it from shifting as you remove screws.
- Inspect Your Tools: Before starting your project, inspect your impact driver and bits for any signs of damage or wear. Using damaged tools can be dangerous and may lead to poor results.
By taking the time to properly prepare and ensure safety, you’ll set the stage for a successful project, minimizing frustration and maximizing the potential of your impact driver. Whether you’re a seasoned pro or a DIY novice, understanding these preparatory steps is essential for anyone looking to harness the full power of their tools.

Step-by-Step Guide to Removing Screws With an Impact Driver
Successfully removing screws with an impact driver involves more than just choosing the right tool for the job. It requires precision, understanding, and a bit of finesse to ensure the task is completed efficiently and safely. Follow this step-by-step guide to master the technique and make the most out of your impact driver.
Setting Up Your Impact Driver
Before you start, ensuring your impact driver is correctly set up is crucial. This setup is relatively straightforward but vital for optimal performance.
- Inserting the Bit: First, select the appropriate bit for your screw as previously discussed. Insert the bit into the chuck of the impact driver. Most impact drivers have a quick-release chuck, so simply pull the chuck sleeve to insert the bit and release to secure it in place. Make sure the bit is firmly seated and doesn’t wobble.
- Adjusting Speed and Torque Settings if applicable: Some impact drivers come with adjustable speed and torque settings. If yours has these features, adjust them according to the size and type of screw you’re removing. A lower setting is suitable for small screws to prevent damage, while a higher setting can be used for larger, more stubborn screws. If you’re unsure, start with a lower setting and gradually increase until you find the right balance of power and control.
Techniques for Removing Screws
With your impact driver set up, it’s time to focus on technique. Proper technique is essential for removing screws efficiently without damaging the screw, the material, or the tool.
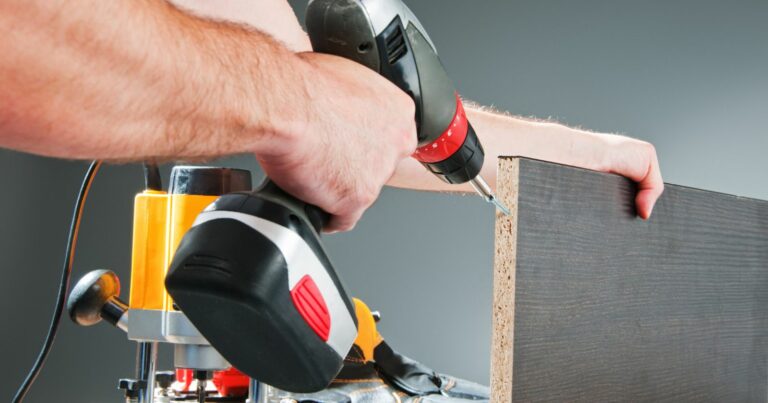
- Applying Pressure Correctly: Position the impact driver so the bit aligns straight with the screw. Apply steady, firm pressure to the back of the driver. This pressure helps ensure the bit remains engaged with the screw head, reducing the risk of slipping or stripping.
- Aligning the Driver with the Screw Head: Alignment is key. Ensure the driver and the bit are perfectly perpendicular to the screw. This alignment prevents the bit from coming out, slipping out of the screw head and damaging the screw or screw head.
- Tips for Stubborn Screws:
- Lubricating: If a screw seems particularly resistant, applying a bit of lubricant can help. A penetrating oil can reduce friction and make the removal process smoother. Allow the lubricant to sit for a few minutes before attempting to remove the screw again.
- Gentle Tapping on the Screw Head: For screws that won’t budge, a light tap on the head with a hammer can help break any corrosion or paint seal holding it in place. Be careful not to damage the screw head.
- Heat Application: In some cases, applying heat directly to the screw using a soldering iron or a heat gun can expand the metal slightly, making it easier to remove. This technique should be used cautiously and is generally a last resort.
Removing screws with an impact driver can be a straightforward task with the right preparation and technique. By setting up your tool correctly and applying these techniques, you can tackle even the most challenging screws with confidence. Remember, practice makes perfect. The more you use your impact driver, the more intuitive these processes will become, allowing you to work more efficiently and effectively on any project.
Advantages of Using an Impact Driver
Removing Screws
The impact driver is not just another power tool; it’s a revolutionary way to approach the task of removing screws. Let’s break down its advantages:
- More Torque: The impact driver excels in delivering significantly more torque than a standard drill, making it the tool of choice for removing screws, even those that are over-torqued, rusted, or otherwise stubborn. This heightened torque ensures that screws come out more smoothly, reducing the risk of them getting stuck or damaged in the process.
- Less Strain on the User: Thanks to its design, which includes the concussive action to assist in driving or removing screws, the impact driver requires less physical effort from the user. This reduces fatigue, especially on larger projects where many screws need to be removed, making it a favorite for prolonged use.
- Prevents Stripping of Screw Heads: One of the most common frustrations when removing screws is the stripping of the screw head, which occurs when the driver bit slips out and damages the head, making it difficult to get a good grip on the screw. The impact driver’s combination of rotational and percussive force keeps the bit securely in the screw head, significantly reducing the likelihood of stripping.
In essence, the impact driver is a tool designed not just for efficiency but also for the comfort and convenience of the user. Whether you’re a professional contractor or a home DIY enthusiast, understanding the capabilities and advantages of using an impact driver for removing screws can transform your approach to numerous tasks, making them quicker, easier, and more enjoyable.
Watch This Video And Learn About Effective Techniques For Removing Screws With An Impact Driver
Troubleshooting Common Issues
Even with the best tools and techniques, you might occasionally encounter problems when removing screws with an impact driver. Two of the most common issues are dealing with stripped screw heads and screws that simply won’t budge. But fear not there are several effective strategies for overcoming these challenges.
Stripped Screw Heads
Stripped screws are a common frustration in many projects, making it difficult to gain the grip needed for removal. However, several methods can help you regain enough grip to successfully remove the screw:
- Rubber Band Method: Place a wide rubber band flat over the stripped screw head, then press the bit into the rubber band and screw head. The rubber band fills the gaps in the stripped screw head, providing the extra grip needed to turn the screw.
- Flathead Screwdriver Technique: If the screw head is slightly stripped, you might be able to use a flathead screwdriver. Choose a screwdriver that fits snugly into the stripped head, and apply firm, steady pressure as you turn.
- Screw Extraction Kit: For screws that are severely stripped, a screw extraction kit can be a lifesaver. These kits usually come with a drill bit to make an initial hole in the screw head and a specialized extractor bit that grips the inside of this hole to remove the screw.
- Cut a New Slot: Using a rotary tool with a cutting disc, carefully cut a new slot into the top of the screw head. This new slot can provide a fresh surface for a flathead screwdriver to engage.
Screws That Won’t Budge
Some screws refuse to move due to rust, paint, or over-tightening. Here are a couple of techniques to deal with these stubborn screws:
- Heat Application: Applying heat directly to the screw can expand the metal, potentially breaking the bond caused by rust, paint, or other sealants. Use a soldering iron or a heat gun to carefully apply heat to the screw, then try removing it while it’s still warm. Always exercise caution to avoid burns or damaging the material around the screw.
- Using Impact-Assisted Devices: In addition to your impact driver, consider using a manual impact driver for extremely stubborn screws. This tool translates a hammer strike into both rotational and downward force, adding extra power to loosen the screw. It’s particularly effective for screws that are seized or heavily corroded.
Encountering stripped screws or those that won’t budge can be discouraging, but with these troubleshooting tips, you can overcome these common issues. Remember, patience and the right approach can make all the difference in successfully completing your project without unnecessary damage to your materials or tools.

Advanced Techniques for Experienced Users
For those who’ve mastered the basics of using an impact driver, there are advanced techniques and considerations that can enhance your ability to tackle more challenging tasks. Removing long or deeply embedded screws and adjusting your approach based on the material are two areas where experienced users can further refine their skills.
Removing Long or Deeply Embedded Screws
Long or deeply embedded screws can present a significant challenge, requiring more than just raw power to remove without causing damage. Here’s how to approach these stubborn fixtures:
- Pre-Drilling: For screws that are particularly deep, a pre-drilling technique can help. Use a drill bit slightly smaller than the screw’s core to remove some of the material around it, reducing the tension and making it easier to extract.
- Screw Extractors: For screws that refuse to budge, a screw extractor can be invaluable. These tools are designed to grip into the stripped head of a screw, allowing you to apply reverse torque and back the screw out. Drill a hole into the head of the screw, insert the extractor, and slowly turn it counter-clockwise.
- Impact-Assisted Tapping: Sometimes, a combination of impact driving and manual tapping can help. After applying penetrating oil, place the impact driver bit in the screw head, and gently tap on the back of the impact driver with a hammer while turning. This can help break the corrosion bond holding the screw.
Adjusting Technique Based on Material
The material you’re working with can significantly affect how you use your impact driver, especially when removing screws:
- Wood: Wood is forgiving but can split if too much force is applied. Use a moderate setting on your impact driver and consider drilling a pilot hole for long screws. If a screw is stuck, apply heat or wax to ease its removal.
- Metal: Metal requires a bit more force, especially if rust is present. Use higher torque settings but proceed with caution to avoid breaking the screw. Penetrating oils are particularly effective on metal to loosen up the bond.
- Plastic: Plastic is the most delicate material, and using an impact driver requires a gentle touch. Use the lowest torque setting to avoid cracking the plastic. If a screw is stuck, heating the area around the screw can make the plastic more pliable, but be careful not to melt or deform it.
Each material presents its unique challenges, but with the right approach and tools, you can overcome them efficiently. Understanding these nuances and applying these advanced techniques will not only save you time and frustration but also help ensure the integrity of your project. Whether you’re dealing with stubborn screws or working with sensitive materials, the key is patience and precision, leveraging the full capabilities of your impact driver to achieve the best results.

Wrapping Up Effective Techniques For Removing Screws With An Impact Driver
Throughout this comprehensive guide, I have explored the transformative power of the impact driver in the realm of removing screws, a task that, while seemingly simple, can often become a source of frustration without the right tools and techniques. The impact driver, with its unique combination of torque and percussive action, stands out as an indispensable ally, capable of tackling even the most stubborn screws with ease and efficiency.
So, let’s keep the conversation going. Comment below with your experiences, questions, or any tips you’d like to share. Together, we can continue to explore the vast world of tools and techniques, making every project a success.
Thank you for reading, and I look forward to your contributions!