Why Impact Driver Won’t Hold Bits: 4 Troubleshooting Tips
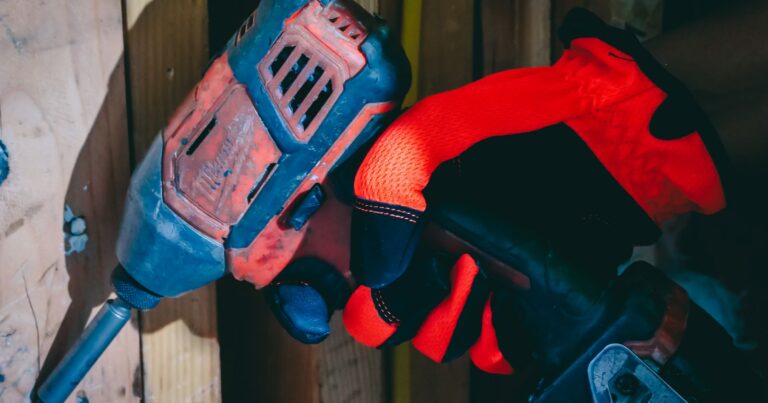
As a tool enthusiast, I know how frustrating it can be when an impact driver won’t hold bits in place. It can slow down your work and even cause damage to your project. In this post, I’ll cover some common reasons Why Impact Driver Won’t Hold Bits: Troubleshooting Tips to help you get back on track.
4 Reasons why Impact Driver won’t hold bits

There are several reasons why an impact driver might have trouble holding bits. Here are some common ones to look out for:
1. Worn-out chuck
The chuck is the part of the driver that holds the bit in place. Over time, the chuck can wear out, causing it to lose grip on the bit. You might notice the bit slipping or falling out of the chuck during use.
2. Debris or dust inside the chuck
Debris or dust can accumulate inside the chuck, preventing it from gripping the bit properly. This can happen especially when using the driver in dusty or dirty environments.
3. Incorrectly sized or incompatible bits
Using the wrong size or incompatible bit can cause the driver to lose grip on the bit. The bit might fit loosely in the chuck or not fit at all.
4. Loose or damaged bit holder
The bit holder is the part of the driver that connects the chuck to the motor. If it’s loose or damaged, it can cause the driver to lose grip on the bit. You might notice the bit wobbling or coming loose during use.
How to troubleshoot a worn-out chuck
If you suspect that a worn-out chuck is causing your impact driver to lose grip on bits, here’s what you can do:
- Check for signs of wear and tear on the chuck. Look for cracks, chips, or any other damage that might affect its grip on the bit.
- Try tightening the chuck by hand. If it still slips, use pliers or a wrench to tighten it further.
- If tightening doesn’t work, you might need to replace the chuck. Check your driver’s manual for instructions or seek professional repair.
Watch This Video And Learn Why Impact Driver Won’t Hold Bits: Troubleshooting Tips
How to clean the chuck
If debris or dust is causing your impact driver to lose grip on bits, cleaning the chuck can help. Here’s how to do it:
- Remove the chuck from the driver. This might involve using a special tool or key, depending on your driver’s design.
- Clean the interior of the chuck with a wire brush or compressed air. Be thorough, removing any debris or dust that might be stuck inside.
- Reassemble the chuck and test the driver with a bit to see if it’s holding properly.
How to use the correct bit size
Using the correct bit size is crucial for ensuring that your impact driver can hold bits properly. Here’s how to determine the correct bit size:
- Check your driver’s manual for recommendations on bit size.
- Look for markings on the bits themselves that indicate their size.
- Measure the bit with a ruler or caliper to determine its size.
Remember, using the wrong size bit can cause your driver to lose grip on the bit, so it’s important to get it right.
How to check bit compatibility
In addition to using the correct size, you also need to ensure that the bit is compatible with your impact driver. Here’s how to do it:

- Check your driver’s manual for a compatibility chart.
- Consult a compatibility chart online, such as the one provided by the manufacturer or a trusted tool website.
- Ask a professional at a tool store for advice on which bits are compatible with your specific driver model.
- Remember, using incompatible bits can cause your driver to lose grip on the bit, so it’s important to check for compatibility before using a new bit.
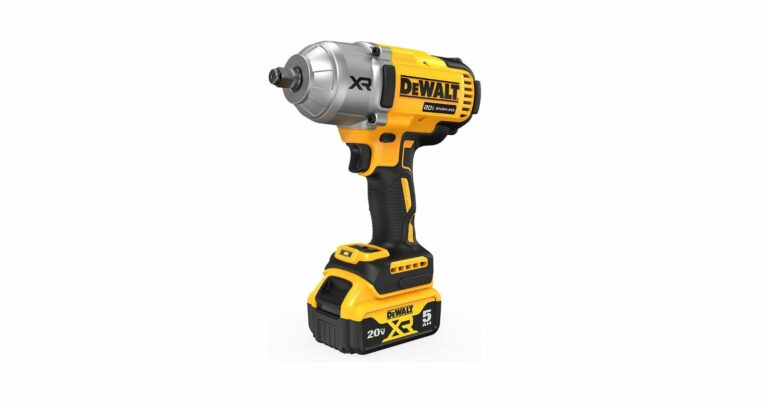
Maybe its time to get a new drill? Check out the Best Impact Driver Drill Under $100 here
When Troubleshooting Isn’t Enough: My Journey Through Replacement and Repair
There are times when, despite our best efforts at troubleshooting, our impact driver stubbornly refuses to hold bits as it should. I’ve been there, and I know how frustrating it can be. Over time, I’ve learned that this is often a sign that it might be time to consider replacement or repair of certain parts of the tool. I’d like to share with you my journey of identifying when this step is necessary and how I navigate through it.
Firstly, recognizing the signs that a part may need replacement is crucial. For instance, if my impact driver is still not holding bits securely after I’ve given it a thorough cleaning and inspection, I start to suspect that a part, like the chuck, might be worn out or damaged. It’s like a detective’s work, piecing together clues to find the culprit.
Once I’ve identified a potential issue, my first port of call is usually the tool’s manual or the manufacturer’s website. These resources are like a treasure trove of information, providing valuable guidance on part replacement procedures. They can help me decide whether I should roll up my sleeves and attempt the repair myself or whether it’s time to call in the cavalry and seek professional help.
If I decide to embark on the DIY route and replace a part myself, I make sure to order the correct replacement part from a reliable source. It’s like ordering a spare part for a car – you need to ensure it’s the right fit. I then follow the instructions carefully, ensuring I have the right tools for the job. Safety is paramount in this process, so I always unplug the tool before starting any repair work. It’s a bit like defusing a bomb – one wrong move and things could go wrong.
However, there are times when the repair seems more like rocket science than a simple fix. If I’m unsure about any aspect of it, I don’t hesitate to seek professional help. It’s a bit like admitting that you need to see a doctor when home remedies aren’t working. It’s better to invest in a professional repair than risk further damage to the tool or, worse, personal injury.
Remember, it’s okay if you can’t fix everything yourself. In fact, knowing when to call in the professionals is just as important as being able to troubleshoot and maintain your tools. It’s all part of the journey of being a responsible and savvy tool owner.
Learning from Others: My Take on User Experiences and Solutions
In my journey with tools, I’ve found that one of the best ways to troubleshoot and find solutions is by learning from the experiences of others. Platforms like Reddit and Amazon are treasure troves of practical, real-world advice, and I’ve often found answers to my problems in the most unexpected threads or reviews.
I’ve come across common problems that many of us face with our impact drivers, and the solutions provided by fellow users have been invaluable. For instance, I remember reading a thread on Reddit about an impact driver that wouldn’t hold bits. The user had tried everything, but nothing seemed to work. Then, another user suggested a simple trick – pulling the collar out and releasing it to reset the ball mechanism. It was a simple solution, but it worked wonders for the original poster.
Amazon reviews, too, have been a goldmine of information. I recall reading a review where the user was frustrated because their drill bits kept falling out. The solution? Turning the chuck bit holder until a click was heard, ensuring the drill bit was secure. This tip has saved me from many a frustrating moment when my bits wouldn’t stay put.
These experiences have taught me that no matter how unique or complicated my problem seems, chances are someone else has faced it too and found a solution. So, I make it a point to share my experiences and solutions as well, contributing to this amazing community of DIY enthusiasts.
Remember, we’re all in this together. By sharing our experiences and solutions, we can help each other navigate the world of tools and DIY projects more effectively.
FAQs: Why Impact Driver Won’t Hold Bits: Troubleshooting Tips
Why does my impact driver keep dropping bits?
There are several reasons why an impact driver might have trouble holding bits, such as a worn-out chuck, debris inside the chuck, or using the wrong size or incompatible bits. Refer to the troubleshooting tips outlined in this post to help identify and fix the problem.
Can I fix a worn-out chuck on my own?
If you suspect that a worn-out chuck is causing your impact driver to lose grip on bits, you can try tightening it by hand or using pliers/wrench. If this doesn’t work, you might need to replace the chuck. Check your driver’s manual for instructions or seek professional repair.
How often should I clean my impact driver’s chuck?
It’s a good practice to clean your impact driver’s chuck regularly, especially if you use it in dusty or dirty environments. Aim to clean it after every use or at least once a week. Use a wire brush or compressed air to remove any debris or dust that might be stuck inside.
Conclusion
When your impact driver won’t hold bits, it can be frustrating and time-consuming. However, by troubleshooting common issues like a worn-out chuck, debris in the chuck, incorrect bit size or compatibility, and loose or damaged bit holders, you can quickly get back to work. Remember to refer to your driver’s manual and seek professional repair if needed. By following these tips, you’ll be able to keep your impact driver in top shape and working efficiently for all your projects.