
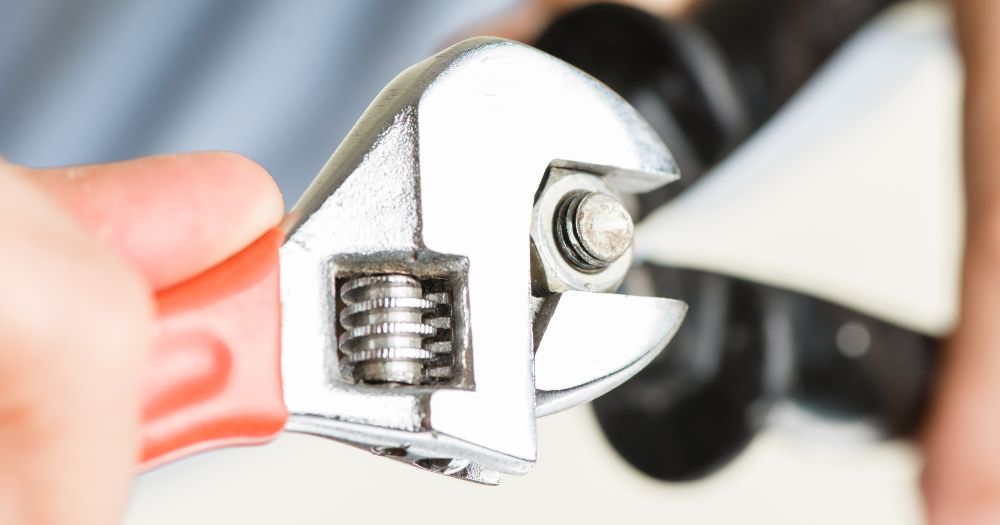
How To Use An Adjustable Wrench
An adjustable wrench, often dubbed as the handyman’s best friend, holds immeasurable value in every toolkit of mine, whether it’s a professional-grade set or a basic homeowner’s repair kit. The charm of this tool is rooted in its versatility. Grasping “How To Use An Adjustable Wrench” truly unfurls its capabilities: with a brisk adjustment, it can clutch onto nuts and bolts of diverse sizes, negating the need for an assortment of differently sized wrenches. Whether I’m embarking on plumbing jobs, assembling furniture, or tuning up a bicycle, the adjustable wrench consistently proves its worth. Its malleable nature morphs it into a keystone tool, capable of facilitating numerous tasks. Hence, it’s indisputably a must-have complement to every toolkit I own.
Choosing the Right Adjustable Wrench for Your Task
Sizes of Adjustable Wrenches
Adjustable wrenches come in a variety of sizes, each suited for a specific range of tasks. Common sizes include the compact 6-inch, the standard 10-inch, and the large-scale 12-inch wrenches. The size of the wrench not only determines the size of the nuts and bolts it can accommodate but also the amount of torque or turning force it can provide. For instance, a 6-inch adjustable wrench is perfect for smaller, tighter spaces, while a 12-inch wrench is more suited for larger fasteners that require more force. Choosing the right size wrench for your task is crucial for both effectiveness and safety.
Materials and Quality
Adjustable wrenches are typically made of sturdy materials like chrome vanadium steel or carbon steel to withstand high torque and regular usage. Quality can be determined by the feel of the wrench (it should have a good heft, not too light), the smoothness of the adjustment mechanism, and the precision of the jaw’s fit on the fastener. Premium quality wrenches often come with a polished chrome finish, not just for aesthetics, but to provide corrosion resistance. Investing in a high-quality adjustable wrench means durability, better functionality, and ultimately, a safer and more efficient working experience.
Safety Measures While Using an Adjustable Wrench
Personal Protective Equipment (PPE)
Working with tools always calls for taking the appropriate safety precautions, and using an adjustable wrench is no exception. Personal Protective Equipment (PPE), such as gloves and safety glasses, should be worn to prevent injuries. Gloves provide a better grip and protect your hands from any sharp edges on the nuts or bolts. Safety glasses shield your eyes from small metal particles or sparks that may be generated while using the wrench.
General Safety Tips
Using an adjustable wrench requires mindful practice. Remember to always pull the wrench towards you instead of pushing away to avoid injuries in case the wrench slips. Never use a pipe or extension on the wrench handle for extra leverage; if you need more force, use a larger wrench. Additionally, ensure your workspace is clean and well-lit to avoid any mishaps. Prioritizing safety will not only prevent accidents but also enhance your efficiency and the lifespan of your tool.
Step-by-Step Guide on How to Use an Adjustable Wrench
1.Preparing Your Work Area
A well-prepared workspace is key to safety and efficiency when using an adjustable wrench. Ensure that your work area is clean, free of clutter, and has ample lighting. Keep your tools within easy reach, but out of the way of your work. A well-organized work area will help you focus on the task at hand and can significantly reduce the risk of accidents.
2.Setting Up Your Adjustable Wrench
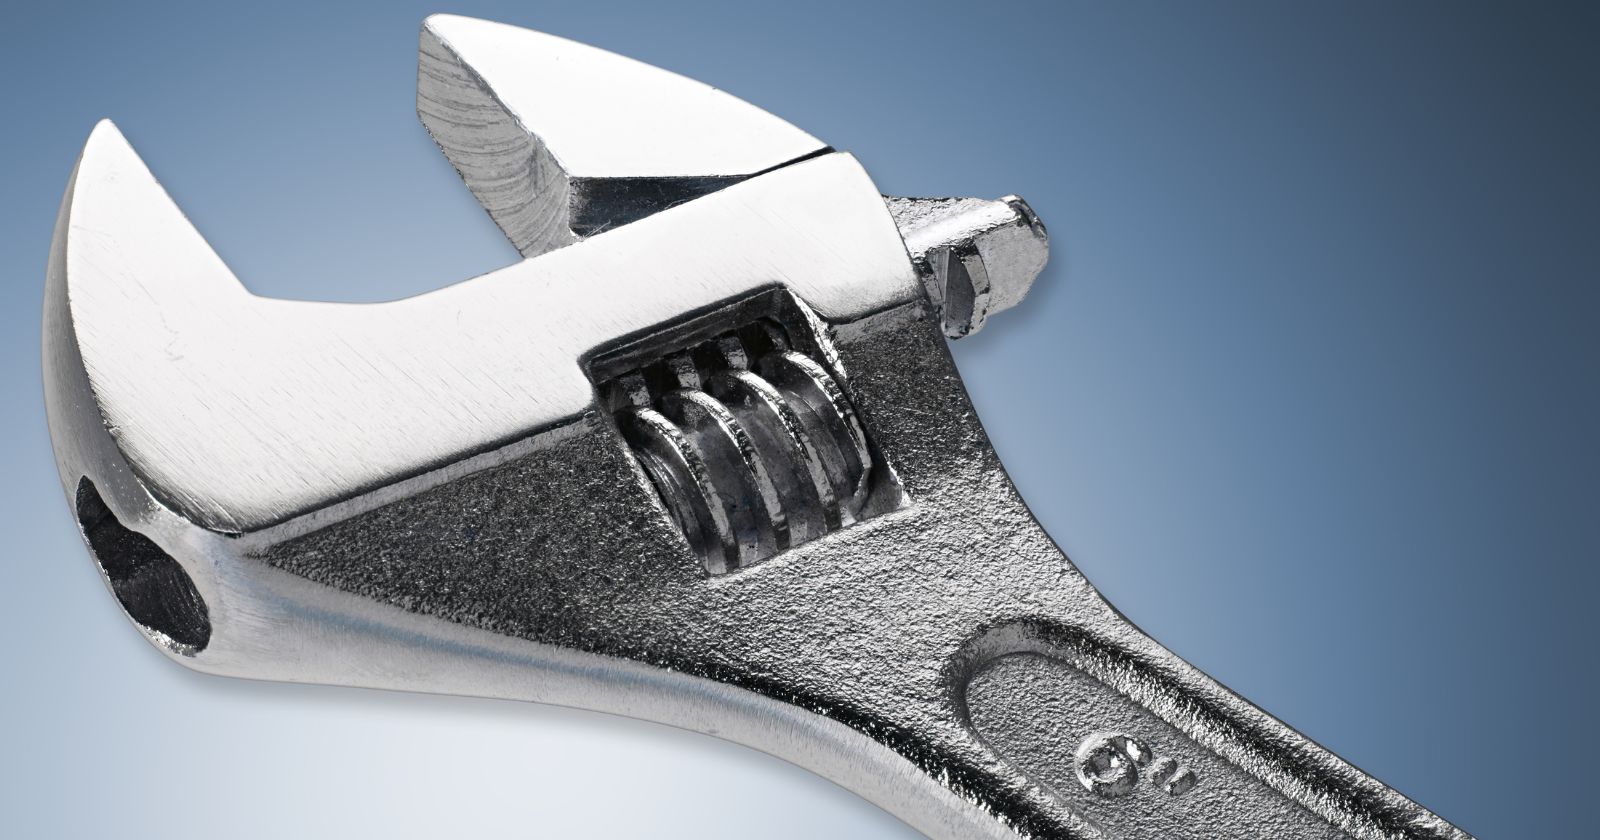
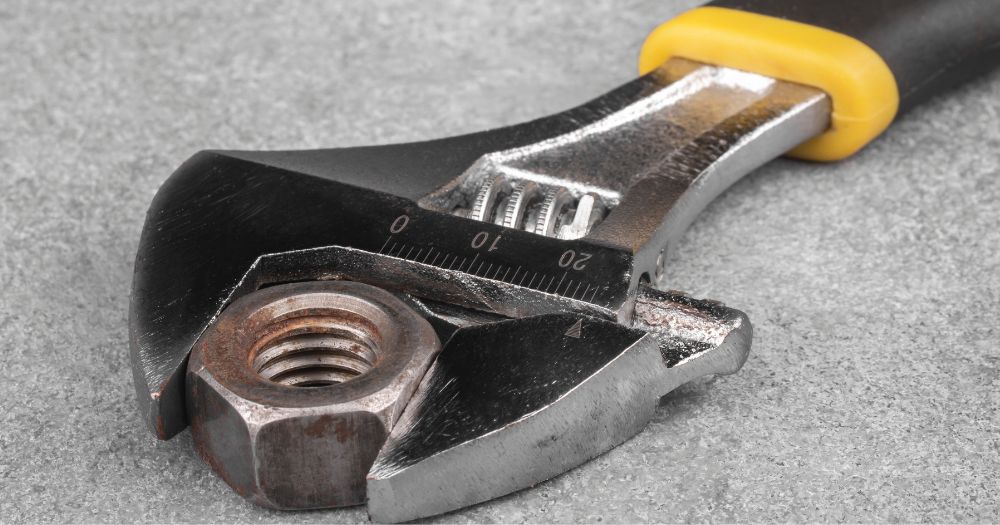
The real beauty of an adjustable wrench lies in its ability to fit a wide range of fasteners. To adjust the wrench, turn the worm screw until the jaw fits snugly on the nut or bolt. The goal is to have the wrench grasp the fastener with the entire capacity of the jaw for maximum grip and minimum slippage.
3.Using the Adjustable Wrench
To properly use the adjustable wrench, place it onto the fastener you wish to turn. Adjust the jaw so that it fits snugly. Then, apply steady pressure to the handle, pulling it towards you. Always make sure the adjustable jaw is on the side towards which you’re applying force. This ensures the wrench bites harder into the bolt or nut as you apply more force, thus preventing any damaging slips. With a little practice, using an adjustable wrench becomes a simple task, making your DIY projects or professional work smoother and safer.
Watch This Video And Learn About How To Use An Adjustable Wrench.
Maybe its time to get a new Drill. Take a look at the Best Drill Under $100.
Troubleshooting Common Issues with Adjustable Wrenches
Loose Jaw
A common issue with adjustable wrenches is a loose jaw. This is often due to prolonged use, where the threads of the worm screw wear out. This can cause the jaw to slip off the nut or bolt while in use. However, this can be resolved by tightening the worm screw firmly. If the issue persists, it might be a sign that your tool has seen better days and could require a replacement.
Stuck Adjusting Screw
Another typical problem is a stuck adjusting screw, which can make adjusting the jaw’s width challenging. This usually occurs due to rust or debris accumulation in the threads of the worm screw. A quick solution is to apply a penetrating oil to the worm screw, let it sit for a while, and then try to turn the screw. If the screw still doesn’t move, you may want to consider using a wire brush to remove any rust or debris. Regular cleaning and oiling can prevent these issues, ensuring that your adjustable wrench stays in top working condition.
Tips and Tricks to Maximize Efficiency
Using an adjustable wrench like a pro requires knowledge beyond just the basics. Here are a few expert tips to enhance your wrench usage. Always remember to adjust the wrench so that it fits the nut or bolt snugly, reducing the chance of slipping and rounding the fastener. Position the adjustable jaw towards the side you’re turning for better grip and less wear on the tool.
For long-term use, maintenance of your adjustable wrench is key. Regularly clean your wrench with a wire brush to remove any dirt or rust and oil the worm screw to keep the adjustment mechanism running smoothly. Always store your tools in a dry, cool place to prevent corrosion. With these tips and tricks, your adjustable wrench will not only last longer but also work more efficiently, making your tasks easier and more enjoyable.
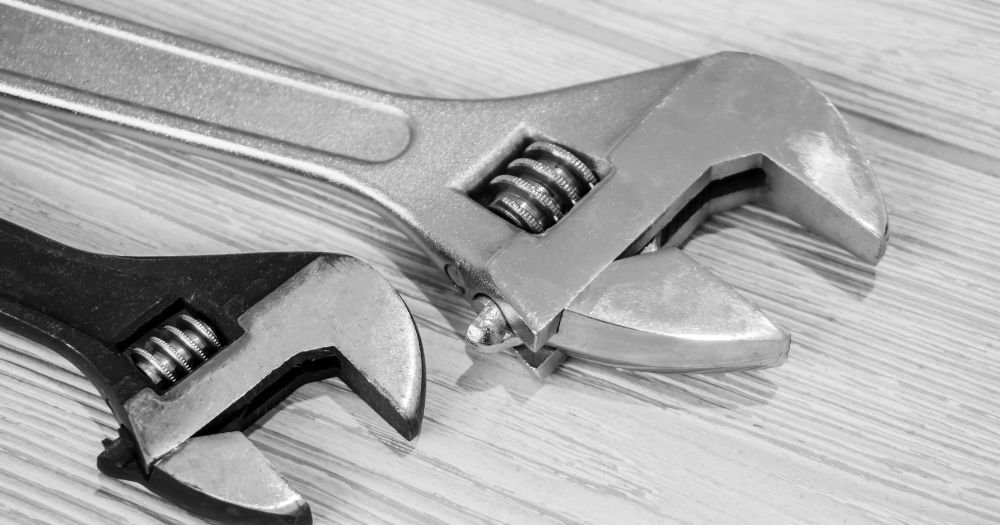
Varieties of Adjustable Wrenches
Adjustable wrenches are not one-size-fits-all — and we mean that in the most literal sense! Beyond just the adjustable feature, these hand tools come in a variety of designs tailored to handle different tasks. Let’s dive into the world of adjustable wrenches, exploring the unique characteristics and applications of some of the most popular types.
Pipe Wrenches
The pipe wrench, or Stillson wrench, is a plumber’s best friend. Its unique design features serrated jaws and an adjustable nut, ideal for gripping round surfaces like pipes and rods. The jaws’ teeth provide robust grip but can mar the workpiece, so they’re best used on rugged, concealed, or disposable parts. Remember, these wrenches are designed for turning soft iron pipes and fittings with a rounded surface; they’re not suitable for nuts and bolts as they would damage the fasteners.
Crescent Wrenches
Crescent wrenches, also commonly known as adjustable wrenches, are among the most versatile hand tools around. These wrenches feature an adjustable jaw that changes the width of the wrench, making it compatible with various sizes of nuts and bolts. The jaws are flat and smooth, preventing damage to the fastener. The simplicity and versatility of the crescent wrench make it a staple in both professional toolkits and household drawers.
Monkey Wrenches
Don’t let the funny name fool you; monkey wrenches mean serious business. They’re larger, bulkier versions of the crescent wrench, designed to handle heavy-duty tasks. Unlike the smooth jaws of a crescent wrench, monkey wrenches feature serrated jaws for a superior grip. However, this can lead to marring on the surface of the workpiece. Monkey wrenches are typically used in metalworking and mechanical work.
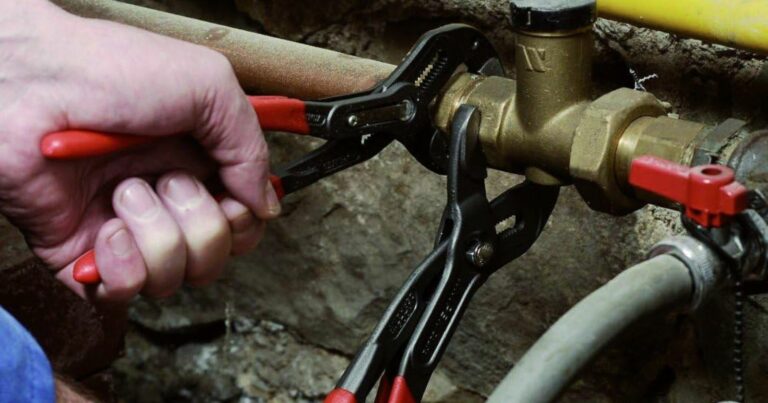
Plumber Wrenches
Similar to a pipe wrench but unique in its purpose, plumber wrenches are specifically designed for plumbing applications. They have a claw-like design used to grip and turn pipes, faucets, nuts, and fittings. The most popular type of plumber wrench is the basin wrench, used to tighten and loosen fasteners in tight spaces such as under a sink.
Understanding the types of adjustable wrenches and their specific uses can be incredibly helpful in choosing the right tool for your job. It also aids in better care and maintenance, extending the life of the tool, and ensuring safer usage.
Remember, using the right tool for the job is not just a saying; it’s the golden rule of all handywork!
Perhaps its time to consider a new Adjustable Wrenches. Take a look at the The 3 Best Adjustable Wrenches
The Do’s and Don’ts of Adjustable Wrenches
Working with tools can be quite a learning curve, especially for beginners. When it comes to adjustable wrenches, certain practices can help ensure safer, more efficient use, and prolong the life of your tool. To provide some guidance, here are some essential do’s and don’ts when using an adjustable wrench.
Do’s
Do Adjust the Jaw Properly:
Ensure the jaw of the wrench fully encloses the nut or bolt before turning. This gives the maximum grip and reduces the risk of the wrench slipping or the fastener rounding off.
Do Apply Force Correctly:
Always apply force on the fixed jaw side of the wrench. This ensures that the wrench’s pressure is applied correctly, reducing the chances of slipping or damaging the tool.
Do Use the Right Sized Wrench:
The size of your adjustable wrench matters. While it’s a versatile tool, each size has its specific range of operation. Overstraining a small wrench on a large nut or bolt could damage the wrench or, worse, injure you.
Do Maintain Your Tool:
Regularly clean and lubricate your wrench to keep it functioning smoothly. Over time, dirt, dust, and rust can affect the wrench’s performance. Regular maintenance ensures that it remains in top working condition.
Don’ts
Don’t Use a Damaged Wrench:
If your wrench shows signs of damage, such as a cracked handle or worn-out jaw, don’t use it. This can potentially lead to the tool breaking mid-task, risking injury.
Don’t Use a Pipe for Extra Leverage:
If a nut or bolt is too tight, don’t be tempted to use a pipe or similar item to extend the wrench’s handle for extra leverage. This can overstrain and damage the wrench, or cause it to slip off the fastener suddenly.
Don’t Use it as a Hammer:
As tempting as it might be, don’t use your wrench as a hammer. This can severely damage the tool and is a misuse that can risk injury.
Don’t Over-Tighten:
It can be easy to apply too much force and over-tighten a nut or bolt, which can cause thread stripping or make it difficult to undo later.
Remember, safety is paramount when working with any tool. By following these do’s and don’ts, you’ll be on your way to handling your adjustable wrench like a pro, ensuring your tool lasts longer, and most importantly, keeping yourself safe.

FAQs: How To Use An Adjustable Wrench
If you’re looking for fast facts or have particular questions about adjustable wrenches, I’ve put together an FAQ section below. I designed these questions to deliver succinct, yet comprehensive answers to some of the most frequently asked queries about adjustable wrenches.
How do I know which size of adjustable wrench is right for my task?
The size of the adjustable wrench you need depends on the size of the nut or bolt you’re working with and the amount of force required. A smaller wrench like a 6-inch adjustable wrench is suitable for smaller, tighter spaces, whereas a larger wrench, such as a 12-inch, provides more torque for larger fasteners.
How can I prevent my adjustable wrench from rusting?
To prevent your adjustable wrench from rusting, regular maintenance is key. Clean your wrench after each use and periodically apply a light oil to the worm screw. Always store your tools in a cool, dry place to prevent corrosion.
What should I do if my adjustable wrench’s jaw becomes loose?
A loose jaw is often due to the threads of the worm screw wearing out from prolonged use. Try to tighten the worm screw firmly. If the jaw continues to be loose, it might be a sign of a worn-out tool, and you might need to consider replacing it.
Suggested Reading:The Various Uses of Adjustable Wrenches
Conclusion
To conclude, it’s clear that the adjustable wrench is a tool I can’t do without, given its versatility and adaptability. From understanding its basic structure to picking the right wrench for my job, implementing safety precautions, and addressing common issues, I’ve covered all the essentials about this incredible tool. But remember, as with any tool, mastering the adjustable wrench comes with practice.
Now that I’m armed with this knowledge, it’s time to put it to work. So I’ll grab my adjustable wrench, keep in mind the tips and safety precautions we discussed, and approach my next DIY project or professional task with a newfound confidence. A world of nuts and bolts is just waiting for me to turn them!

