How To Drill A Hole In A Glazed Ceramic Pot
Hey there, fellow tool lovers! It’s me, your friendly neighborhood tool enthusiast, back again to share some more of my go-to tricks in the DIY world. Today, I’m diving into a topic that might sound a bit challenging at first: How to drill a hole in glazed ceramic pots. Trust me, drilling a hole in glazed ceramic pots is easier than you might think. What may seem like a tricky task is actually a piece of cake when you’ve got the right tools in your hand and the right tips up your sleeve. So, let me show you how to drill holes in ceramic pots!

Why You Might Need to Drill a Hole in a Glazed Ceramic Pot
Proper Drainage for Plants
Glazed ceramic pots are perfect to add a touch of class to your flora. However, they often lack proper drainage, which can be detrimental to your green buddies. Here’s why:
- When water can’t escape, the roots sit in soggy soil, leading to dreaded root rot.
- Too much water can wash away the essential nutrients your plant needs to thrive.
- Without drainage, the soil can become oxygen-starved, causing your plant to literally drown.
DIY Projects
Apart from plant parenthood, there are numerous DIY projects where you might find yourself needing to drill a hole in a glazed ceramic pot:
- Need a stunning centerpiece for your dinner table? Turn your pot into an elegant candle holder.
- Transform a simple ceramic pot into a charming bird bath or feeder.
- Create a hanging outdoor decor piece that will make your neighbors green with envy.
What You Need
So how do you drill a hole in a ceramic pot without breaking it? Well it all starts with proper set up and tools. Before we drill down (pun absolutely intended), let’s round up the gang of tools you’ll need:
- A lovely glazed ceramic pot you’re willing to work on.
- A diamond-tipped drill bit, designed for this exact kind of work.
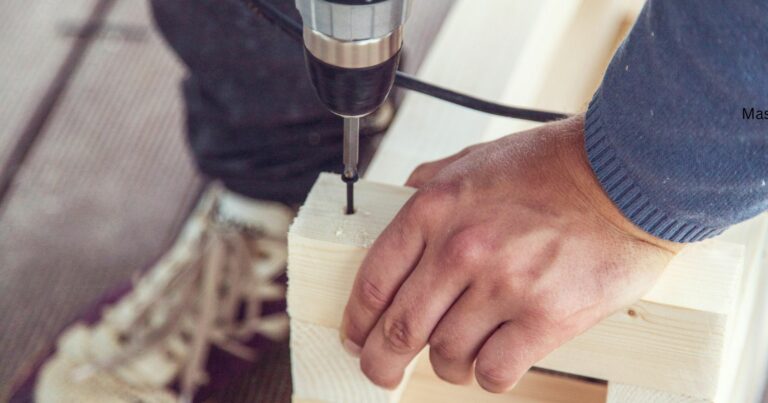
- An impact driver drill, the hero of our story.
- Safety gear, because we love a DIYer who respects safety – think gloves and goggles.
- A sturdy workspace with a firm, non-slip surface, so your pot doesn’t go on an unexpected journey.
Choosing the Right Tools for the Job
Understanding Drill Bits
Different Types of Drill Bits
In the vast universe of drill bits, each star shines for different tasks. Here’s a brief introduction to the galaxy:
- Twist bits: Your go-to companion for drilling into metal or wood.
- Spade bits: These fellas are known for making large holes in wood.
- Masonry bits: When you’re dealing with brick, stone, or concrete, these are your best bet.
Best Drill Bits for Ceramic Pots
For our mission today, the diamond-tipped drill bit is the tool of choice. Its robust and sharp edge is ideal for slicing through the tough exterior of glazed ceramic pots without cracking them.
Using an Impact Driver Drill
An impact driver drill is the tool that keeps on giving. It brings high rotational torque to the table, which makes drilling holes in harder materials like our glazed ceramic pot a piece of cake. Plus, it significantly reduces the chances of the drill bit skating off the mark, ensuring we get clean, precise holes every time.

Safety Precautions
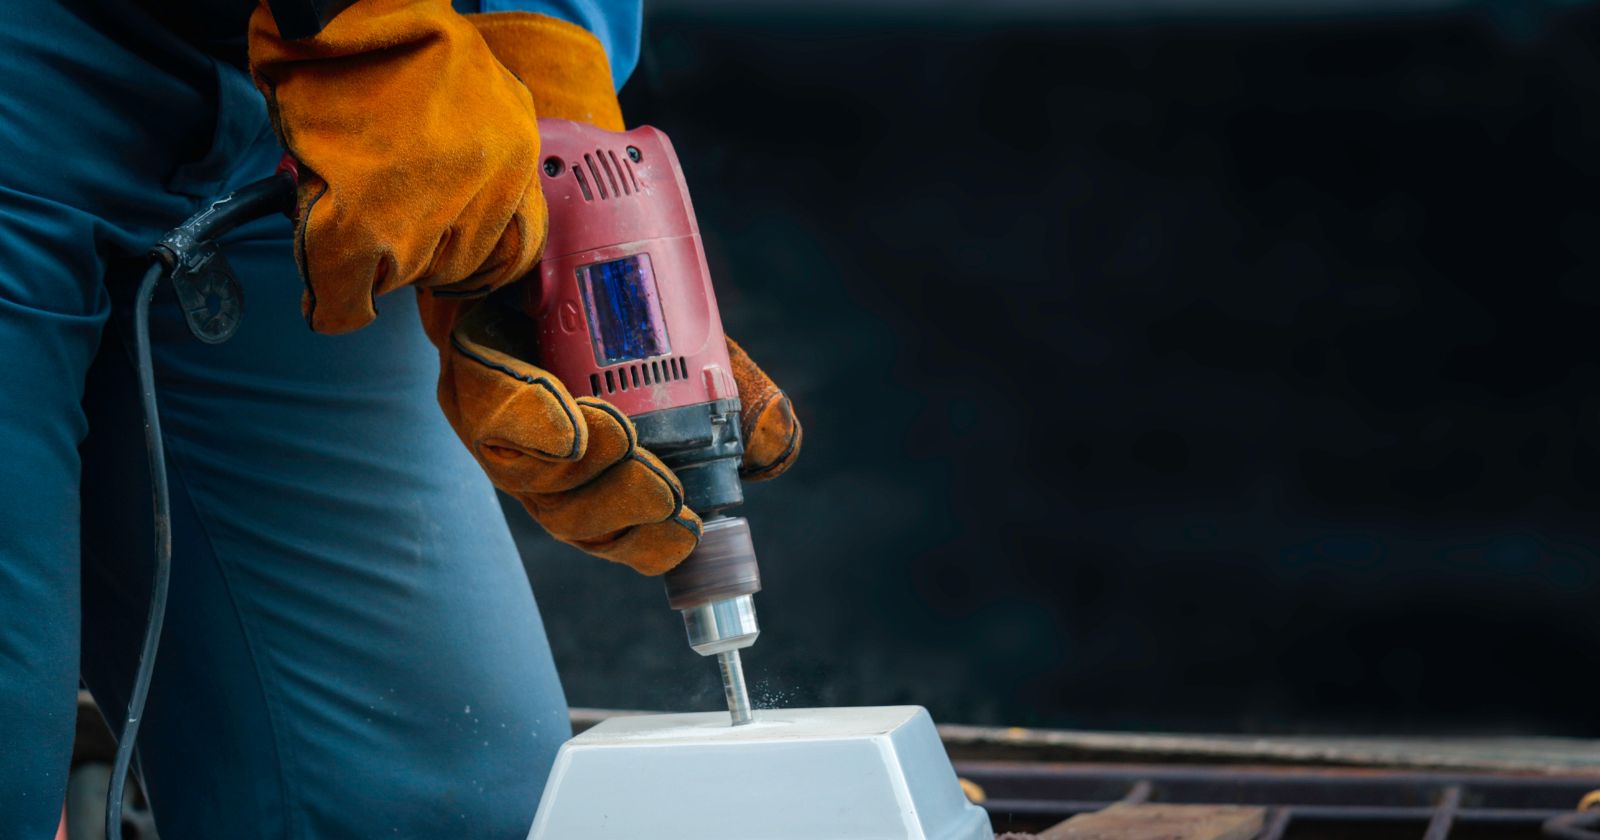
Using Safety Gear
The first rule of any DIY project is safety, and drilling holes in glazed ceramic pots is no exception. Safety goggles are a must to protect your peepers from any flying ceramic particles. Gloves not only keep your hands safe but also provide a better grip on the drill.
Preparing Your Workspace
Your workspace should be as prepared as you are. A well-lit, clutter-free environment is the foundation of any successful DIY project. A firm, stable surface to work on will prevent any unwanted pot slippage during the drilling process.
Watch This Video And Learn How To Drill A Hole in Glazed Ceramic Pots
Perhaps its time to get a new Impact Driver Drill. Check out the Best Impact Driver Drill Under $100.
Step-by-Step Guide on How to Drill a Hole in a Glazed Ceramic Pot
Step 1: Marking Your Pot
The first order of business is to decide where you want the hole. Use a marker pen or a piece of masking tape to mark the spot clearly. This ensures your drill doesn’t wander off-course during operation.
Step 2: Starting the Drill
Carefully position the drill bit on your mark, holding the drill perpendicular to the pot’s surface. With a steady hand, start drilling at a low speed. As the drill bit starts biting into the glaze, you can gradually increase the speed.
Step 3: Finishing the Hole
When you see the other side of the pot through the hole, it’s time to slow down. Reduce your drill speed and gently withdraw the drill bit. Remember, haste makes waste – rushing could lead to chipping or cracking your pot.
Step 4: Cleaning and Maintenance After Drilling
Congratulations, you’ve drilled a hole in your glazed ceramic pot! Now it’s time for some cleaning. Rinse out the pot to remove any ceramic debris. Remember to clean your drill bits after use too – a clean drill bit is a happy drill bit, ready for your next project.
Troubleshooting Common Problems
What if My Pot Cracks?
Cracking can occur if you drill too quickly, apply too much pressure, or if the pot isn’t properly supported. Don’t fret – minor cracks can often be fixed with waterproof silicone or ceramic glue.
What if the Hole Isn’t Clean?
In case you’re not satisfied with the cleanliness of your hole, fine-grit sandpaper is your friend. Use it to gently smooth out the hole edges. Safety gloves are essential here – we don’t want any sharp ceramic edges causing injuries.
FAQs on How to Drill a Hole in Glazed Ceramic Pots
If you’re just starting to dip your toes in the art of drilling a hole in glazed ceramic pots like me, I bet you have a bunch of questions racing through your mind. Don’t worry, I’ve been there too. To lend you a hand, I’ve put together a list of the three questions that popped up most frequently when I was in your shoes. I’ve even thrown in my tried-and-tested answers to help you out. Armed with these insights, I’m confident you’ll find your DIY project a whole lot smoother and more satisfying. Let’s dive in, shall we?
Can I drill a hole in a ceramic pot without a diamond-tipped drill bit?
While it is technically possible to drill a hole in a ceramic pot without a diamond-tipped drill bit, it’s not advisable. Standard drill bits can cause the pot to crack due to insufficient cutting power. Diamond-tipped drill bits provide the precise cutting action needed to prevent damage and ensure a clean hole.
Can I drill a hole in a ceramic pot without an impact driver drill?
You can use a standard drill, but an impact driver drill is recommended for best results. Its high rotational torque offers superior control and efficiency, reducing the risk of the drill bit slipping and the pot cracking.
How can I prevent the ceramic pot from cracking while drilling?
The key to preventing cracks is to use the right tools and technique. A diamond-tipped drill bit and an impact driver drill are crucial. Start drilling at a slow speed and gradually increase it. Most importantly, ensure your pot is well-supported on a firm surface, and don’t rush the process – patience is a virtue when drilling ceramic pots.
Suggested Reading: Best Drill Bits For Ceramic Pots
Conclusion
And just like that, I’ve armed you with the know-how to drill holes in glazed ceramic pots like a pro. Whether you’re aiming to help your plants thrive or gearing up for a fantastic DIY project, you’ve just added a nifty new skill to your toolbelt.
Before you dash off to start your drilling adventure, why not dig a little deeper into the world of tools? My comprehensive guide on using power tools is chock-full of useful tidbits you’ll love. And remember, us tool enthusiasts, we thrive on shared experiences. So, don’t hold back! Feel free to share your own drilling escapades, ask me any burning questions, or leave a comment right here. Happy drilling, my friends!