How To Replace The Brushes On Your Impact Driver In 4 Simple Steps
As a DIY and tool enthusiast, I understand the importance of knowing how to replace the brushes on your impact driver. Impact drivers are a crucial tool in the construction industry, and worn-out brushes can affect the tool’s performance. In this article, I will provide you with a step-by-step guide on how to replace the brushes on your impact driver.

Step-by-Step Guide on How to Replace Brushes on Your Impact Driver
Now let’s get into the step-by-step guide on how to replace the brushes on your impact driver.
1: Disassembling the Impact Driver
The first step is to disassemble the impact driver to access the brushes. Here’s what you need to do:
- Remove the screws that hold the casing in place using a screwdriver.
- Remove the casing to access the motor.
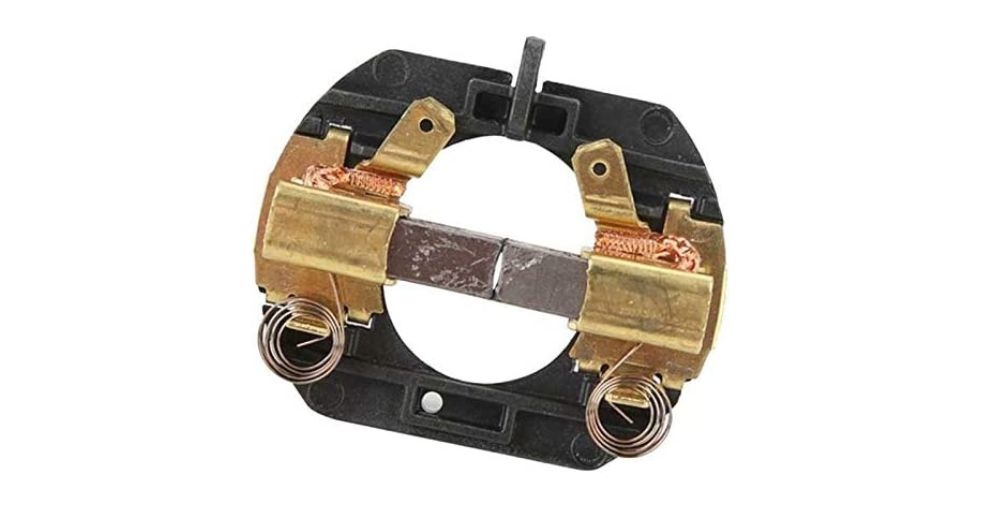
- Identify the location of the brushes.
2: Removing the Old Brushes
The next step is to remove the old brushes. Here’s what you need to do:
- Use pliers to remove the old brushes.
- Make sure not to damage the motor or any other parts of the impact driver.
3: Installing the New Brushes
Now it’s time to install the new brushes. Here’s what you need to do:
- Insert the new brushes into their slots.
- Make sure they are securely in place.
The final step is to reassemble the impact driver. Here’s what you need to do:
4: Reassembling the Impact Driver
- Replace the casing and screw it back in place.
- Test the impact driver to make sure it’s working correctly.
Tools Required for Replacing Brushes on an Impact Driver
Before you start the replacement process, you’ll need the right tools. Here’s a list of tools you’ll need:
- Screwdriver
- Pliers
- New brushes
It’s important to have the right tools to make the replacement process easier and faster.
For more information on impact drivers, click here.
Watch This Video To Learn How To Replace The Brushes On Your Impact Driver
Maybe its time to get a new impact driver? Check out the Best Impact Driver Drill Under $100.
Safety Tips
When working with power tools, it’s essential to follow safety guidelines. Here are some safety tips to follow when replacing the brushes on your impact driver:
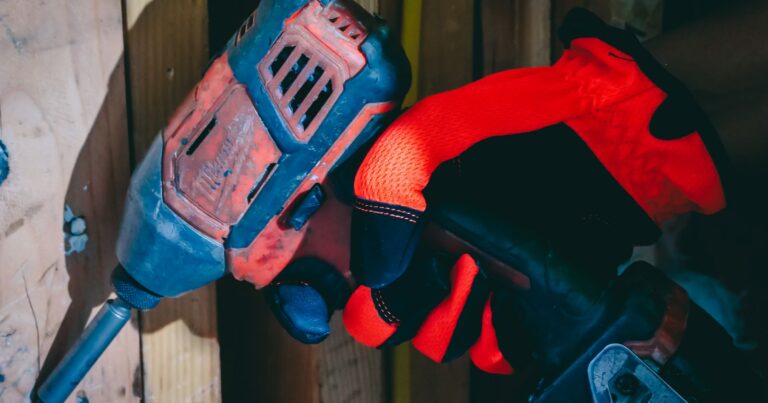
- Always wear protective gear, including gloves and safety glasses.
- Make sure the impact driver is turned off and unplugged before starting the replacement process.
- Follow the manufacturer’s instructions when replacing the brushes.
Looking for other tool-related topics, check out our sitemap for more articles.
FAQs: How To Replace The Brushes On Your Impact Driver
Why do I need to replace the brushes on my impact driver?
Over time, the brushes on your impact driver will wear down and need to be replaced. If you don’t replace them, your impact driver may not work properly or could even stop working altogether.
How often do I need to replace the brushes on my impact driver?
The frequency with which you’ll need to replace the brushes on your impact driver will depend on how often you use it and the conditions in which you use it. As a general rule, you should plan to replace the brushes every 50 to 60 hours of use.
Can I replace the brushes on my impact driver myself?
Yes, you can replace the brushes on your impact driver yourself. It’s a simple process that requires just a few tools and can be done in a matter of minutes.
Conclusion
By following this guide, you’ll be able to replace the brushes on your impact driver and ensure it’s working at its best. It’s important to follow safety guidelines when working with power tools and to have the right tools for the job. Don’t hesitate to share your experiences and ask questions in the comments section below.