The Different Types Of Nails For Woodworking Projects Comprehensive Guide
When I first embarked on my woodworking journey, I was eager to explore The Different Types Of Nails For Woodworking Projects. Initially, I thought a nail was just a nail. But as I delved deeper, I was taken aback by the sheer variety and specificity of nail types, each tailored for distinct projects. From my early days of fumbling with basic tools to my more advanced carpentry endeavors, I’ve come to appreciate the nuances of each nail type and the pivotal role they play in the final outcome of a project.
Whether you’re like me, a passionate DIY enthusiast, or someone with years of carpentry experience under your belt, there’s always something new to learn in the ever-evolving world of woodworking. And one of the foundational lessons I’ve learned is the importance of choosing the right nail for the job. It’s not just about holding two pieces of wood together; it’s about ensuring durability, aesthetics, and the integrity of the entire piece.
In this guide, I’ll be sharing my personal experiences and insights into the various nails I’ve used and encountered. We’ll delve into their unique features, benefits, and the specific woodworking scenarios where they shine the brightest. So, grab your hammer, and let’s dive into this nail-tastic adventure together!
Common Nails and Their Uses in Woodworking
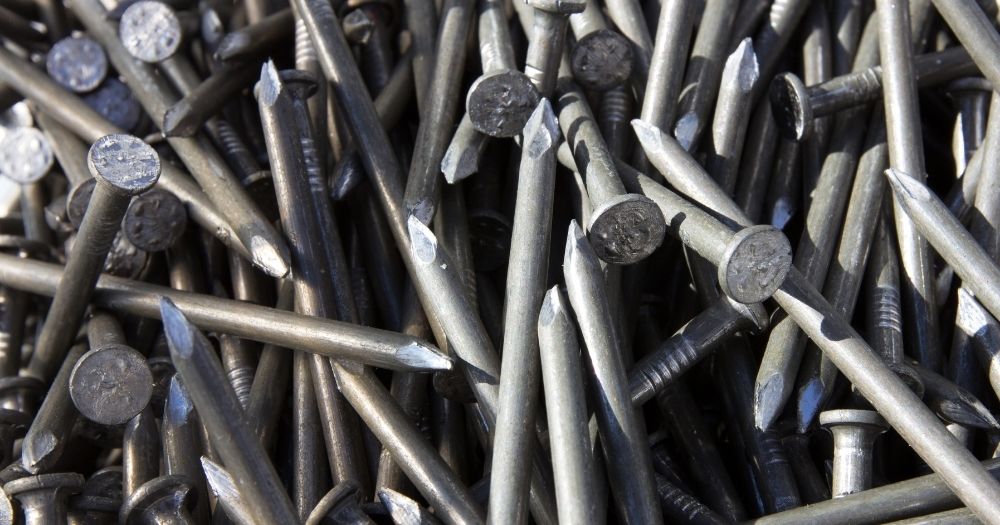
When I first started my woodworking projects, I was introduced to the world of common nails. At first glance, they seemed, well, common. But as I began to use them more frequently, I realized there’s more to these nails than meets the eye.
Overview of Common Nails:
Common nails are the quintessential nails that most people, including myself initially, picture when they think of nails. They have a smooth, thick shank and a flat, broad head, which makes them easily distinguishable from other types. Over time, I’ve come to understand that their design isn’t just for show; it serves specific purposes in woodworking.
Benefits and Typical Applications
One of the primary benefits I’ve found with common nails is their sheer strength. Their thick shank provides a robust grip, making them ideal for projects that require a sturdy hold. I’ve used them in framing and other structural applications where the strength of the connection is paramount.
Another advantage is their versatility. While they might not be the best choice for more delicate woodworking tasks due to their size, they’re a go-to for many general-purpose applications. Whether I’m working on a deck, building a fence, or constructing a bookshelf, common nails have been my trusty companions.
In my woodworking journey, I’ve come to appreciate the subtle nuances of each nail type. And while common nails might seem basic to some, to me, they’re a testament to the adage: If it ain’t broke, don’t fix it. They’ve been around for ages, and their enduring popularity in woodworking is a testament to their reliability and effectiveness.

The Elegance of Finishing Nails
As I delved deeper into the intricate details of woodworking, I stumbled upon a type of nail that, to me, felt like the unsung hero of the craft: the finishing nail. These nails, with their subtle design and discreet presence, quickly became one of my favorites.
Description and Characteristics:
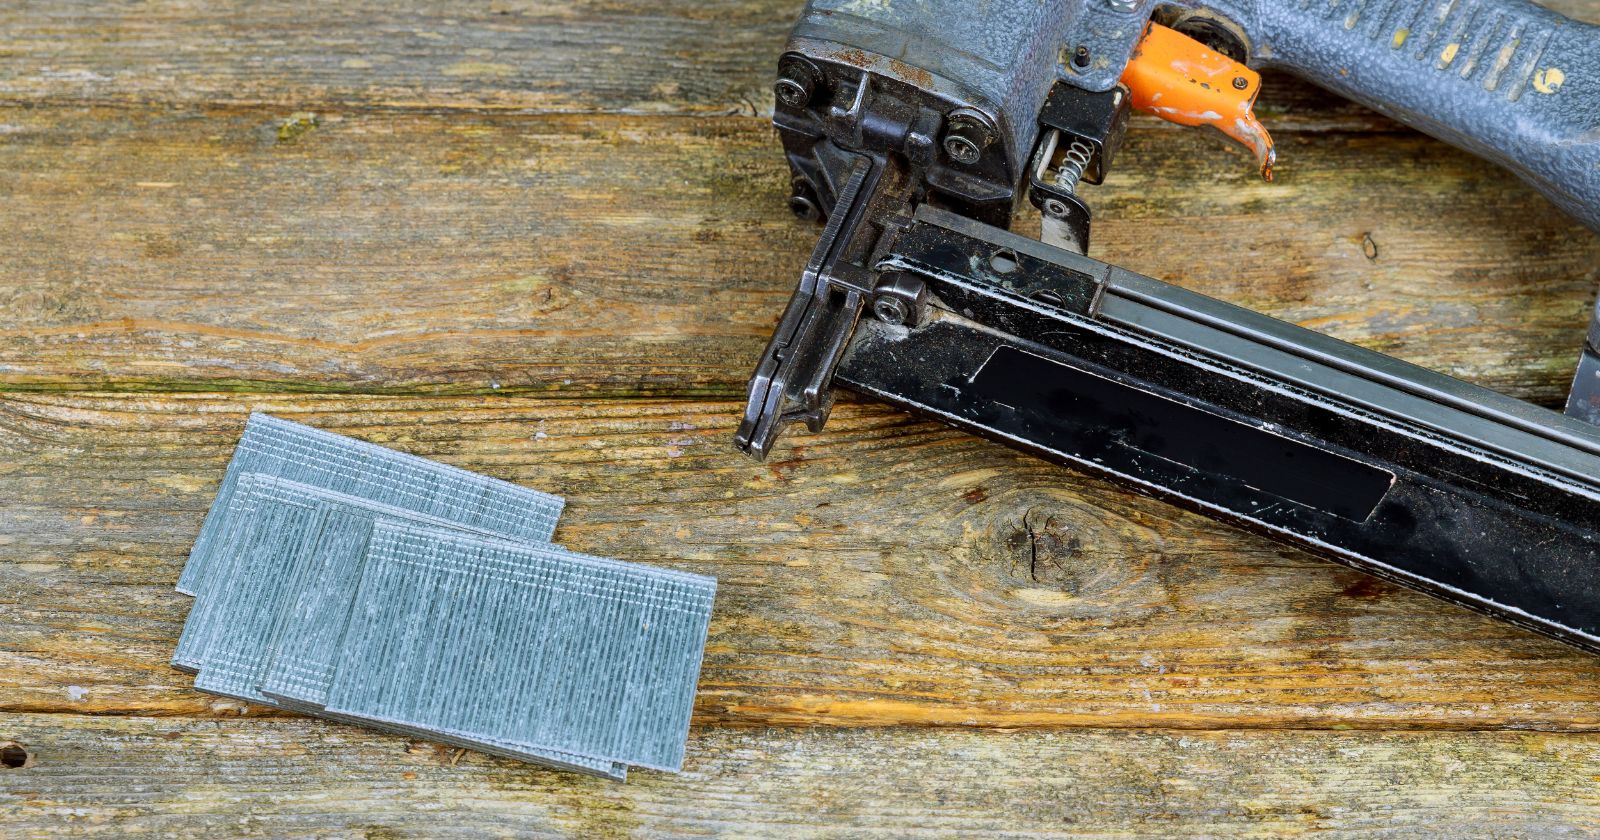
Finishing nails, often referred to as “finish nails,” are sleek, slender, and have a small head. When I first held one, I was struck by its delicate appearance, almost like it was designed with a touch of elegance. Unlike the more robust common nails, finishing nails are designed to be discreet. Their small heads are meant to be driven slightly below the wood’s surface, allowing for easy concealment with a bit of wood filler or putty.
Ideal Scenarios for Use:
Over time, I’ve found that finishing nails are my go-to choice when aesthetics are a top priority. When I worked on projects like crown molding, baseboards, or cabinetry, where I wanted the focus to be on the woodwork and not the nails, finishing nails were a perfect fit. Their discrete nature ensures that they don’t distract from the beauty of the wood, allowing for a clean, polished look.
Additionally, I’ve used them for attaching delicate trim or when working with thin pieces of wood where larger nails might cause splitting. Their slender design minimizes the risk of damaging the wood, making them ideal for such delicate tasks.
In my woodworking adventures, I’ve come to see finishing nails as the refined, sophisticated members of the nail family. They might not always be in the spotlight, but their contribution to the final look of a project is undeniable. To me, they represent the perfect blend of functionality and aesthetics, proving that sometimes, it’s the smallest details that make the biggest difference.
Brad Nails: The Essential Tool for DIY Projects
In my early days of dabbling in DIY projects, I came across a type of nail that seemed almost tailor-made for my needs: the brad nail. These little wonders quickly became a staple in my toolbox, and I’ve grown to appreciate their unique features and the versatility they bring to my woodworking endeavors.
Features of Brad Nails:
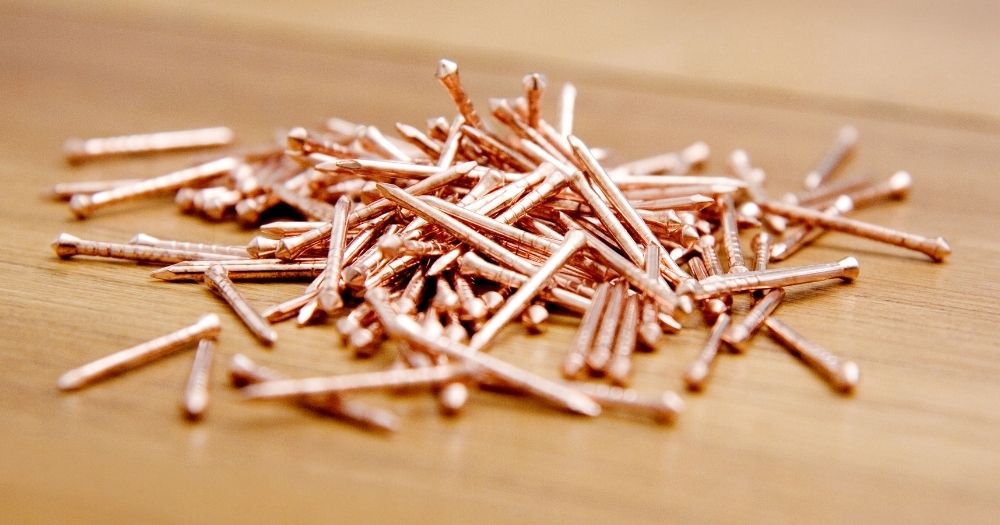
At first glance, brad nails might seem unassuming. They’re thin, almost wire-like, and have a very small head. But it’s precisely these characteristics that make them so special. Made typically of 18-gauge steel wire, brad nails are designed to be less intrusive, ensuring that they leave only a minimal mark on the wood’s surface. This means fewer visible nail heads and less wood filling for me, which is always a win!
Another feature I’ve come to love is their flexibility. Despite their slender appearance, they’re surprisingly sturdy, reducing the chances of bending during installation. This has saved me countless frustrations, especially when working on more intricate projects.
Common Woodworking Applications:
Brad nails have become my go-to for a variety of DIY projects. I’ve found them particularly useful for attaching lightweight trim and moldings. Their discreet nature ensures that the focus remains on the woodwork, not the fasteners.
Additionally, I’ve used brad nails for tasks like securing veneer to furniture or attaching paneling. They’re also fantastic for any project where I want to minimize wood splitting, like when working with thin or delicate pieces of wood. And let’s not forget about their role in light-duty upholstery projects. Securing fabric to a wooden frame? Brad nails to the rescue!
Reflecting on my DIY journey, I can confidently say that brad nails have been an invaluable asset. They’ve allowed me to achieve a professional finish on my projects, even as an amateur. In the world of woodworking, it’s tools like these that remind me that it’s not always about size or strength, but often about precision and subtlety.
Box Nails and Their Distinctive Features
As I ventured further into the realm of woodworking, I encountered various types of nails, each with its unique purpose. Among them, box nails stood out, not just for their design but for the specific challenges they addressed in my projects.
Introduction to Box Nails:
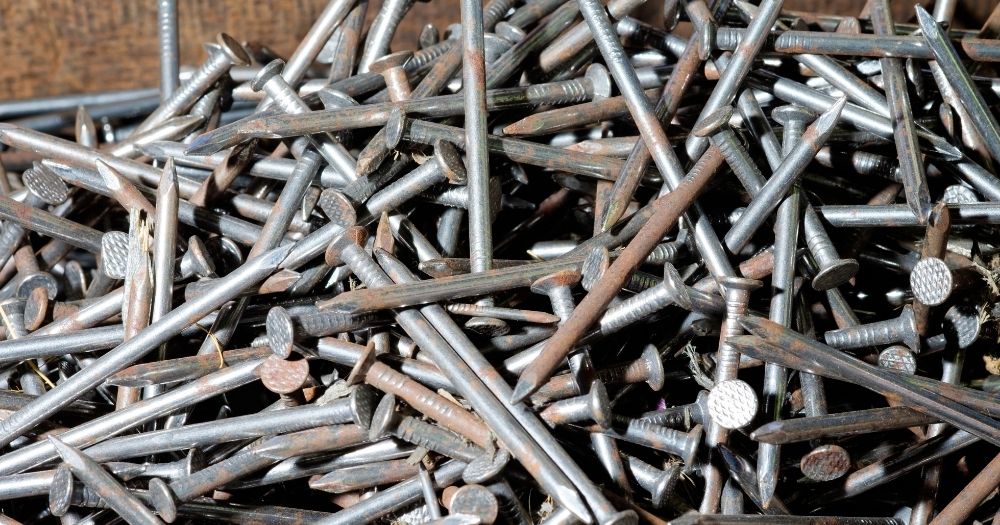
Box nails, at first glance, might seem similar to the common nails I’d used before. However, upon closer inspection, I noticed their shank was slightly thinner. This design choice isn’t just for aesthetics; it serves a functional purpose. The slender shank reduces the risk of splitting the wood, especially when working with softer materials. I also observed that while they might not be as robust as some of the other nails in my toolbox, they had a certain finesse to them, making them ideal for specific tasks.
When and Where to Use Them:
Over time, I’ve found box nails to be particularly useful when working with thin or softwoods. Their design ensures that they can be driven into the material without causing it to split or crack, a challenge I’ve faced with thicker nails. This feature has been a lifesaver when I’ve worked on projects like crafting wooden boxes (as the name suggests) or assembling lightweight frames.
Additionally, I’ve turned to box nails for exterior trim work. Some box nails come galvanized, offering resistance to rust and corrosion, making them suitable for outdoor projects where they might be exposed to the elements.
In my woodworking journey, box nails have taught me an essential lesson: the right tool for the right job can make all the difference. They might not be the heroes of every project, but when precision and care are needed, they’ve consistently risen to the occasion.
Watch This Video And Learn About The Different Types Of Nails For Woodworking Projects
Specialty Nails for Unique Woodworking Tasks
Throughout my woodworking adventures, I’ve often found myself in situations that required a bit more than the standard set of tools and materials. It’s in these moments that I’ve turned to specialty nails, each designed for a unique purpose, to help me achieve the perfect finish. Let me share with you some of these specialty nails that have become essential in my toolkit.
Masonry Nails: Bridging Wood and Stone
One of the first challenges I faced was attaching wooden frames to a stone wall. Standard nails just wouldn’t do the trick. That’s when I discovered masonry nails. These nails are specifically designed to penetrate hard materials like stone, brick, and concrete. Their robust build and sharp point allowed me to seamlessly bridge the gap between wood and stone, ensuring a sturdy connection. It felt like I had unlocked a new level in my woodworking game, being able to combine different materials with ease.
Spiral Shank Nails: Ensuring a Firm Grip
There were times when I needed a nail that could provide an extra firm grip, especially in situations where the wood was prone to shifting or where I was working with tougher materials. Enter spiral shank nails. The twisted design of their shank offers increased holding power. I’ve found them particularly useful for projects like decking or framing, where stability is paramount. Every time I drive one into wood, I can feel the enhanced grip it offers, giving me peace of mind about the durability of my work.
Corrugated Nails: The Power of Strong Joints
When I first came across corrugated nails, I was intrigued. They didn’t look like your typical nail. Instead of a straight shank, they had a wavy, corrugated design. I soon learned that this unique shape was perfect for joining pieces of wood at right angles, especially in mitered wood joints. These nails have been a game-changer for me when assembling frames or any project that requires a strong joint. Their design ensures that the wood pieces stay firmly connected, providing a level of strength that’s hard to achieve with standard nails.
While the world of woodworking is vast, having the right specialty nails in your arsenal can make all the difference. They’ve certainly elevated my projects, allowing me to tackle a wider range of tasks with confidence and precision.
Suggested Reading: How Do You Know If Wood Is Dry Enough To Split
Tips for Choosing the Right Nail for Your Project
As I’ve journeyed through the intricate world of woodworking, I’ve come to realize that the success of a project often hinges on the seemingly smallest decisions. One such pivotal choice is selecting the right nail. It might appear trivial to the uninitiated, but any seasoned woodworker, including myself, will attest to the profound impact this choice can have. Let me take you through my thought process and the lessons I’ve learned over the years.
Factors to Consider:
Every project presents its unique challenges, and understanding these is the first step in making an informed decision. Here’s a deeper dive into the factors I consider:
- Material Type: The type of wood dictates the nail. Softwoods, being more pliable, can accommodate a range of nails. However, hardwoods demand a more delicate approach. I’ve learned the hard way that using the wrong nail on hardwoods can lead to unsightly splits, marrying the beauty of the wood.
- Project Purpose: The end goal of the project plays a significant role in nail selection. For structural tasks that bear weight or endure stress, I opt for nails that prioritize strength over aesthetics. Conversely, for decorative endeavors where the finish is paramount, I lean towards nails that blend seamlessly into the wood, ensuring the craftsmanship shines through.
- Exposure to Elements: I recall a beautiful outdoor bench I crafted, only to watch in dismay as the nails rusted over time, staining the wood. Since then, I’ve been meticulous about choosing weather-resistant nails for outdoor projects, ensuring longevity and preserving beauty.
- Length and Diameter: It’s a delicate balance. Too short, and the joint is weak. Too long, and the nail might protrude or even split the wood. I always measure the combined thickness of the materials I’m joining to ensure the nail is just right.
Importance of Nail Size and Material:
The more I’ve worked with wood, the more I’ve come to respect the nuances of nail size and material. A nail’s length and diameter directly influence its holding power. I’ve had instances where a slightly thicker nail provided the grip needed to keep a joint secure, especially in high-stress areas.
Material choice, on the other hand, affects not just durability but also the project’s aesthetics. Brass nails, for instance, can add a touch of elegance, while stainless steel offers unmatched resilience, especially in moisture-prone environments.
Furthermore, I’ve found that investing in quality nails upfront can save a lot of heartache down the line. While it might be tempting to cut corners, the longevity and finish of a project are often directly tied to the quality of the nails used.
Final Thoughts:
Choosing the right nail is an art and science combined. It requires an understanding of the project’s demands, the characteristics of the wood, and the properties of various nails. But with each project, I’ve grown more attuned to these nuances. And while the journey of learning never truly ends, I can confidently say that with the right knowledge and a bit of experience, anyone can master the art of choosing the perfect nail.
FAQ Section: Navigating the World of Woodworking Nails
As I’ve journeyed through the intricate landscape of woodworking, I’ve encountered a myriad of questions, some of which pop up more frequently than others. To assist fellow enthusiasts and newcomers alike, I’ve compiled a list of the most frequently asked questions about woodworking nails. These insights are based on both my personal experiences and the collective wisdom of our woodworking community.
Why are there so many types of woodworking nails?
The diversity in nail types caters to the vast range of woodworking projects and the specific needs they present. From structural undertakings that demand strength to decorative tasks that prioritize aesthetics, each nail type is designed to address particular challenges. This variety ensures that woodworkers can find the perfect nail for any task, ensuring both functionality and a polished finish.
Can I use the same nail for indoor and outdoor projects?
While some nails can be used for both indoor and outdoor projects, it’s essential to consider the environmental factors for outdoor tasks. Nails exposed to the elements, especially moisture, should be rust and corrosion-resistant. Galvanized nails or those made of stainless steel are ideal choices for outdoor projects, ensuring longevity and maintaining the project’s aesthetics.
How do I prevent wood from splitting when nailing?
Splitting can be a common challenge, especially with hardwoods or thin pieces. To prevent this, consider the following tips:
Use the right nail size, ensuring it’s not too thick for the wood.
Pre-drill a pilot hole slightly smaller than the nail. This provides a path for the nail, reducing the risk of splitting.
Avoid nailing too close to the edge of the wood, as this area is more prone to splits.
Remember, woodworking is as much about the technique as it is about using the right tools. Taking the time to choose the appropriate nail and approach can make all the difference in the final outcome.
I hope this FAQ section provides clarity and assists in addressing some of the common queries related to woodworking nails. If you have more questions, always feel free to reach out to our community, where shared knowledge and collective experiences pave the way for continuous learning and growth.
Suggested Reading: The 5 Best Handheld Angle Grinders For Concrete In 2023
Conclusion: The Different Types Of Nails For Woodworking Projects
As I sit back and ponder my countless hours spent in the workshop, surrounded by wood shavings and the scent of freshly cut timber, a recurring theme emerges: the pivotal role of the humble nail. It might be easy to overlook, given its size and simplicity, but its impact on a project’s outcome is undeniable. From the sturdiness of a structure to the seamless finish of a decorative piece, the nail you choose can be the difference between mediocrity and mastery.
Every nail tells a story. Each type, with its unique design and purpose, has taught me invaluable lessons. I’ve experienced the frustration of using a nail too thick for a delicate piece of wood, leading to unsightly cracks. But I’ve also felt the satisfaction of finding the perfect nail that compliments my work, enhancing both its beauty and durability.
To all my fellow woodworkers, both seasoned and newcomers, I encourage you to embark on a journey of exploration. Dive into the vast world of nails, experiment with different varieties, and challenge yourself to find the perfect match for each project. The journey might be filled with trials and errors, but the knowledge and experience gained are invaluable.
But remember, woodworking is not just about individual growth; it’s also about community. It’s about sharing insights, learning from others, and collectively pushing the boundaries of what’s possible. If you share this passion and thirst for knowledge, I warmly invite you to be a part of our vibrant woodworking community. Here, we celebrate each other’s successes, learn from our mistakes, and continuously strive to elevate our craft.
So, why wait? Dive into this enriching journey, share your unique experiences, and together, let’s create, innovate, and inspire!

