Impact Driver For Fence Installation: Time-saving Techniques
Starting on a fence installation project can be a daunting task. It’s not just about the materials you choose or the design you envision; the success of your project hinges significantly on the tools at your disposal. The right tools can transform an overwhelming weekend project into a manageable, even enjoyable, task. This is where the Impact Driver for Fence Installation comes into play, a tool that might not be the first to come to mind but is undoubtedly essential for anyone looking to install a fence efficiently and effectively.
In this guide, I will dive into the reasons why an impact driver is a must-have tool for fence installation, how to select the right one for your needs, and step-by-step instructions on using it effectively. Whether you’re a seasoned DIY enthusiast or about to embark on your first fence project, this guide will equip you with the knowledge and confidence to use an impact driver like a pro.
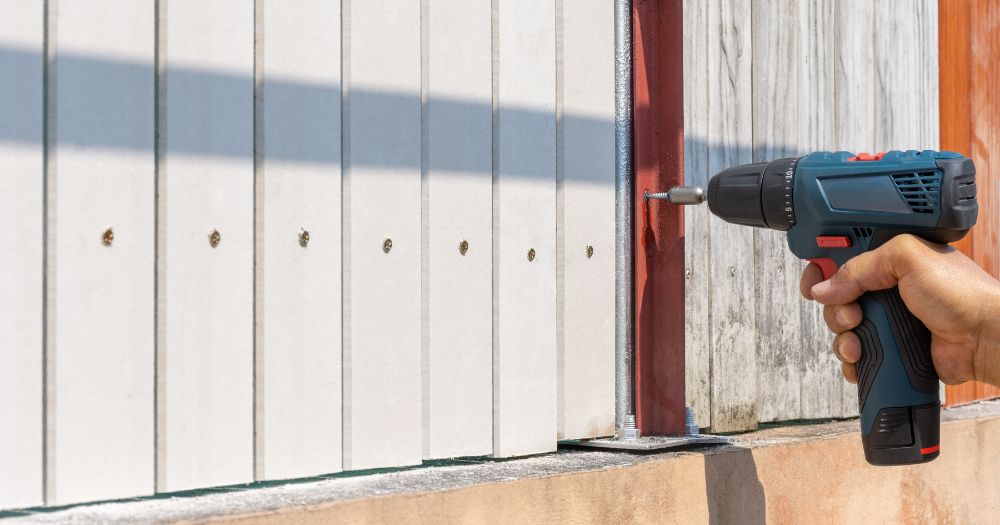
Step-by-Step Guide to Using Your Impact Driver for Fence Installation
Successfully installing a fence is a rewarding project that not only enhances your property’s privacy and security but also its aesthetic appeal. With your impact driver in hand, you’re ready to tackle this project with efficiency and precision. Here’s a step-by-step guide to ensure your fence installation goes smoothly from start to finish.
Preparing Your Work Area
Before diving into the actual installation, it’s crucial to prepare your work area and ensure you have all the necessary safety gear. Safety should always be your top priority.
- Clear the Area: Remove any obstacles that might hinder your movement or safety. This includes rocks, branches, and debris.
- Mark Utilities: Contact your local utility companies to mark the location of underground lines. The last thing you want is to accidentally hit a utility line while digging.
- Safety Gear: Equip yourself with safety glasses to protect your eyes from flying debris, gloves to protect your hands, and ear protection if you’re sensitive to noise. A hard hat is also recommended if you’re working in an area with potential overhead hazards.
Measuring and Marking
Accurate measurement and marking are the foundations of a well-installed fence. Precision here ensures that your fence lines are straight and your posts are evenly spaced.
- Determine Post Locations: Start by determining where your corner posts will be. These are the key points of your fence line. Use a tape measure to mark the exact locations.
- Spacing Between Posts: Standard spacing between fence posts is typically 6 to 8 feet, depending on the type of fence and the landscape. Measure and mark these distances along your fence line.
- Use String Line: Stretch a string line between your corner posts to ensure a straight line for your fence. This will serve as your guide for aligning the other posts.
Drilling Holes and Setting Posts
Now that your work area is prepared and your posts are marked, it’s time to start the installation process.
- Drilling Pilot Holes: Use your impact driver with a drill bit attachment to drill pilot holes for your fence posts. The pilot holes should be slightly smaller than the post width to ensure a tight fit.
- Setting Posts: Place your fence posts into the holes. Use a level to ensure they are straight, then fill the hole with concrete or your chosen stabilizing material. Allow sufficient time for the material to set according to the manufacturer’s instructions.
Attaching Fence Panels
With your posts securely in place, the next step is attaching the fence panels.
- Position Panels: Start by positioning your fence panels between the posts. It’s often helpful to have an extra set of hands during this step to hold the panels in place.
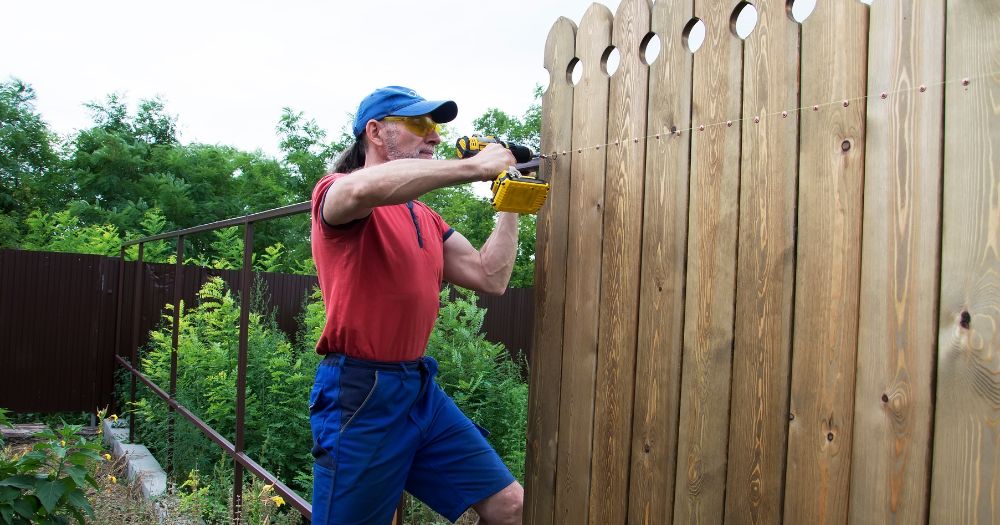
- Secure Panels: Using your impact driver, secure the panels to the posts with screws or nails designed for outdoor use. Begin at the top of the panel, ensuring it’s level before securing the bottom. Continue this process along the fence line, checking for level and alignment as you go.
By following these steps and utilizing your impact driver, you’ll find that installing a fence is a manageable project that results in a durable and attractive addition to your property. The impact driver not only makes the job faster and more efficient but also ensures that each component of your fence is securely fastened, providing peace of mind that your fence will stand strong for years to come.
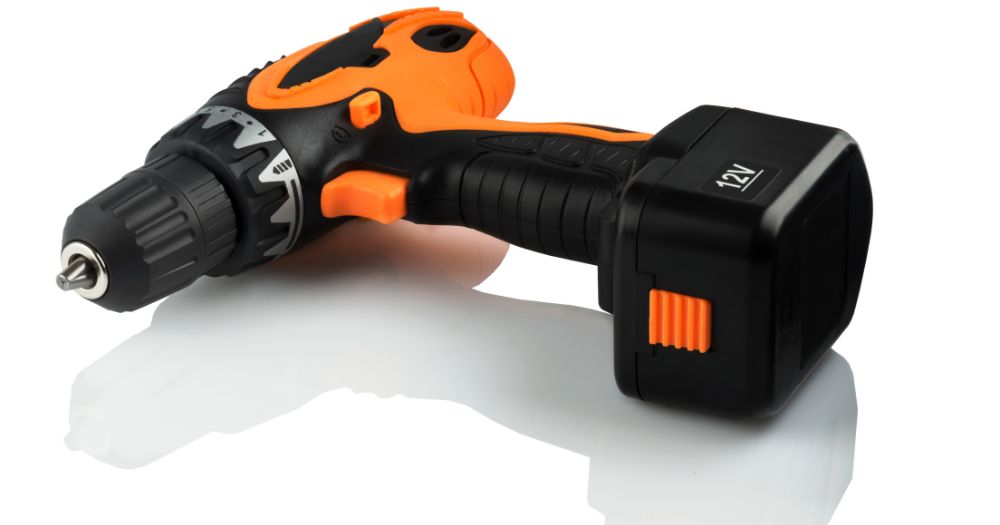
Selecting the Right Impact Driver for Your Project
Choosing the perfect impact driver for your fence installation project—or any project, for that matter—requires a bit of know-how. It’s not just about picking the most powerful tool on the shelf; it’s about finding the right balance of power, performance, battery life, and comfort. Here’s what you need to consider to make an informed decision.
Power and Performance
When assessing impact drivers, two of the most critical specifications to consider are torque and revolutions per minute (RPM). Torque, measured in Newton-meters (Nm) or inch-pounds (in-lbs), indicates the tool’s turning force, while RPM measures the speed at which the tool rotates. A higher torque means more driving power for driving screws into tough materials, which is essential for fence installation. Look for an impact driver that offers:
- High Torque: Essential for driving large fasteners or screws into hard materials without stripping them.
- Adjustable Speed Settings: Allows for more control over the tool, enabling you to match the speed to the task at hand, whether you’re working with softwood or hardwood.
Battery Life and Charging Time
The last thing you want in the middle of a project is for your tool to run out of juice. Modern impact drivers are predominantly cordless, powered by rechargeable lithium-ion batteries. When selecting your tool, consider:
- Battery Capacity: Measured in ampere-hours (Ah), this indicates how long the battery can last on a single charge. A higher Ah rating means longer battery life, allowing you to work longer without interruptions.
- Charging Time: Look for models that come with fast chargers. Some impact drivers feature chargers that can fully recharge a battery in under an hour, minimizing downtime.
Ergonomics and Comfort
Your comfort is crucial, especially during prolonged use. An impact driver that feels good in your hand can make a big difference in your work efficiency and fatigue levels. Pay attention to:
- Weight and Size: A lightweight and compact design makes the tool easier to handle, especially when working in tight spaces or at awkward angles.
- Grip: A comfortable, non-slip grip can reduce hand fatigue and increase control, making your work safer and more enjoyable.
- Balance: A well-balanced tool will feel comfortable in your hand and help you maintain control and precision in your work.
Selecting the right impact driver is about understanding your needs and matching them with the tool’s features. By focusing on power and performance, battery life and charging time, and ergonomics and comfort, you’ll find an impact driver that not only meets your project requirements but also enhances your overall work experience. Whether you’re installing a fence, building a deck, or tackling any number of DIY projects, the right impact driver can be your best ally.
Watch This Video And Learn About Impact Driver For Fence Installation: Time-saving Techniques
Troubleshooting Common Problems
Even with the right tools and preparation, you might encounter some hurdles during your fence installation project. Here are some common issues related to using an impact driver and how to effectively troubleshoot them.
Overcoming Material Resistance
Working with hard materials can be challenging, especially when you’re trying to drive screws without pre-drilling. Here are a few tips to help you overcome material resistance:
- Use High-Quality Bits: Opt for impact-rated bits that are designed to withstand the high torque of impact drivers. These bits are less likely to wear out or break when working with hard materials.
- Apply Steady Pressure: Ensure you’re applying consistent pressure when driving screws. This helps maintain the bit’s grip and reduces the chances of stripping the screw head.
- Choose the Right Screw: Use screws specifically designed for the material you’re working with. For example, certain screws are better suited for hardwoods, offering sharper points and threads that can handle the density.
Managing Battery Life
To avoid running out of power in the middle of your project, consider these strategies for managing your impact driver’s battery life:
- Keep Spare Batteries on Hand: Having one or more fully charged batteries ready to go can significantly reduce downtime.
- Use the Right Battery for the Job: If your impact driver came with batteries of different capacities, use the one with the highest ampere-hour (Ah) rating for longer tasks.
- Charge Batteries Before They’re Completely Dead: Lithium-ion batteries benefit from being charged before they’re fully depleted. This can help extend their overall lifespan and ensure they’re ready when you need them.
Bit Slippage and Wear
Bit slippage not only slows down your project but can also damage the material you’re working with. Here’s how to prevent this issue:
- Ensure a Proper Fit: Before starting, make sure the bit fits snugly in the screw head. A loose fit increases the risk of slippage and wear.
- Replace Worn Bits Promptly: Inspect your bits regularly for signs of wear and replace them as needed. Using worn bits can lead to poor performance and increased slippage.
- Apply Correct Pressure and Speed: Adjust the pressure and speed based on the material and the size of the screw. Too much speed with not enough pressure can lead to slippage, while too much pressure at low speeds can wear out the bit and the screw head.
By anticipating and addressing these common problems, you can ensure a smoother fence installation process. Remember, the key to effective troubleshooting is understanding the capabilities and limitations of your tools and adapting your techniques accordingly. With these tips, you’ll be better equipped to handle any challenges that come your way, ensuring a successful and satisfying fence installation project..
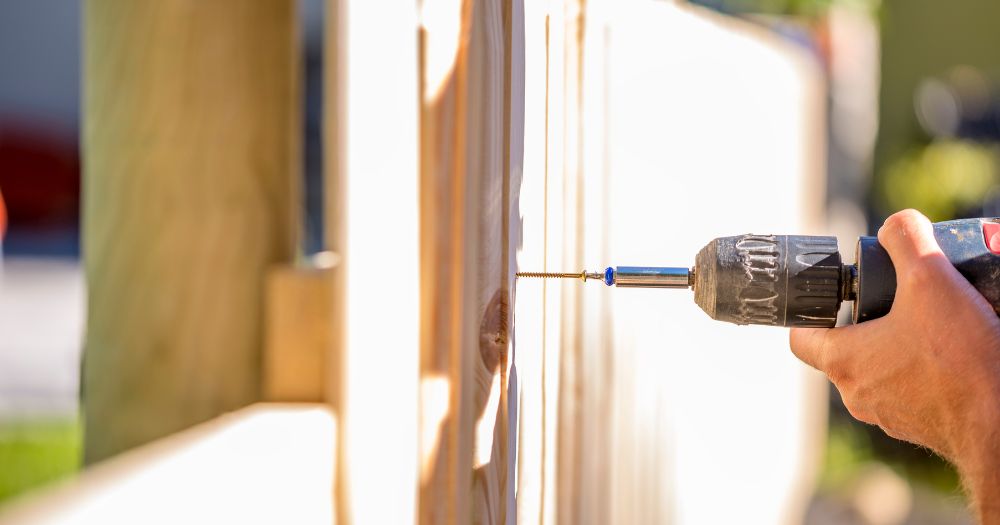
Wrapping Up Impact Driver For Fence Installation: Time-saving Techniques
Throughout this comprehensive guide, I’ve explored the pivotal role of the impact driver in fence installation projects, highlighting its efficiency, precision, and versatility. I’ve dived into the critical aspects of selecting the right impact driver, focusing on power and performance, battery life and charging time, and the importance of ergonomics and comfort. Moreover, we provided a step-by-step guide on using your impact driver for fence installation, from preparing your work area to attaching fence panels securely. I also covered troubleshooting common problems and shared essential maintenance and care tips to ensure your impact driver remains a reliable tool in your arsenal.
Thank you for joining me on this journey through the world of impact drivers and fence installation. Here’s to many successful projects ahead, armed with the right tools and the knowledge to use them effectively.

