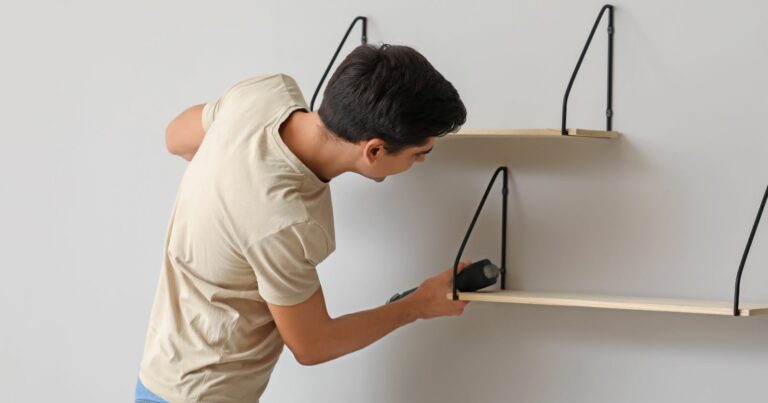
DIY Furniture Assembly With An Impact Driver
When starting on the journey of Furniture Assembly With An Impact Driver, it’s crucial to understand that the success of your project hinges not just on your skill and patience, but significantly on the tools at your disposal. The right tools can transform a daunting task into a smooth, enjoyable process, ensuring that your furniture not only looks good but is also structurally sound. Among these essential tools, the impact driver stands out as a game-changer in the world of DIY furniture assembly.
The impact driver, with its powerful torque and ease of use, revolutionizes how I approach furniture assembly. Gone are the days of manual screwdrivers or struggling with a drill that just doesn’t fit the bill. An impact driver provides the precision and power needed to drive screws efficiently and effectively, making it an indispensable tool for anyone looking to assemble furniture. Whether you’re putting together a simple bookshelf or an elaborate wardrobe system, the impact driver ensures that each screw is tightened to perfection, reducing the risk of damage and ensuring your furniture is assembled securely.

Why Use an Impact Driver for Furniture Assembly?
When it comes to putting together your new bookshelf, desk, or any piece of furniture, the experience can range from satisfyingly straightforward to frustratingly complex. The difference often lies in the tools you use. This is where the impact driver shines, transforming furniture assembly from a chore into a smooth, efficient process. Let’s dive into why an impact driver is your go-to tool for these projects.
Efficiency and Speed
One of the most compelling reasons to use an impact driver for furniture assembly is the sheer efficiency and speed it brings to the table. Unlike traditional drills, impact drivers are designed to handle high-torque applications with ease. This means you can drive screws into even the toughest materials without breaking a sweat. For you, this translates to faster assembly times, allowing you to enjoy your new furniture sooner rather than later. The impact action of the driver also prevents the bit from slipping out of the screw head, which not only speeds up the process but also saves you from the frustration of stripped screws.
Precision and Control
Precision and control are paramount when assembling furniture. The last thing you want is to damage your new piece before you even get to use it. Impact drivers offer a level of control that is hard to match. Thanks to their high torque and impact mechanism, they drive screws with precision, reducing the risk of damaging the material or the fastener. This control is especially crucial when working with delicate materials or when precise torque is needed to ensure the furniture’s structural integrity. With an impact driver, you’re less likely to overdrive or strip screws, ensuring a clean, secure assembly.
Versatility
Furniture comes in all shapes, sizes, and materials, and an impact driver is well-equipped to handle this diversity. Whether you’re assembling a solid wood dining table or a lightweight MDF bookcase, the impact driver adapts to the task at hand. Its versatility extends to the various types of screws and fasteners used in furniture assembly, from small, delicate screws for attaching hardware to large, robust bolts for structural components. With the right bit, an impact driver can tackle any assembly task, making it an indispensable tool in your DIY toolkit.
An impact driver offers efficiency, precision, and versatility, making it an ideal tool for furniture assembly. Its ability to speed up the assembly process, ensure precise and controlled screw driving, and adapt to a wide range of materials and fasteners, makes it a game-changer in the world of DIY furniture projects.

Choosing the Right Impact Driver for Furniture Assembly
When beginning on a furniture assembly project, selecting the right impact driver can make all the difference in the world. Not only does it affect the efficiency and quality of your work, but it also impacts your overall experience during the assembly process. Let’s dive into the key factors you should consider when choosing an impact driver for your furniture assembly tasks.
Power and Battery Life
The power of an impact driver is a critical factor, as it determines the tool’s ability to drive screws into various materials without causing damage or requiring excessive force. A powerful impact driver can handle dense materials and larger screws with ease, making it a versatile tool for a range of furniture assembly projects. However, with great power comes the need for efficient battery life. The last thing you want is for your tool to run out of juice in the middle of a project. Look for an impact driver with a lithium-ion battery that offers a balance between power and longevity, ensuring you can complete your tasks on a single charge.
Size and Weight
The ergonomics of an impact driver play a significant role in its usability, especially for prolonged furniture assembly projects. A compact and lightweight impact driver is easier to maneuver, particularly in tight spaces or when working on delicate pieces of furniture. It reduces fatigue, allowing you to work longer and more comfortably. However, it’s important to find a balance between size and power to ensure the tool is still effective for your needs.
Additional Features to Consider
Modern impact drivers come with a variety of features designed to enhance their functionality and make your furniture assembly process smoother. Here are a few to look out for:
- LED Lights: Built-in LED lights can illuminate your workspace, making it easier to see what you’re doing, especially in poorly lit areas or when working on intricate parts of furniture.
- Speed Settings: Adjustable speed settings give you greater control over the tool’s performance, allowing you to tailor it to the specific task at hand, whether it’s driving small screws into softwood or larger fasteners into harder materials.
- Brushless Motor: A brushless motor offers several advantages, including increased power efficiency, reduced heat generation, and a longer lifespan for the tool. While impact drivers with brushless motors may come at a higher price point, they are worth considering for frequent users.
Choosing the right impact driver for furniture assembly is about finding the perfect balance between power, ergonomics, and additional features. By considering these factors, you can select a tool that not only meets your current needs but also serves you well in future projects.
Watch This Video And Learn About DIY Furniture Assembly With An Impact Driver
Essential Tips for Furniture Assembly With An Impact Driver
When going on the journey of assembling furniture, whether it’s a sleek, modern desk or a cozy, rustic bookshelf, having an impact driver by your side can turn a daunting task into a smooth and satisfying project. However, to truly harness the power and efficiency of this tool, there are a few essential tips you should keep in mind. These tips will not only ensure a smoother assembly process but also help in achieving a professional-looking finish without the frustration of common assembly mishaps.
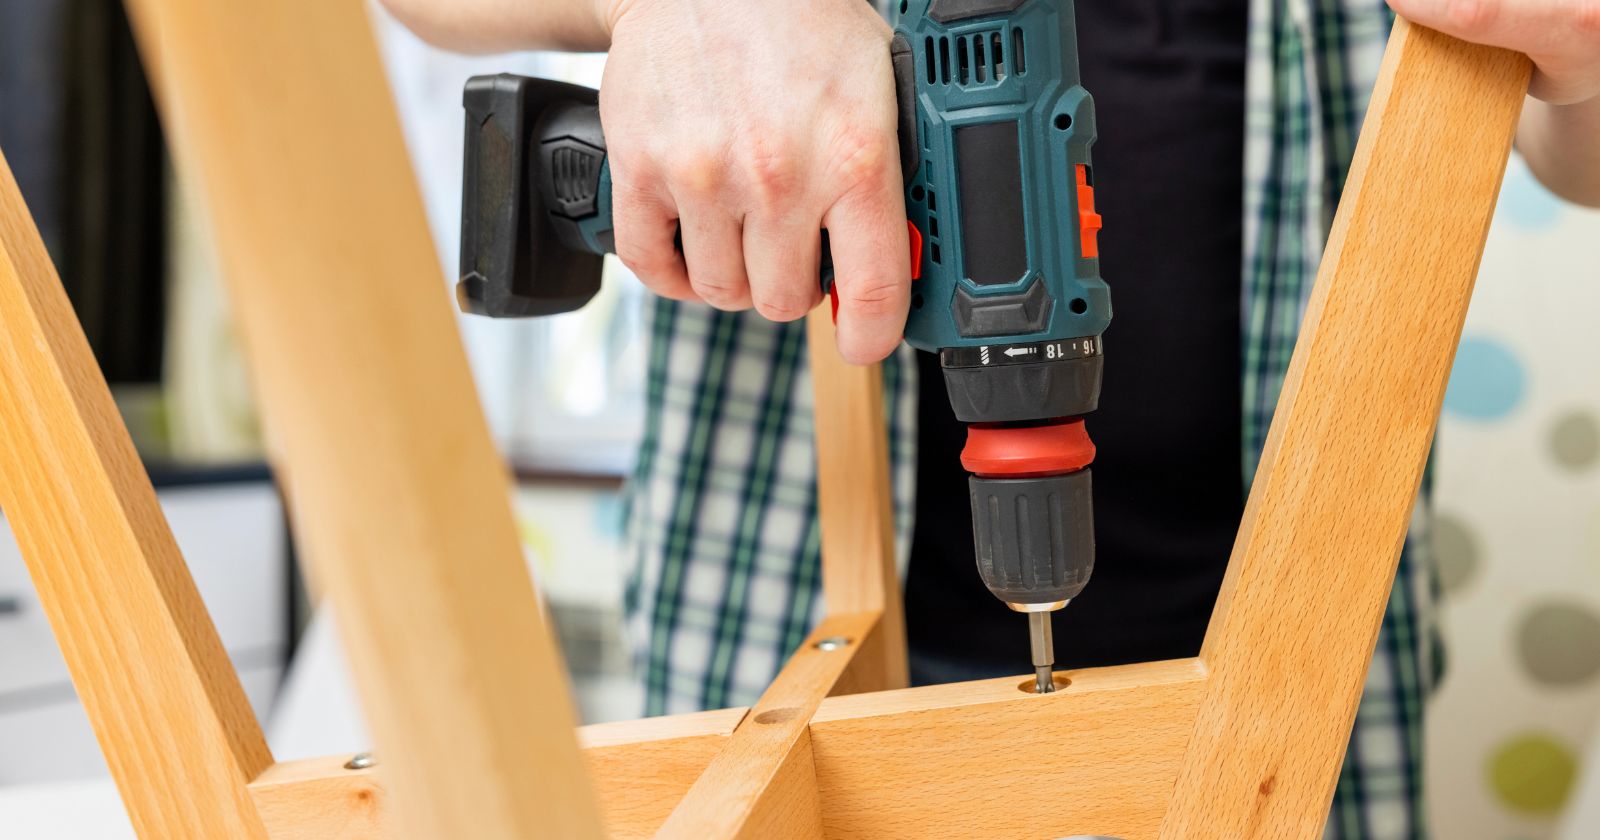
Selecting the Correct Bit
The first step in ensuring a successful furniture assembly with an impact driver is choosing the right bit. This might seem like a small detail, but it’s a critical one. The correct bit size and type can mean the difference between a secure fit and a stripped screw. Here’s why it’s so important:
- Match the Bit to the Screw: Ensure the bit you choose matches the type and size of the screws provided with your furniture. Using a bit that’s too small or too large can strip the screw head, making it difficult to drive the screw in or remove it later.
- Material Matters: Consider the material of your furniture. Harder materials may require more torque and a stronger bit, such as a titanium or black oxide bit, to avoid wear and tear on both the bit and the screw.
Setting the Correct Torque
An impact driver’s torque setting is crucial when assembling furniture. Too much torque can damage the furniture material or strip the screw, while too little might not secure the pieces together well enough. Here’s how to adjust it:
- Start Low, Go Slow: Begin with a lower torque setting and test on a spare piece if possible. You can gradually increase the torque until you find the sweet spot where the screw is securely fastened without damaging the material.
- Material Sensitivity: Be especially cautious with softer materials or thinner pieces of wood. These are more prone to damage if the torque is set too high.
Practice Makes Perfect
Before diving into your main project, especially if you’re new to using an impact driver, take some time to practice. Here’s how practicing can make a significant difference:
- Familiarize Yourself with the Tool: Get a feel for the impact driver’s weight, balance, and how it operates. Practice holding it steady and controlling its power.
- Test on Scrap Pieces: If you have scrap pieces of wood or material similar to your furniture, use them to practice driving screws. This will help you get comfortable with adjusting the torque and choosing the right bits without the fear of ruining your furniture.
By following these essential tips for furniture assembly with an impact driver, you’ll be well on your way to completing your DIY projects with confidence and ease. Remember, the key to a flawless assembly lies in preparation, the right tools, and a bit of practice. With an impact driver in your toolkit, you’re equipped to tackle any furniture assembly project with precision and speed.

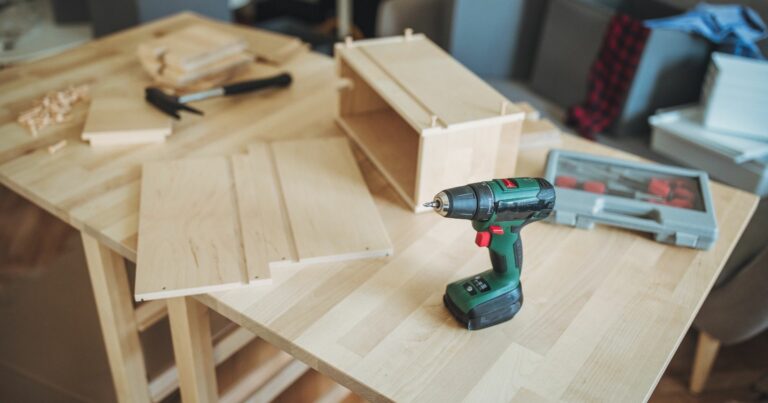
Step-by-Step Guide to Assembling Furniture With an Impact Driver
Assembling furniture can be a daunting task, but with the right tools and a systematic approach, it can also be a rewarding DIY project. An impact driver, known for its efficiency and precision, can significantly simplify the furniture assembly process. Here’s a step-by-step guide to ensure a smooth assembly experience with an impact driver.
Preparing Your Workspace
Before diving into the assembly, the first step is to organize your workspace. A clutter-free and well-organized area not only makes the process more efficient but also safer. Lay out all the components of the furniture, the assembly instructions, and your tools, including the impact driver and its bits. Make sure you have enough space to move around and assemble the pieces without constraints.
Reading the Instructions Carefully
It might seem tempting to dive straight into the assembly, especially if you’re eager to see the finished product. However, taking the time to thoroughly read and understand the assembly instructions is crucial. Familiarize yourself with the parts and hardware included for your furniture piece. This step will help you identify the correct sequence of assembly, reducing the risk of mistakes and the need to backtrack.
The Assembly Process
With your workspace prepared and a solid understanding of the instructions, you’re ready to begin the assembly process. Here’s how to proceed:
- Identify the First Step: Refer to the instructions to determine the starting point. Typically, it involves attaching the larger pieces together before moving on to the smaller details.
- Gather the Necessary Hardware: For each step, collect the screws or bolts required. This approach keeps you organized and ensures you’re using the correct hardware at each stage.
- Select the Correct Bit: Using the right bit for your impact driver is crucial. Match the bit to the size and type of screw or bolt you’re working with to prevent stripping or damage.
- Adjust the Torque Setting: If your impact driver has adjustable torque settings, select the appropriate level for the material you’re working with. A lower torque setting is suitable for softer materials to avoid overdriving the screw.
- Assemble Step by Step: Follow the instructions carefully, using your impact driver to secure each piece. The impact driver will make quick work of driving screws, but be mindful not to over-tighten.
- Check for Alignment: After each major step, ensure that the pieces are correctly aligned and securely fastened. Making adjustments as you go is easier than trying to correct misalignments later.
- Final Touches: Once all the pieces are assembled, give your furniture a thorough check. Tighten any loose screws and ensure stability. If your furniture includes drawers or doors, adjust them as needed to ensure smooth operation.
By following these steps and utilizing an impact driver, furniture assembly can become a less tedious and more enjoyable task. The precision and power of an impact driver not only speed up the process but also provide a more secure and professional result. Whether you’re assembling a simple bookshelf or a complex wardrobe, an impact driver is an invaluable tool in your DIY arsenal.

Troubleshooting Common Furniture Assembly Issues
Assembling furniture can sometimes feel like solving a complex puzzle, especially when unexpected issues pop up. But don’t worry, with an impact driver in your toolkit and a few troubleshooting tips up your sleeve, you’ll be prepared to tackle common furniture assembly challenges head-on.
Stripped Screws
Stripped screws are a common annoyance during furniture assembly, but they’re also avoidable. Here’s how:
- Prevention: Use the correct bit size for your screws and ensure your impact driver’s torque setting is appropriate for the material you’re working with. This reduces the risk of stripping screws.
- Fixing Stripped Screws: If you do strip a screw, don’t panic. You can often remove it by placing a rubber band over the screw head and gently applying pressure with your impact driver set on a low torque. Once removed, replace it with a new screw.
Misaligned Components
Alignment issues can throw a wrench in your assembly process, but they’re usually easy to correct:
- Check First: Before securing any components with screws, loosely assemble parts to ensure everything lines up correctly.
- Adjust as Needed: If you notice misalignment, gently loosen the screws and adjust the components until they align properly. Sometimes, assembling furniture requires a bit of finesse and patience.
Tightening and Final Adjustments
The last step in the assembly process is crucial for the stability and longevity of your furniture:
- Double-Check Tightness: Go over each screw and ensure it’s tightened properly. An impact driver makes this step quick and efficient, but be mindful not to over-tighten and damage the material.
- Final Adjustments: Once everything is assembled, give your furniture a once-over. Check for any wobbly parts or misalignments and make any necessary adjustments. This is also a good time to add any finishing touches, like felt pads on the bottom of legs to protect your floors.
By keeping these troubleshooting tips in mind, you’ll navigate common furniture assembly issues with ease, ensuring your DIY projects are successful and stress-free. Remember, the right tools and a little know-how go a long way in making furniture assembly a breeze.

Wrapping Up DIY Furniture Assembly With An Impact Driver
As I’ve explored throughout this guide, the impact driver emerges as an indispensable tool in the realm of furniture assembly. Its unique combination of power, precision, and versatility makes it an ideal choice for both novice DIYers and seasoned craftsmen alike. By harnessing the capabilities of an impact driver, you can transform the often tedious task of furniture assembly into a more efficient, enjoyable, and high-quality endeavor.
In the end, it’s the right tools and the shared wisdom of the DIY community that make all the difference in turning our house into a home, one project at a time. So, grab your impact driver, and let’s build something great together!