How To Properly Drive A Screw With A Impact Driver
As a tool enthusiast and contractor, I know firsthand the importance of having the right tool for the job. I personally rely on the impact driver, which has become a staple in my toolbox. This powerful tool allows me to drive screws quickly and efficiently. However, I understand that it can be intimidating for those who are not familiar with it. That’s why in this guide, titled “How To Properly Drive A Screw With A Impact Driver”, I will personally teach you the ins and outs of using an impact driver to drive screws effectively and safely.
How To Properly Drive A Screw With A Impact Driver In 7 Steps
Driving a screw with an impact driver involves a few key steps to ensure it’s done efficiently and safely. Here’s a concise guide:
- Select the Right Bit: Match the bit to the screw head. Using the correct bit size and type reduces the risk of stripping the screw.
- Insert the Bit and Screw: Insert the bit into the impact driver’s chuck and ensure it’s securely fastened. Place the screw onto the bit if it’s magnetic, or hold it in place until it’s secure.
- Position the Impact Driver: Align the impact driver with the screw, ensuring it’s perpendicular to the surface. This alignment helps in driving the screw straight.
- Adjust Speed Setting (If Applicable): If your impact driver has speed settings, start with a lower setting to control the driving process better, then increase as needed.
- Apply Pressure and Start Driving: Apply steady pressure to the impact driver and gently press the trigger. The impact driver will start driving the screw. Maintain pressure to keep the bit in the screw head and prevent slipping.
- Monitor the Screw Depth: As the screw gets closer to being fully driven, reduce the pressure on the trigger to slow down. This control helps prevent overdriving or damaging the material.
- Finish and Check: Once the screw is flush with the surface (or at the desired depth), release the trigger. Check the screw to ensure it’s secure and not over-tightened.
Remember, the key to using an impact driver effectively is control and the right bit. With practice, you’ll find the optimal pressure and speed settings for different materials and screw sizes.
What is an Impact Driver?
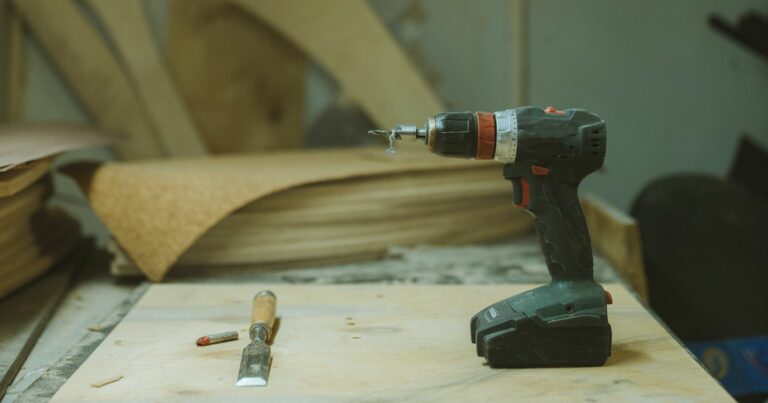
An impact driver is a powerful tool that is designed to drive screws quickly and efficiently. It uses rotational force and concussive blows to drive screws into wood, metal, and other materials. The force generated by an impact driver allows you to drive screws with less effort, making it an essential tool for contractors and DIY enthusiasts.
1: Choose the Right Bit
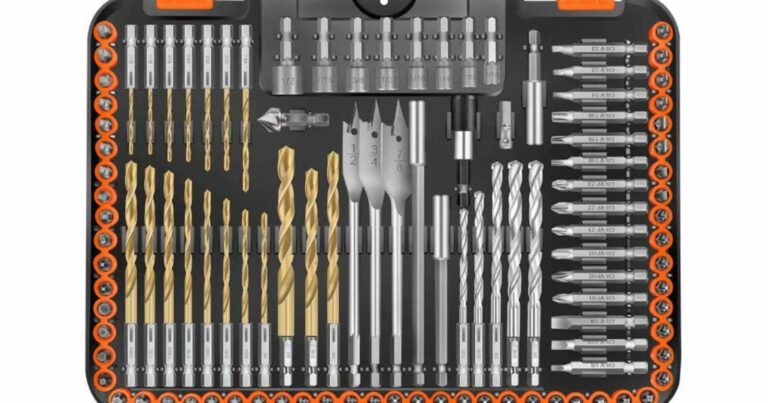
Before you start driving screws with your impact driver, you need to make sure you have the right bit for the job. Impact driver bits come in a variety of sizes and styles, including Phillips head, flat head, and Torx head. Choose the right bit for the screw you are driving to ensure a secure and tight fit.
")
Suggested Reading: How To Coil A Cord Properly On An Impact Driver
2: Adjust the Torque Settings
Most impact drivers have adjustable torque settings that allow you to control the amount of force generated by the tool. For smaller screws, you will want to use a lower torque setting, while larger screws will require a higher torque setting. Consult your tool’s manual to find the appropriate torque setting for the screw you are driving.
Watch This Video And See How To Properly Drive A Screw With A Impact Driver
Perhaps it time to get some new Bits. Check out The 3 Best Drill Bits For Ceramic Pots
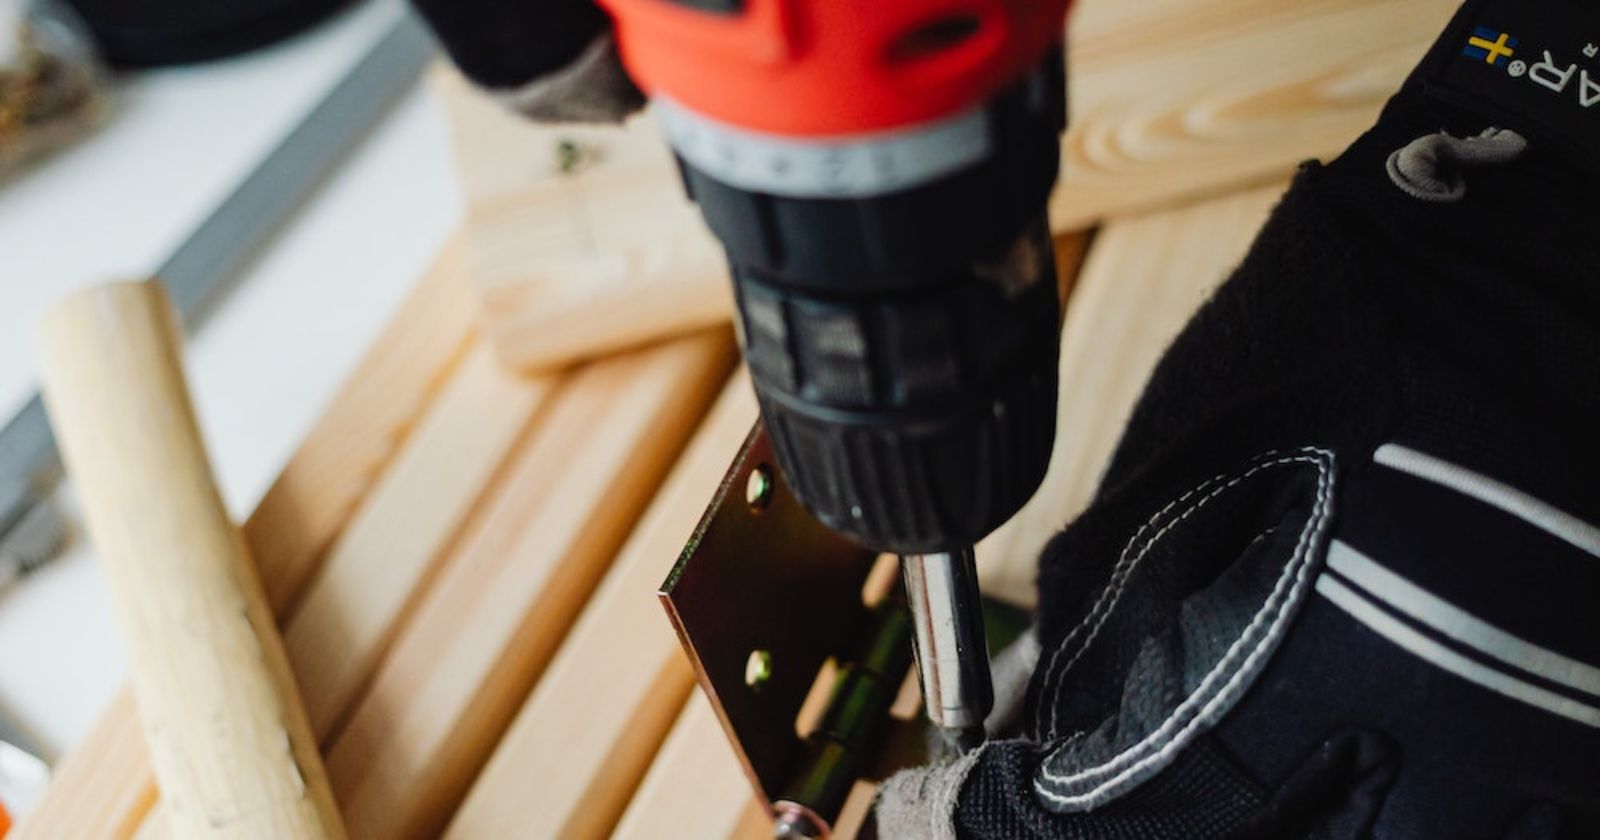
3: Align the Bit with the Screw
Once you have the right bit and torque setting, you need to align the bit with the screw. Hold the impact driver perpendicular to the screw, making sure the bit is centered over the screw head.
4: Apply Pressure and Pull the Trigger
With the bit aligned with the screw, apply pressure to the impact driver and pull the trigger. The tool will start to rotate and generate concussive blows, driving the screw into the material. Hold the impact driver steady and let the tool do the work for you.
5: Release the Trigger and Repeat
Once the screw is driven to the desired depth, release the trigger and remove the impact driver from the screw. Repeat the process for the remaining screws, making sure to choose the right bit and torque setting for each screw.
Tips for Proper Screw Driving with an Impact Driver
Always wear safety gear, including eye and ear protection, when using an impact driver.
Use the right bit for the job to ensure a secure and tight fit.
Choose the appropriate torque setting for the screw you are driving.
Hold the impact driver perpendicular to the screw and apply pressure before pulling the trigger.
Let the tool do the work for you and do not apply excessive force.
Release the trigger once the screw is driven to the desired depth.
Check the screw’s depth periodically to ensure it is not overdriven or underdriven.

Understanding the Different Types of Screws
In my journey as a contractor and tool enthusiast, I’ve come across a wide variety of screws, each with its unique purpose and application. I believe it’s crucial to understand these differences, as choosing the right screw can make or break your project. So, let me share my knowledge with you.
Firstly, we have wood screws. As the name suggests, these are specifically designed for wood projects. They have a sharp point for easy penetration and coarse threads to grip the wood securely.
Next, we have machine screws. These are primarily used in machinery, appliances, and more. They’re designed to fit into pre-threaded holes or in conjunction with nuts. They have a uniform thread from top to bottom.
Then, there are sheet metal screws. These are used when attaching different pieces of metal together or attaching metal to other materials. They have sharp threads that can cut into materials combined with a sharp point.
Remember, each screw type has its specific applications, and using the right one can significantly impact the outcome of your project. I hope this brief overview helps you make more informed decisions in your future projects.
Advanced Techniques for Using an Impact Driver
As someone who’s spent countless hours with an impact driver in hand, I’ve picked up a few advanced techniques along the way. These techniques have not only made my work more efficient but also expanded the range of tasks I can tackle with this versatile tool. I’m excited to share these insights with you, especially if you’re an experienced user looking to take your skills to the next level.
One technique that has proven invaluable is driving screws at an angle. This might seem challenging at first, but with a bit of practice, it becomes second nature. The key is to start the screw straight, then once it’s secure, slowly angle your impact driver to the desired angle and continue driving the screw. This technique is particularly useful in tight corners or when you’re trying to create a hidden joint.
But the versatility of an impact driver doesn’t stop at driving screws. You’d be surprised at the variety of tasks you can accomplish with this tool. For instance, with the right bit, your impact driver can double as a drill, making it perfect for creating pilot holes. You can also use it to loosen over-torqued nuts and bolts, making it a lifesaver in automotive projects.
Remember, the key to mastering these advanced techniques is practice. So, don’t be afraid to experiment and push the boundaries of what you can do with your impact driver. I hope these tips help you as much as they’ve helped me over the years.
Impact Driver Maintenance and Troubleshooting
Over the years, I’ve learned that taking care of my tools is just as important as knowing how to use them. My impact driver is no exception. Proper maintenance not only prolongs its lifespan but also ensures it performs optimally. Let me share with you some of the maintenance and troubleshooting tips I’ve picked up along the way.
Cleaning is a crucial part of maintenance. After each use, I make sure to wipe down my impact driver, removing any dust or debris that may have accumulated. This simple act goes a long way in preventing buildup that could potentially hamper the tool’s performance.
Lubrication is another key aspect of maintenance. I regularly apply a few drops of machine oil to the chuck and other moving parts. This helps keep everything running smoothly and reduces wear and tear.
When it comes to storage, I always ensure my impact driver is stored in a cool, dry place. This helps prevent any rust or corrosion and keeps the tool in good condition for the next use.
Despite the best maintenance practices, issues can still arise. Over time, I’ve learned how to troubleshoot some common problems. For instance, if the impact driver isn’t driving screws as efficiently as it should, I check the torque settings and the condition of the bit. If the tool is making unusual noises, I inspect it for any signs of damage or loose parts.
Remember, regular maintenance and prompt troubleshooting are essential for keeping your impact driver in top shape. I hope these tips help you keep your tool performing at its best for years to come
Common Mistakes to Avoid When Using an Impact Driver
Throughout my years of experience with an impact driver, I’ve made my fair share of mistakes. But as they say, mistakes are the best teachers, and I’ve learned valuable lessons from each one. I’d like to share some of these common pitfalls with you, along with tips on how to avoid them.
One mistake I often made in my early days was not applying enough pressure. It’s important to apply a steady amount of pressure when using an impact driver. Too little pressure, and the bit might slip off the screw head, damaging both the bit and the screw. So, always ensure you’re applying sufficient pressure for the bit to engage properly with the screw.
Another common mistake is using the wrong bit. I can’t stress enough how important it is to match the bit to the screw head. Using the wrong bit can strip the screw head, making it nearly impossible to drive or remove. Always double-check that you’re using the correct bit for the job.
Incorrect torque setting is another pitfall to avoid. In my early days, I often overlooked the importance of adjusting the torque. Using too much torque can overdrive or even break the screw, while too little torque might not drive the screw deep enough. Always refer to your tool’s manual and adjust the torque setting according to the size and type of screw you’re working with.
Remember, everyone makes mistakes, especially when learning something new. The key is to learn from these mistakes and not repeat them. I hope my experiences and tips help you avoid these common mistakes and make your work with an impact driver smoother and more efficient.
FAQs How To Properly Drive A Screw With A Impact Driver
If you have additional questions about using an impact driver to drive screws, take a look at these frequently asked questions:
Can I use my impact driver to drill holes
While impact drivers are primarily designed for driving screws and fasteners, many models can also be used to drill holes. However, for best results, it is recommended to use a drill bit specifically designed for use with an impact driver, as they are often shorter and more durable than traditional drill bits.
Do I need to use a special kind of screw with my impact driver?
No, you can use regular screws with an impact driver. However, it is important to make sure that the screw is the appropriate size and length for the job you are doing, as well as the type of material you are working with.
How do I maintain my impact driver?
To keep your impact driver in good working order, it is important to regularly clean it after use, and to lubricate the chuck and any moving parts as needed. You should also check the brushes and carbon contacts periodically and replace them when necessary. Additionally, be sure to store your impact driver in a dry, cool place, and keep it away from dust and moisture.
Suggested Reading: How To Properly Fix A Bit That Breaks Inside Impact Driver
Conclusion
As I reflect on my journey with the impact driver, I remember how intimidating it was when I first started. But trust me, with the right tools and techniques, driving screws with an impact driver can become a quick and easy task, even for beginners.
Remember, the key is to choose the right bit and torque setting for the job at hand. Holding the tool perpendicular to the screw is crucial, and most importantly, let the tool do the work. It’s designed to make your job easier, so there’s no need to apply excessive force.
Over time, as you gain more experience, you’ll find that the impact driver is an incredibly versatile tool. You’ll learn to drive screws at different angles, use it for tasks beyond just driving screws, and even troubleshoot common issues.
And don’t forget about maintenance. Regular cleaning, lubrication, and proper storage will keep your impact driver in top shape, ready for your next project.
I hope this guide, drawn from my personal experiences, has given you a comprehensive understanding of how to properly drive a screw with an impact driver. Remember, every expert was once a beginner. So, don’t be afraid to pick up that impact driver and start your journey. I’m confident that with practice and patience, you’ll master it in no time. Happy driving!