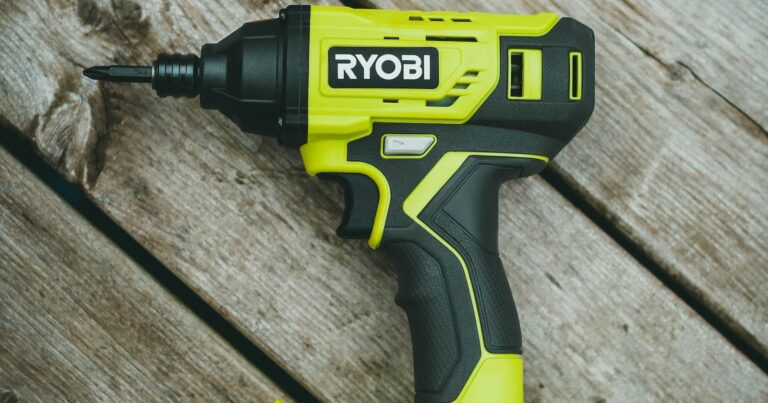
How To Attach an Impact Driver Socket -In 5 Easy Steps
Ever found yourself wrestling with an impact driver socket, unsure of how to attach it properly? Trust me, you’re not alone. Over the years, as a seasoned contractor and an avid tool enthusiast, I’ve seen this struggle time and time again. But here’s the good news – it doesn’t have to be this hard. In this post, I’m going to take you by the hand and guide you, step-by-step, through the process of attaching an impact driver socket. So, let’s dive right in and turn this challenge into a skill you can master
Step-by-Step Guide to Attaching an Impact Driver Socket
1. Choosing the Right Socket
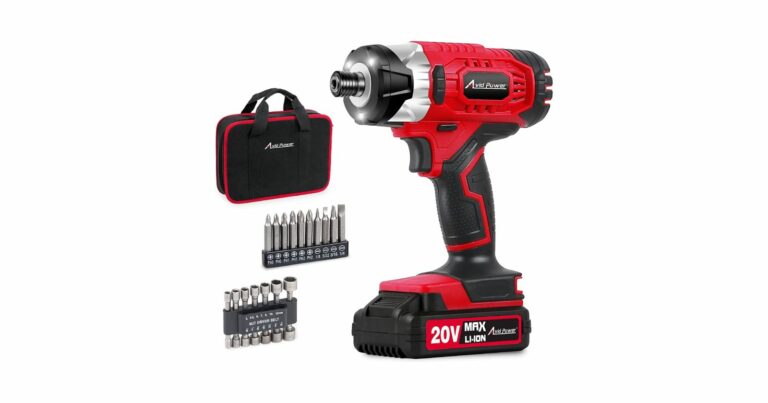
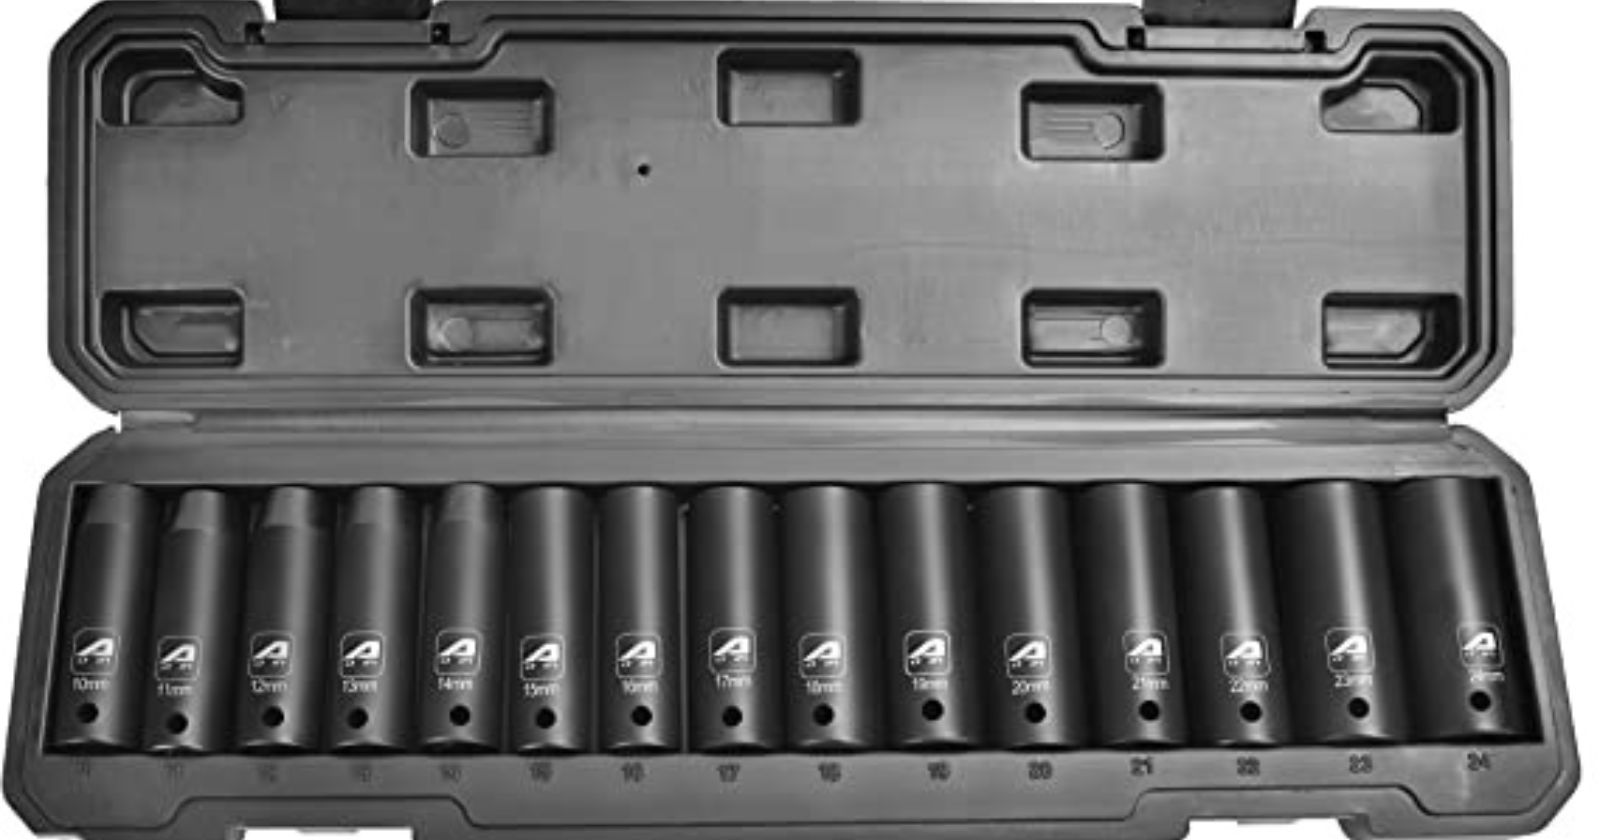
The first step in attaching an impact driver socket is to choose the right one for the job. Sockets come in various sizes and types, and it’s important to select the right one that fits the bolt or screw you’re working on. Impact driver sockets are available in both metric and standard sizes, so be sure to choose the one that matches the size of the fastener you’re working with.

Suggested Reading: How To Replace The Brushes On Your Impact Driver – In 4 Simple Steps
2. Prepare the Impact Driver
Before attaching the socket, make sure the impact driver is turned off and any existing socket is removed. This will prevent any accidents or damage to the tool or socket.
3. Attach the Socket to the Impact Driver
To attach the socket, insert it into the chuck of the impact driver. Make sure it’s seated properly and then tighten the chuck securely to hold the socket in place. It’s important to use a good grip on the chuck to prevent the socket from slipping or becoming loose during use.
4. Test the Socket
Once the socket is securely attached, test it by turning on the impact driver and ensuring that the socket is firmly in place. If the socket slips or becomes loose, turn off the impact driver and tighten the chuck again.
5. Removing the Socket
When you’re finished using the socket, turn off the impact driver and loosen the chuck to remove the socket. Be sure to store it in a safe and dry place to prevent damage or loss.
Tips and Tricks for Attaching Impact Driver Sockets
Here are some tips and tricks for attaching impact driver sockets:
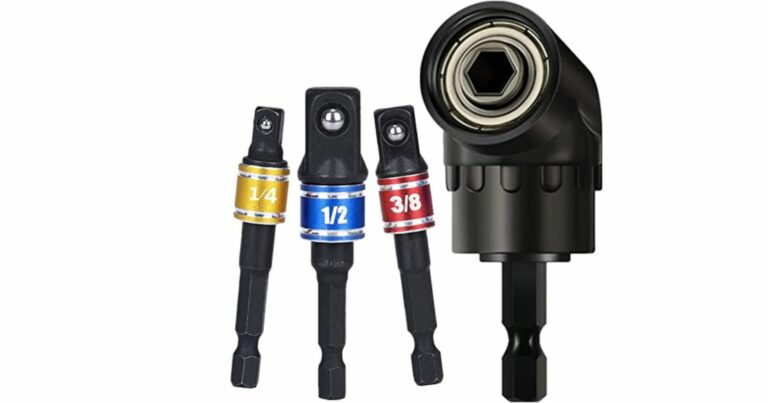
- Use a socket adapter for increased versatility
- Keep the sockets clean and free of debris
- Use impact-rated sockets for increased durability
- Regularly check and tighten the socket to prevent it from loosening during use
Watch This Video And Learn How to Attach an Impact Driver Socket
Common Problems and Troubleshooting
Here are some common problems that may arise when attaching impact driver sockets and how to troubleshoot them:
- Socket falls off during use: This may be caused by a loose chuck or an improperly seated socket. Turn off the impact driver and tighten the chuck or reseat the socket before continuing.
- Socket won’t attach to the impact driver: This may be caused by an incompatible socket or an issue with the chuck. Make sure the socket is compatible with the impact driver and try tightening the chuck again.
- Socket becomes stuck in the chuck: This may be caused by debris or rust in the chuck. Try cleaning the chuck with a wire brush or lubricating it with a rust remover to loosen the socket.
Further Reading: When Not To Use On Impact Driver.
Safety Tips:
Let’s talk about safety, a crucial aspect that should never be overlooked when using an impact driver. I believe it’s essential to share some safety tips that I’ve learned over the years. First and foremost, never underestimate the importance of protective gear. Safety glasses and gloves are a must. They protect your eyes from flying debris and your hands from potential mishaps. But safety doesn’t stop at gear. It’s also about how you handle the tool. Always ensure that the impact driver is switched off when you’re changing the socket. Trust me, a moment of caution can save you from a world of trouble. Remember, safety first, always!
Personal Experiences and Case Studies:
Sharing personal experiences and real-life scenarios can often make learning more relatable and engaging. Over the years, I’ve had numerous encounters with impact drivers, each teaching me something new. Let me take you through a couple of these experiences.
One of the most memorable experiences was during a major renovation project. I was faced with a stubborn bolt that refused to loosen, no matter how much force I applied. I was using an impact driver with a socket that I thought was the right size. However, after several unsuccessful attempts, I realized the importance of precision in choosing the right socket size. I switched to a socket that fit the bolt perfectly, and voila, the bolt loosened almost effortlessly. This incident taught me a valuable lesson – the right tool and the right size can make a world of difference.
On another occasion, I was helping a friend with a DIY project. He was struggling to attach the socket to his brand new impact driver. He was using a regular socket and was unaware that impact drivers require impact-rated sockets, designed to withstand the high torque produced by these tools. We replaced the regular socket with an impact-rated one, and the issue was resolved instantly. This experience reinforced the importance of using the correct accessories with your tools.
In another instance, I was working on a car repair project. Midway through the project, my impact driver started acting up. The socket kept falling off during use. Upon inspection, I realized that the chuck was loose. After tightening the chuck and ensuring the socket was properly seated, the problem was solved. This taught me the importance of regularly checking and tightening the socket to prevent it from loosening during use.
These experiences have not only enriched my knowledge but also honed my problem-solving skills. I hope that by sharing these stories, you can avoid some common pitfalls and use your impact driver more effectively and safely. Remember, every challenge is an opportunity to learn and grow
Maintenance Tips:
Now, let’s move on to another topic close to my heart – maintenance. Over the years, I’ve learned that taking good care of your impact driver and sockets can significantly extend their lifespan. So, how do you do it? Well, it starts with regular cleaning. Make sure to remove any debris or dust after each use. This simple act can keep your tools functioning at their best. As for storage, always keep them in a dry and safe place to prevent any damage or rust. And remember, even the best tools won’t last forever. Keep an eye on the wear and tear, and don’t hesitate to replace them when needed. After all, a well-maintained tool is a well-performing tool!

FAQs: How to Attach an Impact Driver Socket
Attaching an impact driver socket can be a simple task, but it can also be confusing for those who are new to using power tools. To help clear up any confusion, we’ve put together this FAQ section with some common questions and answers related to attaching impact driver sockets.
What size impact driver socket do I need?
The size of the impact driver socket you need will depend on the size of the screw or bolt you’re working with. Impact driver sockets typically come in sizes ranging from 1/4 inch to 1/2 inch, with 3/8 inch being the most common size. To determine the right size, match the size of the socket to the size of the fastener you’re working with. You can also refer to the user manual for your impact driver or consult with a professional if you’re unsure.
How do I attach an impact driver socket to my drill?
To attach an impact driver socket to your drill, first, insert the shank of the socket into the chuck of the drill. Then, tighten the chuck by turning it clockwise until the socket is securely in place. Make sure the socket is straight and properly seated in the chuck before use. Always double-check to ensure the socket is securely fastened before beginning your project.
How do I troubleshoot if my impact driver socket won’t attach?
If your impact driver socket won’t attach, first check to make sure you have the right size socket for the job. If the socket is the right size, try cleaning the chuck and socket to remove any dirt or debris that may be causing it to slip. If the problem persists, check for any damage to the chuck or socket and replace as necessary. It’s also important to ensure you’re using the right type of impact driver for the job and that it’s properly maintained. We hope this FAQ section has been helpful in addressing some common questions related to attaching impact driver sockets. If you have any other questions or concerns, feel free to consult with a professional or refer to the user manual for your specific tool.
Suggested Reading: Best Impact Driver Drill Under $100
Conclusion:
And so, we’ve reached the end of this comprehensive guide. But remember, this isn’t the end of your journey with impact drivers, it’s just the beginning. Attaching an impact driver socket might seem like a small task, but mastering it is a significant step towards becoming proficient with your tools. I want to assure you that with a little patience, practice, and persistence, you can become adept at this.
I encourage you to not just read this guide, but to actively apply these steps. Get your hands on your impact driver, choose a socket, and try attaching it. There’s no better teacher than experience. And don’t worry about making mistakes – they’re just stepping stones on the path to mastery.
I also want to hear from you. Your experiences, your stories, your challenges, and your victories. Have you tried attaching an impact driver socket before? How did it go? Do you have any additional tips or tricks that you’ve found helpful? Or maybe you’ve encountered some problems and have questions? Please share in the comments section. Your insights could be the very thing that helps another reader.
Remember, in the realm of DIY and home improvement, we’re all on a learning journey. Each project, each task, each challenge offers us an opportunity to learn and grow. So, let’s continue this journey together, supporting and learning from each other.
Thank you for taking the time to read this guide. I hope it’s been helpful and has given you the confidence to tackle your next project with your impact driver. Here’s to mastering the art of using an impact driver and to all the successful DIY projects in your future!