How To Drill A Hole In Glass: In 7 Easy Steps
Glass drilling may seem like a daunting task, but I assure you that with the right tools and techniques, you can accomplish it successfully. As someone who enjoys DIY projects, or if you’re a professional contractor like me, I can guide you through the process of drilling a hole in glass. By following these steps and practicing caution, we can achieve precise and clean holes without risking any damage to the glass.
Step-by-Step Guide to Drilling a Hole in Glass
Now that you have prepared the glass, it’s time to start drilling. Follow these step-by-step instructions for a successful drilling experience:
Step 1 – Marking the Drilling Spot:
Begin by aligning the drill bit with the marked spot on the masking tape. This will ensure precision and accuracy throughout the drilling process.
Step 2 – Lubricating the Drill Bit:
Apply a lubricant specifically designed for glass to the drill bit. This lubrication will reduce friction and heat generated during drilling, making the process smoother and preventing damage to the glass.
Step 3 – Setting the Drill:
Set the drill to a slow speed. High speeds can cause excessive heat and increase the risk of cracking the glass. Start with a low speed and gradually increase if necessary.
Step 4 – Starting the Drilling Process:
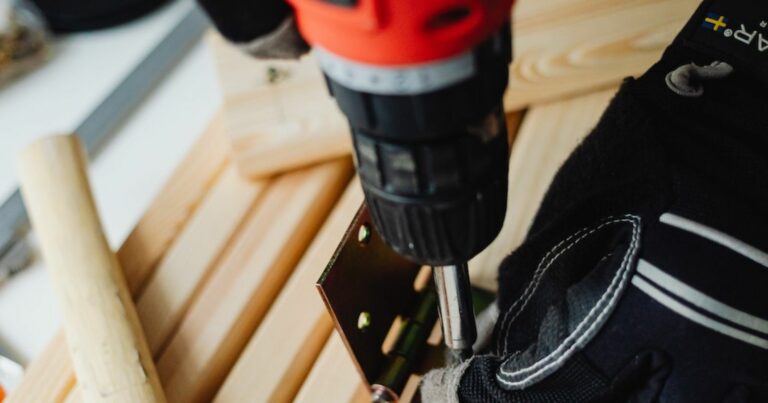
Position the drill bit at a slight angle to the glass surface. This initial angle will help create a groove and prevent the drill bit from slipping. Once the groove is established, you can adjust the angle to be perpendicular to the glass.
Step 5 – Maintaining Speed and Pressure:
Apply consistent but gentle pressure as you drill. Keep the drill at a slow and steady speed to prevent overheating. Let the drill bit do the work, and avoid forcing it through the glass.
Step 6 – Cooling the Drill Bit:
Periodically pause the drilling process to cool down the drill bit and the glass surface. You can do this by dipping the drill bit in water or using a spray bottle to cool the area around the drilling spot. This helps prevent overheating and reduces the risk of cracking.
Step 7 – Removing the Masking Tape and Cleaning:
Once the hole is drilled, remove the masking tape and clean the area around the hole. Wipe away any debris or residue to ensure a clean finish.
Do You Need a Special Drill Bit for Glass?
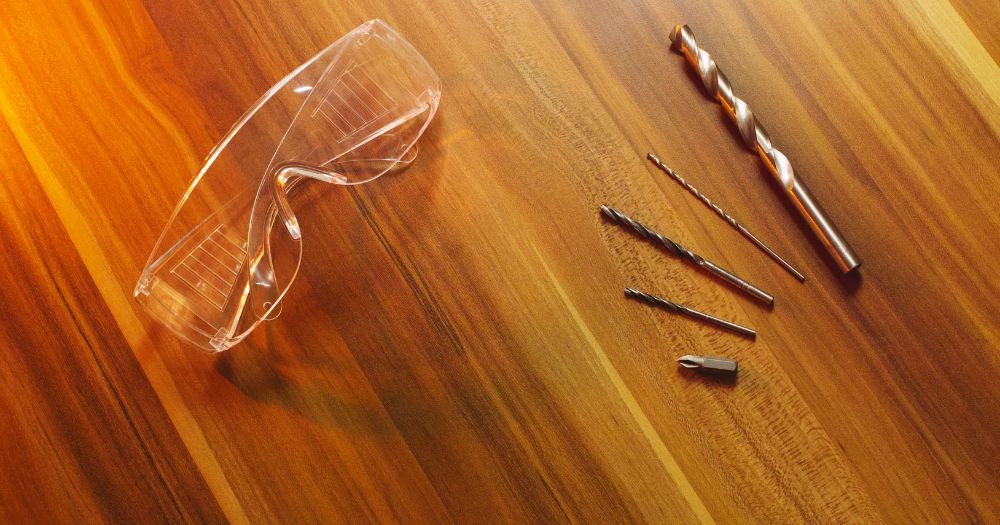
Before we dive into the drilling process, let’s address an important question: Do you need a special drill bit for glass? The answer is a resounding yes. Glass is a delicate material that requires a specific type of drill bit to prevent cracking or shattering.
When it comes to drilling glass, the best drill bits are those made of tungsten carbide or diamond. These materials offer durability and superior cutting capabilities. Look for drill bits with a spear-point or diamond-coated tip, as they provide better control and reduce the chances of slippage.
Pro Tip: Investing in a high-quality drill bit specifically designed for glass is crucial. It ensures precise drilling and prevents potential mishaps.
What is the Best Tool for Drilling Holes in Glass?
Now that you know the importance of using a specialized drill bit, let’s explore the best tools for drilling holes in glass. There are several options available, each with its own advantages and limitations.
Hand-held Rotary Tools
Hand-held rotary tools, such as a Dremel, can be a great choice for smaller drilling projects. They offer precision and control, allowing you to create intricate designs or fine holes in glass. However, keep in mind that hand-held rotary tools may not be suitable for larger or thicker glass pieces.
Corded Drills
Corded drills provide more power and versatility compared to hand-held rotary tools. They are capable of handling larger drilling projects and can work with various drill bit sizes. When using a corded drill, it’s important to maintain a slow speed and apply light pressure to avoid putting excessive stress on the glass.
Cordless Drills
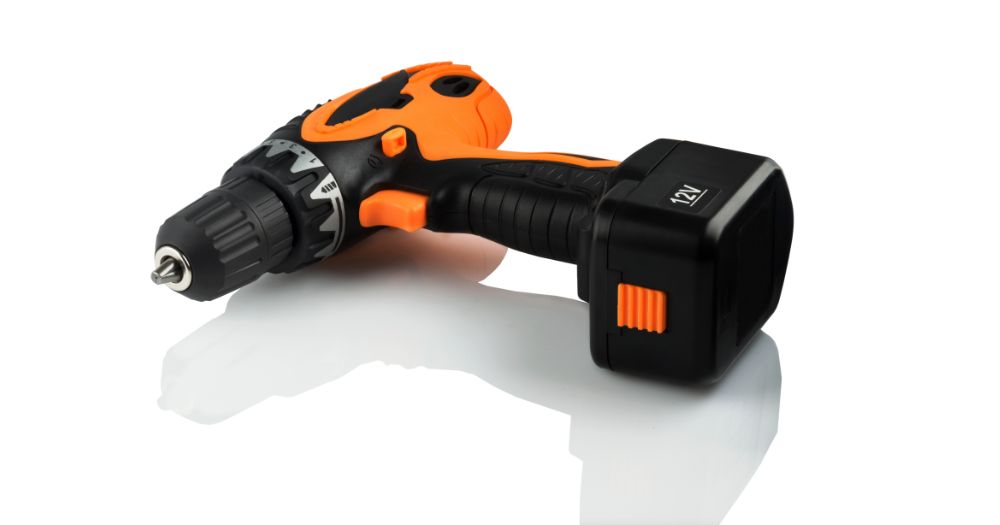
Cordless drills offer convenience and portability, making them a popular choice among DIY enthusiasts. They provide decent power for most glass drilling tasks. However, keep in mind that cordless drills may have limited battery life and may not be as powerful as their corded counterparts.
Based on the size and complexity of your drilling project, choose the tool that best suits your needs.
Pro Tip: Always wear safety goggles, gloves, and a dust mask when working with glass and power tools to protect yourself from potential hazards.
Preparing the Glass for Drilling
Before you start drilling, it’s essential to prepare the glass surface properly. Follow these steps to ensure a smooth drilling process:
Clean the Glass:
Thoroughly clean the glass to remove any dirt, dust, or debris. Use a mild glass cleaner and a lint-free cloth to achieve a clear and pristine surface.
Mark the Drilling Spot:
Use masking tape to mark the exact spot where you want to drill the hole. This will help prevent the drill bit from slipping and ensure accuracy.
Secure the Glass:
To prevent the glass from moving or sliding during drilling, consider using clamps or suction cups to hold it securely. Alternatively, work on a stable surface that can support the weight and keep the glass steady.
Watch This Video And Learn How To Drill A Hole In Glass
Maybe its time to get some new Glass Drill Bits. Check out the Best Glass Drill Bits.
Troubleshooting Common Issues
Even with careful preparation, you may encounter some common issues while drilling glass. Here are a few troubleshooting tips to help you overcome them:
Chipping:
If you notice chipping around the hole, try using a backing material. Place a piece of scrap wood or plastic behind the glass to support it and reduce the chances of chipping.
Cracking:
If the glass starts to crack while drilling, stop immediately to prevent further damage. Consider using a lower speed, reducing the pressure, or drilling from both sides of the glass for added stability.
Wandering Drill Bit:
If the drill bit starts to wander or move off course, double-check your drilling angle and ensure it remains perpendicular to the glass surface. Use light pressure and steady hands to maintain control.
Remember, practice makes perfect. Don’t be discouraged if your first attempt isn’t flawless. With time and experience, you’ll become more confident in drilling holes in glass.
Safety Precautions
When working with glass and power tools, it’s crucial to prioritize safety. Follow these safety precautions to protect yourself and ensure a safe drilling experience:
Wear Safety Gear:
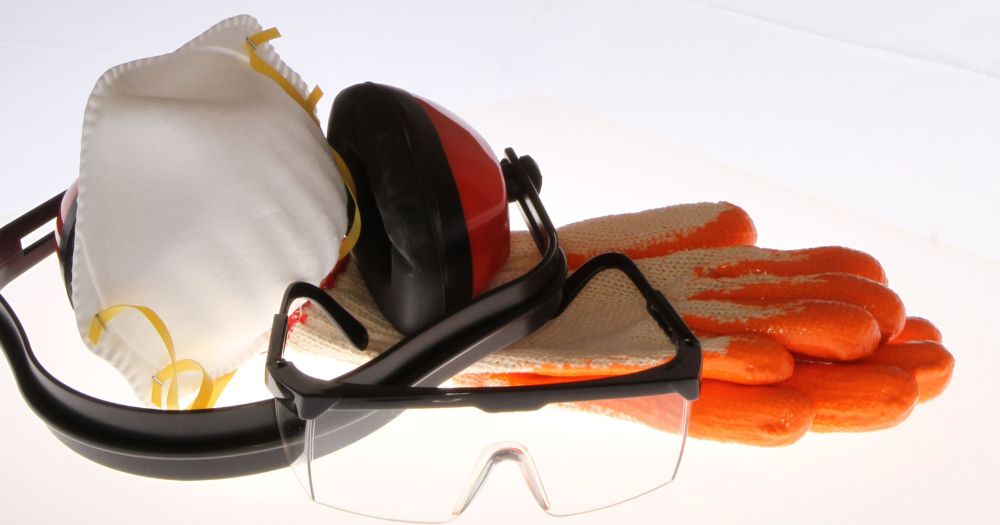
Always wear safety goggles, gloves, and a dust mask to protect your eyes, hands, and respiratory system from potential hazards.
Work in a Well-Ventilated Area:
Drill in a well-ventilated area to prevent the buildup of fumes and dust particles. If possible, open windows or use a fan to improve air circulation.
Keep a Fire Extinguisher Nearby:
Have a fire extinguisher readily available in case of emergencies. Accidents can happen, so it’s important to be prepared.
By following these safety precautions, you can minimize risks and create a safe working environment.
FAQs How To Drill A Hole In Glass
If you still have some lingering questions about drilling holes in glass, don’t worry! We’ve compiled a list of frequently asked questions to provide you with further insights and clarification. Read on to find answers to common queries that may arise during your glass drilling journey
Can I use a regular drill bit for drilling glass?
No, using a regular drill bit for glass can lead to cracking or shattering. It’s important to use a specialized drill bit made of tungsten carbide or diamond, specifically designed for drilling glass.
How do I prevent the glass from cracking while drilling?
To prevent glass from cracking, make sure to drill at a slow speed, apply gentle pressure, and periodically cool down the drill bit and glass surface with water. Consider using a backing material, such as scrap wood or plastic, to support the glass.
Can I drill large holes in glass?
Yes, you can drill large holes in glass, but it requires caution and the right tools. Use a diamond-coated hole saw or a diamond core drill bit designed for larger holes. Remember to work at a slow speed and maintain control throughout the drilling process.
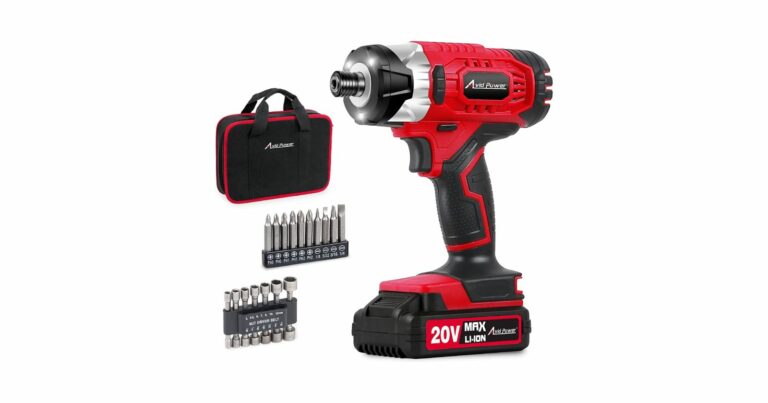
Further Reading: Best Impact Driver Drill Under$100.
Conclusion
Drilling a hole in glass may initially seem challenging, but with the right tools, techniques, and safety precautions, it becomes an achievable task. Remember to invest in a high-quality drill bit specifically designed for glass, choose the appropriate tool for your project, and follow the step-by-step guide provided in this article.
If you’re looking for additional resources, check out our comprehensive tool guide on our website. This guide offers valuable insights into various tools, their uses, and helpful tips for your DIY projects.
Now, armed with this knowledge, go forth and confidently drill holes in glass like a pro! Share your experiences and feel free to leave any comments or questions below. Happy drilling!


