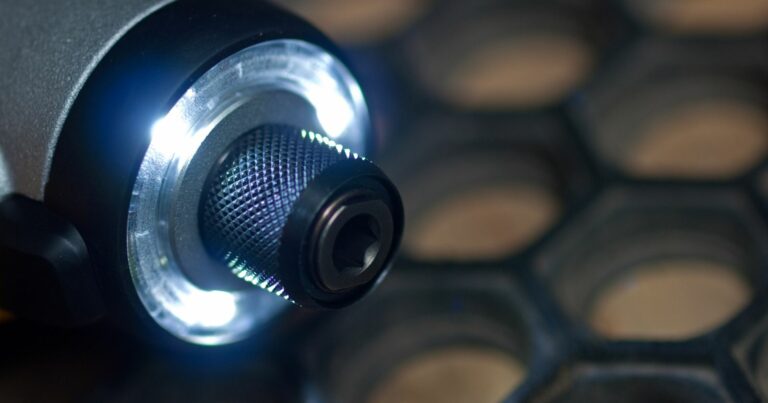
How To Drill Out A Broken Drill Bit
With this how-to guide, you’ll learn How To Drill Out A Broken Drill Bit
Breaking a Drill Bit: The Problem and The Solution
I know the feeling all too well. There I was, in the zone, making great progress on my project. Everything was going smoothly until—snap! My drill bit broke, and suddenly my project was at a standstill. The frustration was palpable, my schedule was thrown off, and now I had the added headache of a broken bit lodged in my workpiece. But don’t despair; I’ve navigated this tricky situation and am here to guide you through it. Together, we’ll learn how to drill out a broken drill bit safely and efficiently.
Why Do Drill Bits Break?
Before we tackle the solution, let’s get to the root of the problem. Why do drill bits break? In my experience, it could be anything from material fatigue to improper technique, or even attempting to drill into a material that’s too hard for the bit. And let’s not forget, sometimes the bit is just old and needs to be retired. Understanding why it happened can help us avoid a repeat performance.
The Importance of Acting Quickly
Trust me, time is not on your side when a drill bit breaks. The longer you leave that broken bit stuck, the harder it becomes to get it out. Factors like rust and corrosion start to play a role, complicating the extraction process. That’s why immediate action is crucial.
What This Guide Covers
In this guide, I’ll walk you through the A to Z of drilling out a broken drill bit. I’ll cover the tools you’ll need, the safety precautions you should take, and give you a detailed, step-by-step procedure for getting that pesky broken bit out. So, are you ready to roll up those sleeves and tackle this head-on?

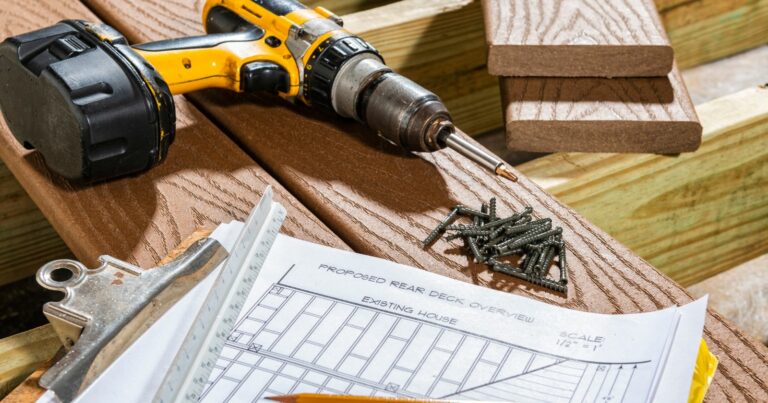
What You’ll Need: My Must-Have List for Drilling Out a Broken Drill Bit
Before I even think about tackling the extraction process, I make sure all my essential tools are within arm’s reach. Believe me, there’s nothing more frustrating than having to halt everything just to search for a tool that’s MIA. So, let’s get you fully equipped with this all-inclusive checklist.
My Go-To Tools: The Key Ingredients for Success
Having the right tools at your disposal is like having the perfect ingredients for a gourmet meal; it’s a game-changer. Here’s my detailed rundown of each tool you’ll need and why it’s a non-negotiable:
Screw (or Tap) Extractor: My Secret Weapon
When it comes to this task, my screw or tap extractor is my MVP. I always opt for one that’s a size smaller than the hole I’m dealing with. This tool is a marvel; it’s engineered to latch onto broken or stripped screws and works wonders on drill bits too. The threaded end digs into the broken bit as I turn it, making extraction a breeze. I always consult the manufacturer’s guidelines to ensure I’ve got the right size for my particular predicament.

Tapered Drill Bit with Reverse Threading: Not Your Average Drill Bit
This is far from your standard drill bit. I swear by my tapered drill bit with reverse threading when I’m in these sticky situations. The reverse threading is genius; as I drill, it pulls the broken piece out instead of pushing it further in. It’s a lifesaver for successful extractions.

Center Punch: My Guiding Light
I consider my center punch to be my guiding light in this process. It helps me pinpoint the exact spot for drilling, ensuring I stay on track. A well-placed divot from a center punch minimizes any chance of my drill bit wandering off course, making my job a whole lot easier.

Hammer: It’s Not Just for Nails
Any standard hammer will do the trick, but its role is more nuanced than you might think. I use it to gently tap my center punch, creating that crucial initial divot. Later on, it’s also indispensable for setting my screw extractor securely into the hole I’ve drilled. If I’m working on delicate materials, I might even switch to a rubber mallet.

Wrench: Where the Magic Happens
My trusty wrench is where the magic happens. It’s what I use to turn the screw extractor and, ultimately, get that broken drill bit out. It’s crucial to make sure the wrench fits snugly on the extractor; a poor fit can strip the extractor and make an already frustrating situation a nightmare.

Chisel or File: The Finishing Touch
If I’m dealing with a broken bit that has jagged or uneven edges, my chisel or file is a must. Smoothing out those edges not only makes it easier for the screw extractor to grip but also reduces the risk of causing further damage to the material I’m working on.

Cutting or Lubricating Oil: The Unsung Hero
Though it’s optional, a few drops of cutting or lubricating oil can be a game-changer. It minimizes friction between my drill bit and the broken piece, making the drilling process go off without a hitch. Plus, it cools down my tools, extending their lifespan and preventing any overheating, which is always a concern in operations like this.

Take a look at some of our related articles below.
- How To Drill A Hole In Glass With A Regular Drill Bit :In 5 Quick Steps
- How To Make A Hole In An Acrylic Sheet Without A Drill In 2023
- How To Drill A Hole In Glazed Ceramic Pots
Safety First: Prioritizing Well-being in the Extraction Process
Whenever I embark on a project, especially one as intricate as drilling out a broken drill bit, safety isn’t just a priority it’s a necessity. Over the years, I’ve realized that a few extra precautions can make a world of difference in ensuring a smooth, injury-free experience. Here’s a more in-depth look at the safety measures I swear by:
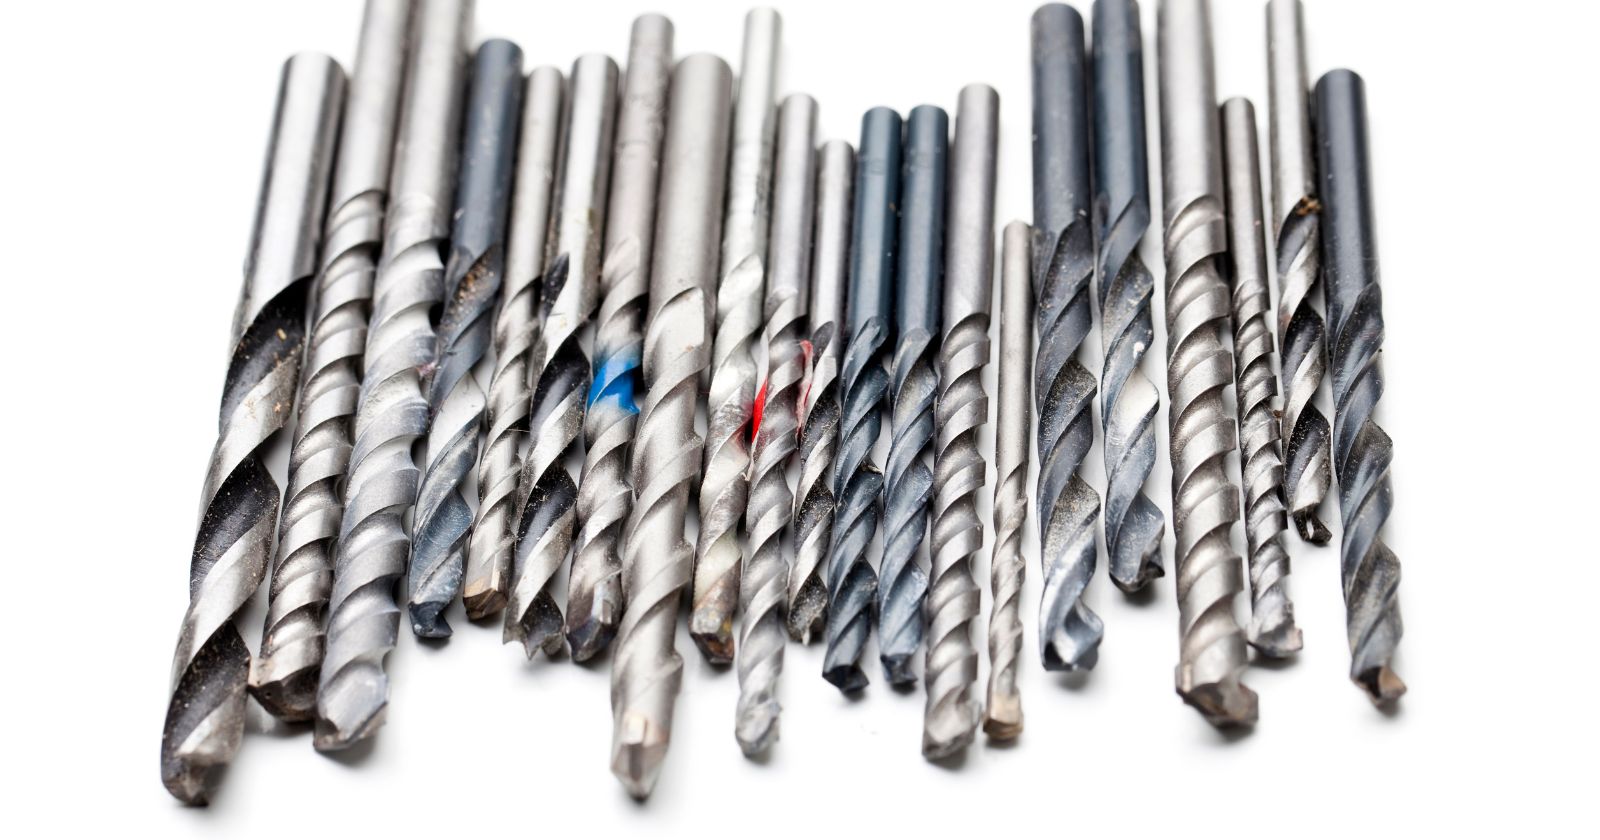
Handle with Care: The Delicate Nature of Broken Bits
Broken drill bits are deceptive. At first glance, they might seem harmless, but their jagged edges can be razor-sharp. I’ve had my fair share of nicks and cuts from underestimating them.
- Tips: Always use thick gloves when handling broken bits. This provides an added layer of protection against potential cuts. If the broken bit is lodged in a material, consider using needle-nose pliers for added precision and safety. And remember, if the bit has just broken during a drilling process, it could be hot. Give it a moment to cool down before you touch it.
Eye Protection: Shielding Your Most Valuable Tool
Our eyes are irreplaceable, and even a tiny shard can cause significant damage. When drilling or extracting, there’s always a risk of debris flying around.
- Tips: Invest in a good pair of safety goggles that fit snugly around your eyes, leaving no gaps. Regular glasses or sunglasses won’t cut it—they don’t offer the same level of protection. Ensure your goggles are ANSI-rated, as this certification guarantees they’ve been tested for safety. And always keep them clean; smudged or foggy goggles can impair your vision, leading to other risks.
Size Matters: Recognizing When to Pivot
While the method I’ve outlined works wonders for drill bits that are at least ¼” in diameter, smaller bits present a unique challenge. Their size makes them more fragile and harder to grip, increasing the risk of them breaking further or causing damage to the material you’re working on.
- Tips: If you’re dealing with a bit smaller than ¼”, consider alternative methods. Left-handed drill bits, for instance, can sometimes help in these situations. If you’re unsure, it might be worth consulting a professional or seeking advice from a local hardware store. Sometimes, the best course of action is to know when to call in the experts.
Safety is a mindset, not just a set of guidelines. By internalizing these measures and always being vigilant, you’re not only ensuring your well-being but also setting the stage for a successful and efficient extraction process. Remember, every project is a blend of patience, skill, and caution. Stay safe and drill on!
Watch This Video And Learn About How To Drill Out A Broken Drill Bit
I’ll go into more detail below.
Step-by-Step: My In-Depth Guide to Drilling Out a Broken Drill Bit
You’ve got your tools lined up and your safety gear on. Now, let’s get to the heart of the matter. Here’s my comprehensive, step-by-step guide to drilling out a broken drill bit, complete with pro tips and insights:
Step 1 – Prepare the Surface: The Foundation of Success
Before I even think about drilling, I focus on creating the ideal surface. Jagged or sharp edges on the broken bit can be a real hindrance during extraction.
- Tips: I use a chisel or a fine-grit file to smooth out these edges. I make sure to wear gloves during this process to protect my hands from any sharp points. The smoother the surface, the easier and safer the extraction will be.
Step 2 – Create a Starting Point: Your Roadmap to Success
The next step is all about precision. I position my center punch directly on the broken bit, making sure it’s perfectly aligned.
- Tips: When tapping the center punch with my hammer, I aim for a firm but controlled strike. This creates a divot deep enough to guide the drill bit but not so deep that it makes the extraction more difficult. I double-check the divot to ensure it’s centered before moving on.
Step 3 – Choose the Right Drill Bit: The Art of Selection
Choosing the right drill bit is crucial. I always go for one that’s smaller in diameter than the broken bit lodged in the material.
- Tips: After inserting the chosen drill bit into my drill, I apply a few drops of lubricating oil. This not only reduces friction but also helps to keep the drill bit cool, prolonging its life and ensuring a smoother drilling process.
Step 4 – Begin Drilling: The Delicate Dance
With my drill bit aligned with the divot, I start drilling at a slow, controlled speed.
- Tips: I aim for a depth of about ¼” to ½”, depending on the size of the broken bit and the material I’m working with. If my drill starts to overheat or if I feel resistance, I stop immediately. I let the drill cool down and assess the situation before proceeding.
Step 5 – Insert the Screw Extractor: The Key to Extraction
Once the hole is ready, it’s time for the screw extractor to shine.
- Tips: I gently tap the cone-shaped end of the screw extractor into the hole with my hammer. It should fit snugly but not too tightly. If it feels stuck, I gently wiggle it to ensure it’s properly seated.
Step 6 – Time for Extraction: The Final Frontier
This is the moment of truth. I attach my wrench to the screw extractor and start turning it anticlockwise.
- Tips: If the broken bit refuses to come out, I don’t force it. Instead, I apply a few more drops of lubricating oil and wait a minute or two for it to penetrate. Then, I gently apply pressure again with the wrench. Patience and finesse are often more effective than brute force.
By following this in-depth guide, you’re not just drilling out a broken drill bit—you’re mastering the art of problem-solving in DIY projects. Remember, each step is a building block to success, and patience is your best friend. Happy drilling!
Tips: My Comprehensive Guide to Avoiding Drill Bit Disasters
You’ve conquered the challenge of drilling out a broken drill bit, but let’s aim for prevention in the future. After all, the best problem is the one you never have. Here are my in-depth tips for ensuring your drill bits stay intact:
Lubrication is Key: More Than Just a Slick Move
Lubrication isn’t just an optional step; it’s a necessity, particularly when you’re drilling into hard or dense materials like steel, hardwood, or concrete.
- Tips 1: I always keep a bottle of high-quality cutting or lubricating oil within arm’s reach. A few drops can dramatically reduce friction, making the drilling process smoother and more efficient.
- Tips 2: Don’t just apply the lubricant at the start. For longer drilling operations, I pause periodically to reapply lubricant. This ensures that the bit stays cool and the material is less likely to bind up on the bit.
Secure Your Drill Bit: A Tight Fit for a Smooth Operation
A loose drill bit is a recipe for disaster. It can wobble, get caught, and ultimately snap, leaving you with a broken bit and a ruined workpiece.
- Tips 1: Before I even turn on the drill, I make sure the bit is securely fastened in the chuck. I give it a little tug and even a twist to make sure it’s not going anywhere.
- Tips 2: Some drills have a keyless chuck, while others require a chuck key to tighten. Whichever type you have, make sure you know how to use it effectively to secure the bit. If you’re using a chuck key, don’t forget to remove it before starting the drill!
Gradual Speed is the Way: The Balance of Speed and Control
Speed is a double-edged sword. While a high speed can make the job faster, it can also put undue stress on the drill bit, increasing the risk of breakage.
- Tips 1: I always start at a low speed to create a small “pilot hole,” which helps guide the drill bit and reduces the chance of it slipping or walking across the workpiece.
- Tips 2: Once the pilot hole is established, I gradually ramp up the speed. But I’m always mindful of the feedback from the drill. If it starts to struggle or if I feel excessive resistance, I know it’s time to back off a bit.
By incorporating these tips into your drilling routine, you’re not just avoiding the inconvenience of broken drill bits—you’re elevating your DIY skills to a professional level. Remember, a little precaution goes a long way in preventing a lot of headaches. Drill smart, not hard!
Related Post: Top 5 Best Handheld Angle Grinder For Concrete In 2023

FAQs
We know that drilling can bring up a lot of questions, especially when you’re dealing with something as tricky as a broken drill bit. That’s why we’ve compiled this FAQ section to address some of the most commonly asked questions. These are designed to provide quick, straightforward answers to help you on your drilling journey.
What Do I Do If My Drill Bit Breaks Off Inside the Material?
Don’t panic! A broken drill bit is a common issue that many DIYers face. The first step is to assess the situation and gather the right tools. You’ll need a screw or tap extractor, a specialized drill bit with reverse threading, a center punch, and a few other tools. Follow a step-by-step guide to carefully drill out the broken bit. Remember, safety is paramount, so make sure to wear appropriate protective gear.
How Do I Prevent My Drill Bits From Breaking?
Prevention is always better than cure. To minimize the risk of breaking your drill bits, always make sure to use the right bit for the material you’re drilling into. Lubricate the bit to reduce friction, especially when drilling into hard materials. Start at a slow speed and gradually increase it to avoid putting too much stress on the bit. Also, make sure the bit is securely fastened in the drill’s chuck to prevent wobbling.
Can I Drill Out a Broken Drill Bit from Any Material?
While it’s possible to drill out a broken drill bit from many types of materials, some are more challenging than others. Hard materials like steel or stone may require specialized drill bits and extractors. For softer materials like wood or plastic, the process is generally easier. Always assess the material and the situation before proceeding, and consider consulting a professional for particularly challenging cases.
By addressing these FAQs, we aim to make your drilling experience as smooth as possible. Whether you’re a novice or a seasoned DIYer, these answers should help you navigate the complexities of dealing with broken drill bits.
The Journey to Becoming a Drilling Maestro
You’ve navigated the complexities of dealing with a broken drill bit, and I hope you’ve found this guide to be more than just a troubleshooting manual. From understanding the essential tools and safety protocols to following a meticulous step-by-step extraction process, you’ve gained a holistic view of how to manage drill bits effectively. And let’s not forget the pro tips aimed at prevention—because the best problem is the one you never have to face.
The Takeaways: What You’ve Learned
- Safety First: Always prioritize safety measures to protect yourself from potential injuries.
- The Right Tools: Equip yourself with the correct tools for the job. The right tool can make or break your project.
- Step-by-Step Approach: A methodical, step-by-step approach is crucial for successfully drilling out a broken drill bit.
- Prevention is Key: With the right techniques and precautions, you can significantly reduce the risk of breaking a drill bit in the first place.
The Next Steps: Where to Go From Here
- Practice Makes Perfect: The more you drill, the more comfortable you’ll become with the process. So, don’t hesitate to practice these techniques on scrap material before tackling more significant projects.
- Keep Learning: The world of DIY is vast and ever-changing. Stay updated with new tools and techniques by reading blogs, watching tutorials, and even taking workshops.
Your DIY Journey: A Lifelong Learning Process
Drilling is a fundamental skill in the DIY world, but it’s also an art form that requires continuous learning and refinement. Whether you’re a weekend warrior or a seasoned pro, there’s always room for improvement.
So, as you embark on your next drilling adventure, remember to prepare adequately, act with caution, and always aim for precision and efficiency. The devil is in the details, and it’s those details that transform a good job into a great one.
Here’s to your success in all your future drilling endeavors. May your projects be fulfilling, your outcomes successful, and your drill bits eternally unbroken!
By internalizing these lessons and tips, you’re not just solving a problem—you’re elevating your DIY game to new heights. Happy drilling, and here’s to a future free of broken drill bits!