Impact Driver Countersink Bits: Achieving A Professional Finish
When it comes to achieving flawless finishes in your woodworking or metalworking projects, the devil is truly in the details. One such detail that often gets overlooked is the selection of the right countersink bit for your impact driver. The Impact Driver Countersink Bit is not just another accessory in your toolkit; it’s a critical component that determines the quality of the finish and the efficiency of your work. Whether you’re a seasoned professional or a passionate DIY enthusiast, understanding the nuances of choosing the right countersink bit can make all the difference in your projects.
In this guide, I’ll demystify the process of selecting the best Impact Driver Countersink Bit for your projects. I’ll explore the different types of countersink bits, their applications, and how to match them with your impact driver for optimal results. So, buckle up as I dive deep into the world of countersinking, ensuring that your next project not only meets but exceeds expectations.

Step-by-Step Guide to Countersinking with an Impact Driver
Once your workspace is prepared, follow these detailed instructions to achieve perfect countersink holes:
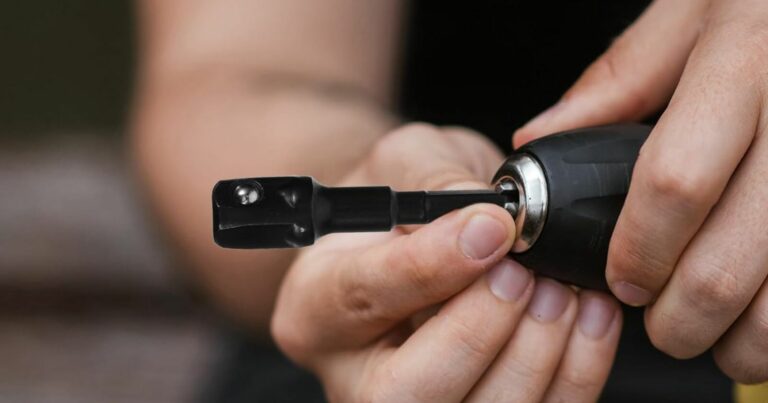
- Install the Countersink Bit: Securely attach your chosen countersink bit to your impact driver. Ensure it’s tightly fixed to avoid any slippage during operation.
- Adjust the Torque Setting: Set your impact driver to a lower torque setting initially, to prevent too much force from being applied too quickly.
- Align the Bit: Position the tip of the countersink bit on your marked spot. Ensure it’s perfectly perpendicular to the surface for an even finish.
- Apply Gentle Pressure: Start the driver at a low speed and apply gentle, steady pressure. Let the bit do the work; applying too much force can damage both the bit and the material.
- Increase Speed as Necessary: Gradually increase the speed of the impact driver as the bit cuts into the material, but be mindful not to go too fast, which can cause overheating and wear out the bit prematurely.
- Check the Depth: Periodically stop to check the depth of the countersink. Continue until the hole is slightly deeper than the screw head’s height for a flush finish.
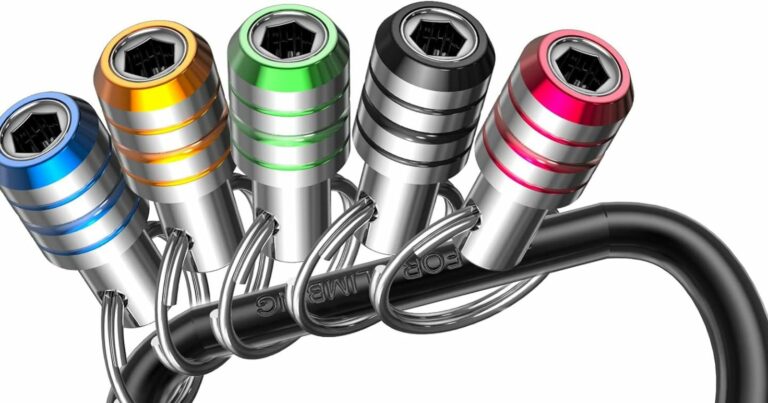
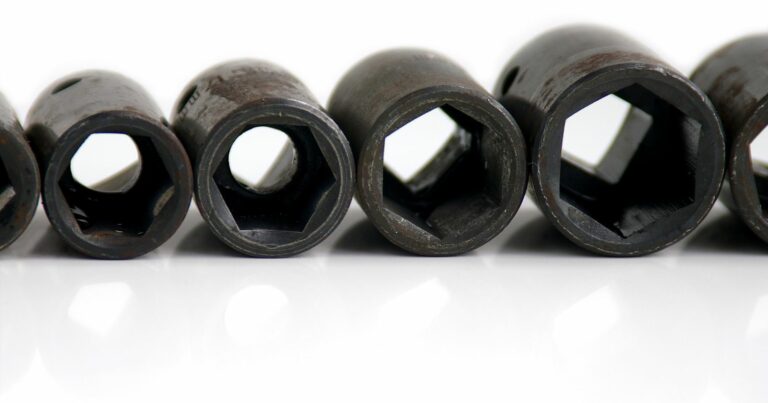
Types of Countersink Bits
Countersink bits come in a variety of materials and designs, each suited to different materials and applications. Here are the most common types:
- High-Speed Steel (HSS): Durable and resistant to high temperatures, HSS bits are perfect for general-purpose countersinking in soft materials like wood and plastic.
- Carbide-Tipped: Known for their hardness and longevity, carbide-tipped bits are ideal for working with harder materials, including hardwoods and metals, offering precision and durability.
- Cobalt Steel: Offering superior heat resistance and strength, cobalt steel bits are excellent for heavy-duty applications, particularly in stainless steel and other tough metals.
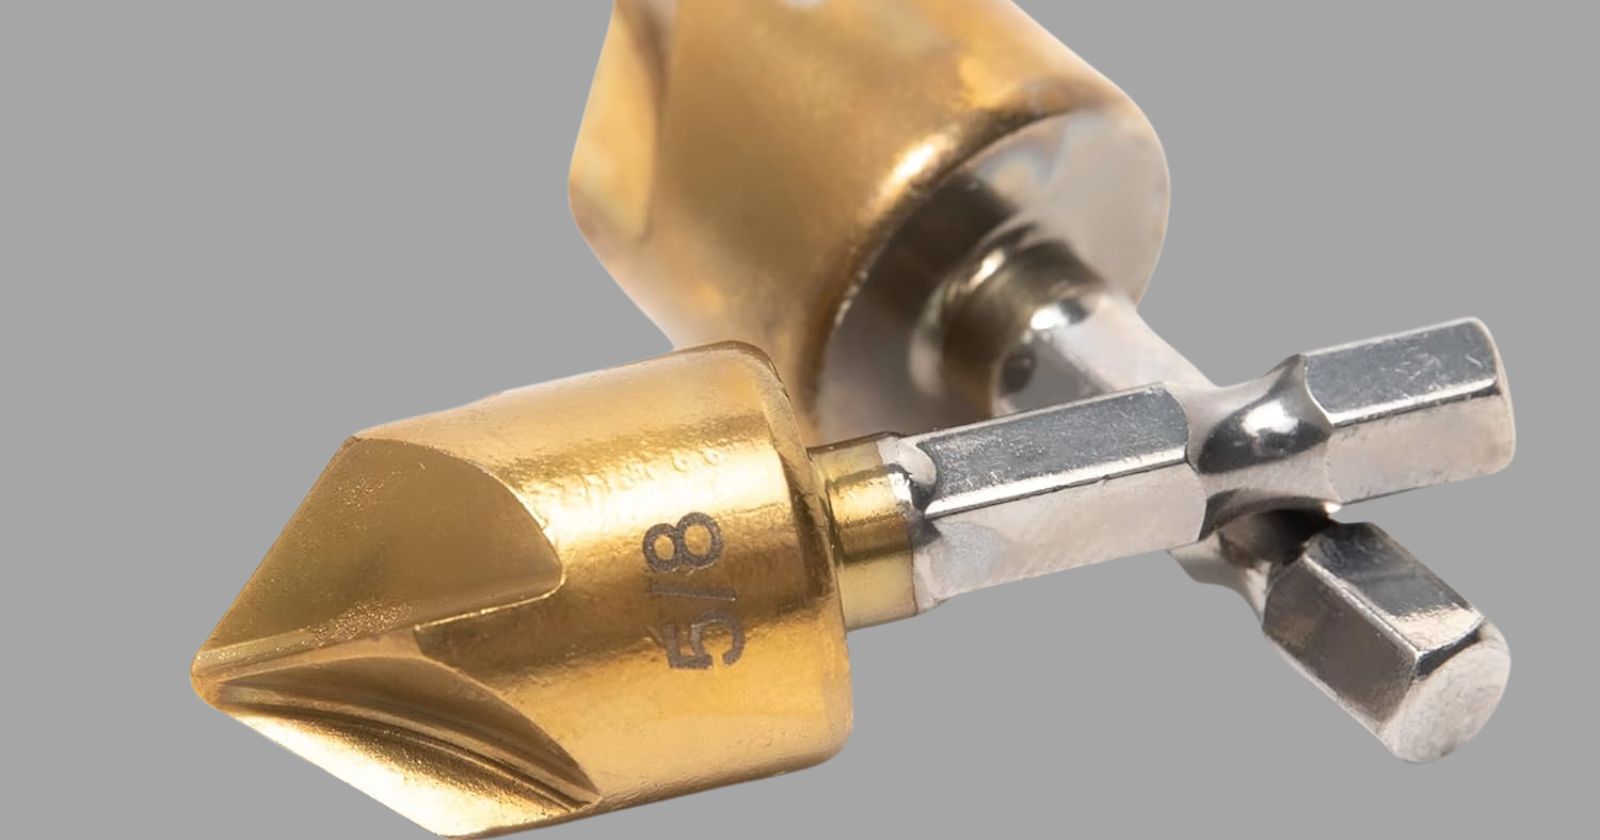
In addition to material differences, countersink bits also vary in design:
- Single-Flute: Offers a smoother and cleaner cut in softer materials.
- Multi-Flute: Provides a faster cutting speed, ideal for harder materials or when working with an impact driver for quicker, more efficient work.
- Cross-Hole: Features a cross-hole at the tip to aid in chip removal, reducing clogging and improving the finish in metalworking tasks.
Selecting the right type of countersink bit for your impact driver involves considering the material you’re working with and the desired finish. Whether you’re dealing with soft pine, hard oak, or durable metals, there’s a countersink bit designed to meet your needs, ensuring that every project benefits from the perfect blend of form and function.

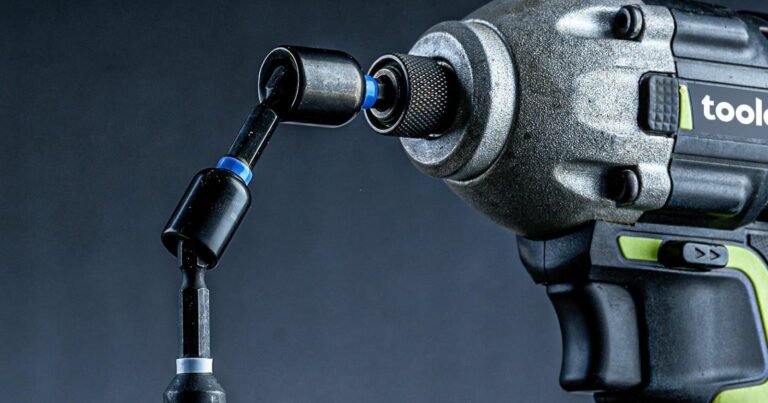
Why Use an Impact Driver for Countersinking?
Countersinking is a technique that, when mastered, can significantly enhance the quality and aesthetics of any project. While several tools can be used for this purpose, the impact driver stands out for its unique benefits, especially when paired with the right countersink bit. Let’s dive into why an impact driver is your best bet for countersinking tasks and the advantages it brings to the table.
Impact Driver vs. Traditional Drill
At first glance, impact drivers and traditional drills might seem interchangeable. However, when it comes to countersinking, the differences between these tools become starkly apparent. Here’s how they compare:
- Torque Delivery: Impact drivers are designed to deliver higher torque in short bursts (impacts), which allows for more controlled and powerful driving. This is particularly beneficial for countersinking, as it ensures that the bit cuts through the material smoothly without requiring excessive pressure.
- Ease of Use: Thanks to their compact design and the way they transfer impact, impact drivers can be easier to handle, especially in tight spaces or when working overhead. This ergonomic advantage reduces fatigue and increases precision in your work.
- Reduced Slip and Cam Out: The force applied by impact drivers is directed downwards, significantly reducing the chances of the bit slipping out of the screw head. This precision is crucial for countersinking, ensuring that every screw sits perfectly flush with the surface.
The Advantages of Using an Impact Driver Countersink Bit
When paired with an impact driver, a countersink bit becomes an even more powerful tool. Here are some advantages of using an impact driver countersink bit:
- Precision: The combination of an impact driver’s controlled torque and a high-quality countersink bit allows for unmatched precision. This precision ensures that each countersink hole is perfectly sized and shaped for the screw, resulting in a seamless fit every time.
- Efficiency: Impact drivers complete tasks more quickly than traditional drills, thanks to their high torque and impact mechanism. When you’re working on projects that require numerous countersink holes, this efficiency can save a significant amount of time.
- Reduced Wear and Tear: The impact mechanism of these drivers also means that there is less wear and tear on the countersink bit itself. This not only extends the life of your bits but also ensures consistent performance over time.
Using an impact driver for countersinking tasks offers a blend of precision, efficiency, and durability that traditional drills simply can’t match. By choosing the right impact driver countersink bit, you can elevate your projects to professional standards, achieving clean, flush finishes with ease.
Watch This Video And Learn About Impact Driver Countersink Bits: Achieving A Professional Finish
Best Practices for Using an Impact Driver Countersink Bit
Using an impact driver countersink bit effectively not only enhances the quality of your work but also ensures a safer and more enjoyable woodworking or metalworking experience. To achieve the best results, there are specific practices you should follow, from preparing your work surface to troubleshooting common issues. Let’s break down these best practices into actionable steps.
Preparing Your Work Surface
Before you begin countersinking, the preparation of your work surface is crucial. Proper preparation not only ensures precision but also significantly reduces the risk of accidents. Here are the steps to follow:
- Secure the Material: Make sure the piece you’re working on is firmly clamped down to prevent any movement. This stability is crucial for accurate countersinking.
- Mark Your Spot: Clearly mark where you intend to countersink. Precision at this stage prevents mistakes and ensures that the finished product looks professional.
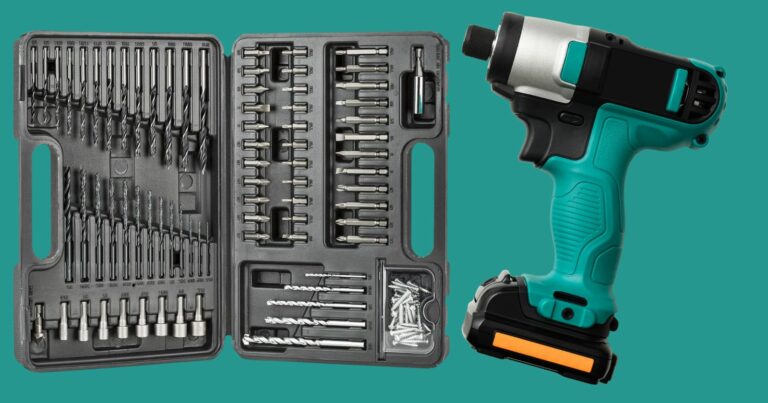
- Choose the Right Bit: Select a countersink bit that matches the size and type of screw you’ll be using. Incorrect bit selection can lead to poor results and wasted effort.
Maintaining Your Impact Driver Countersink Bits
Proper maintenance of your impact driver countersink bits is essential to ensure their longevity and optimal performance. Regular cleaning, correct storage, and timely sharpening can make a significant difference in their effectiveness and the quality of your work. Here are some tips to help you keep your countersink bits in top condition.
Cleaning and Storage Tips
Keeping your countersink bits clean and properly stored not only extends their life but also maintains their precision. Follow these guidelines to keep your bits in pristine condition:
- Cleaning After Use: Always clean your countersink bits after each use. Wipe away any debris or dust with a soft cloth. For bits with stubborn residue, use a brass brush to gently remove it without damaging the cutting edges.
- Lubrication: Occasionally, applying a light lubricant can prevent rust and corrosion, especially if you’re storing your bits in a humid environment. Ensure the lubricant is suitable for metal tools to avoid any adverse effects on the bit or your workpiece.
- Proper Storage: Store your countersink bits in a dedicated tool organizer or case. This not only protects the bits from physical damage but also makes it easier to find the right size when you need it. Avoid throwing bits loosely into a toolbox where they can get damaged or lost.
- Dry Environment: Ensure that your storage area is dry and free from extreme temperature changes. Moisture can lead to rust, which significantly diminishes the bit’s performance and lifespan.
Regular maintenance, including cleaning, proper storage, and sharpening, will ensure that your impact driver countersink bits remain effective and reliable tools in your woodworking or metalworking projects. By taking care of your bits, you can achieve consistently high-quality finishes and extend the lifespan of these essential tools.

Wrapping Up The Impact Driver Countersink Bits: Achieving A Professional Finish
As I’ve explored the nuances of selecting, using, and maintaining impact driver countersink bits, it’s clear that these tools are indispensable for achieving professional-grade finishes in woodworking and metalworking projects. The right countersink bit not only enhances the aesthetic appeal of your work but also ensures durability and strength in the final product. From understanding the different types of countersink bits to mastering the best practices for their use, I’ve covered essential tips to help you excel in your projects.
I encourage you to not only invest in quality bits but also to continuously seek knowledge and improvement in your craft. The world of woodworking and metalworking is ever-evolving, and staying informed about the best tools and practices is key to success.