Easy Workbench Build: Step-by-Step with An Impact Driver
As a DIY enthusiast or professional, having a sturdy workbench is essential. Let me show you how I built my reliable workbench using just an impact driver. Follow along, and you’ll have your own workbench ready in no time!

Step-by-Step Guide to Building a Workbench with an Impact Driver
Building a workbench might seem like a daunting task, but with an impact driver and a bit of know-how, it becomes an achievable and rewarding project. Follow this step-by-step guide to create a sturdy and functional workbench for your workspace.
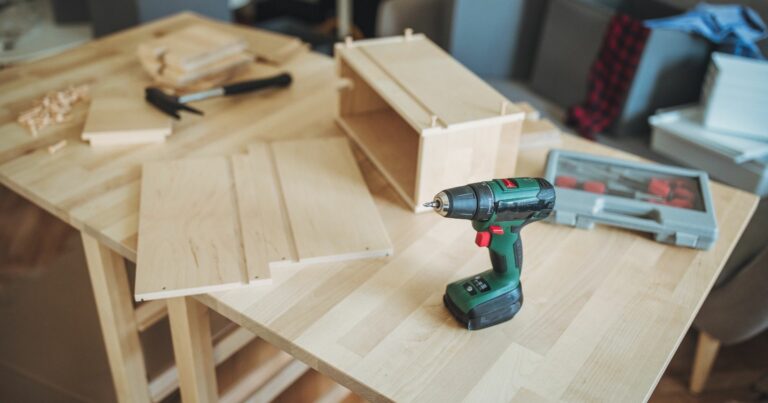
Cutting the Wood to Size
Safety Tips:
- Always wear safety glasses and gloves to protect yourself from splinters and sawdust.
- Ensure your work area is well-lit and free of any obstructions.
- Keep your fingers away from the path of the saw blade.
Step-by-Step Cutting Instructions:
- Measure twice, cut once: Double-check your measurements before making any cuts to avoid mistakes.
- Mark your lumber with a pencil and a straight edge for precise cuts.
- Use clamps to secure the wood to your work surface, ensuring it doesn’t move while cutting.
- Follow your marked lines with a circular saw, keeping the saw steady and at a consistent speed for clean cuts.
Assembling the Frame
Detailed Assembly Steps:
- Lay out the cut pieces for the frame on your work surface, arranging them in their final positions.
- Apply wood glue at the joints for extra strength.
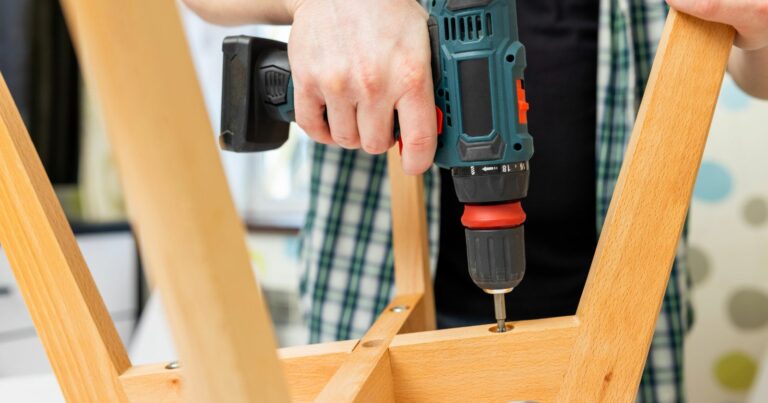
- Use your impact driver and wood screws to join the pieces together. Start with the corners, ensuring they are square.
- For the best results with your impact driver, pre-drill holes to avoid splitting the wood, especially near the ends.
How and Where to Use the Impact Driver for Best Results:
- When driving screws, apply steady pressure and let the impact driver do the work. The high torque will drive screws quickly and efficiently without stripping them.
- Use the impact driver for attaching the legs to the frame, ensuring a tight and secure fit.
Watch This Video And Learn About Building A Workbench With An Impact Driver
Attaching the Workbench Top
Preparing the Top:
- Once the frame is assembled, lay the workbench top upside down on a flat surface.
- Place the frame on top, centering it on the underside of the workbench top.
Securing it to the Frame with Precision:
- Pre-drill holes through the frame and into the underside of the top to prevent wood splitting.
- Use your impact driver to secure the top to the frame with screws, ensuring an even distribution for a firm attachment.
Finishing Touches
Sanding and Treating the Wood:
- Sand the entire workbench, starting with a coarse grit sandpaper and working your way up to a fine grit for a smooth finish.
- Apply a wood treatment or sealant to protect the wood from moisture and wear. This will also give your workbench a professional, finished look.
Optional Additions like Drawers or Shelves:
- Consider adding drawers or shelves for additional storage. Measure and cut the wood to fit, then assemble using your impact driver.
- Attach the drawers or shelves to the frame, ensuring they are secure and level.
By following these detailed steps and utilizing your impact driver, you’ll build a sturdy, functional workbench that will serve as a cornerstone for countless projects. Enjoy the process and the satisfaction of creating something truly valuable for your workspace.

Wrapping up Easy Workbench Build: Step-by-Step with An Impact Driver
Building a workbench doesn’t have to be complicated at all. With the right materials and tools, I was able to create a durable and practical workbench in just a few simple steps. Trust me, if I can do it, so can you! Happy building!