

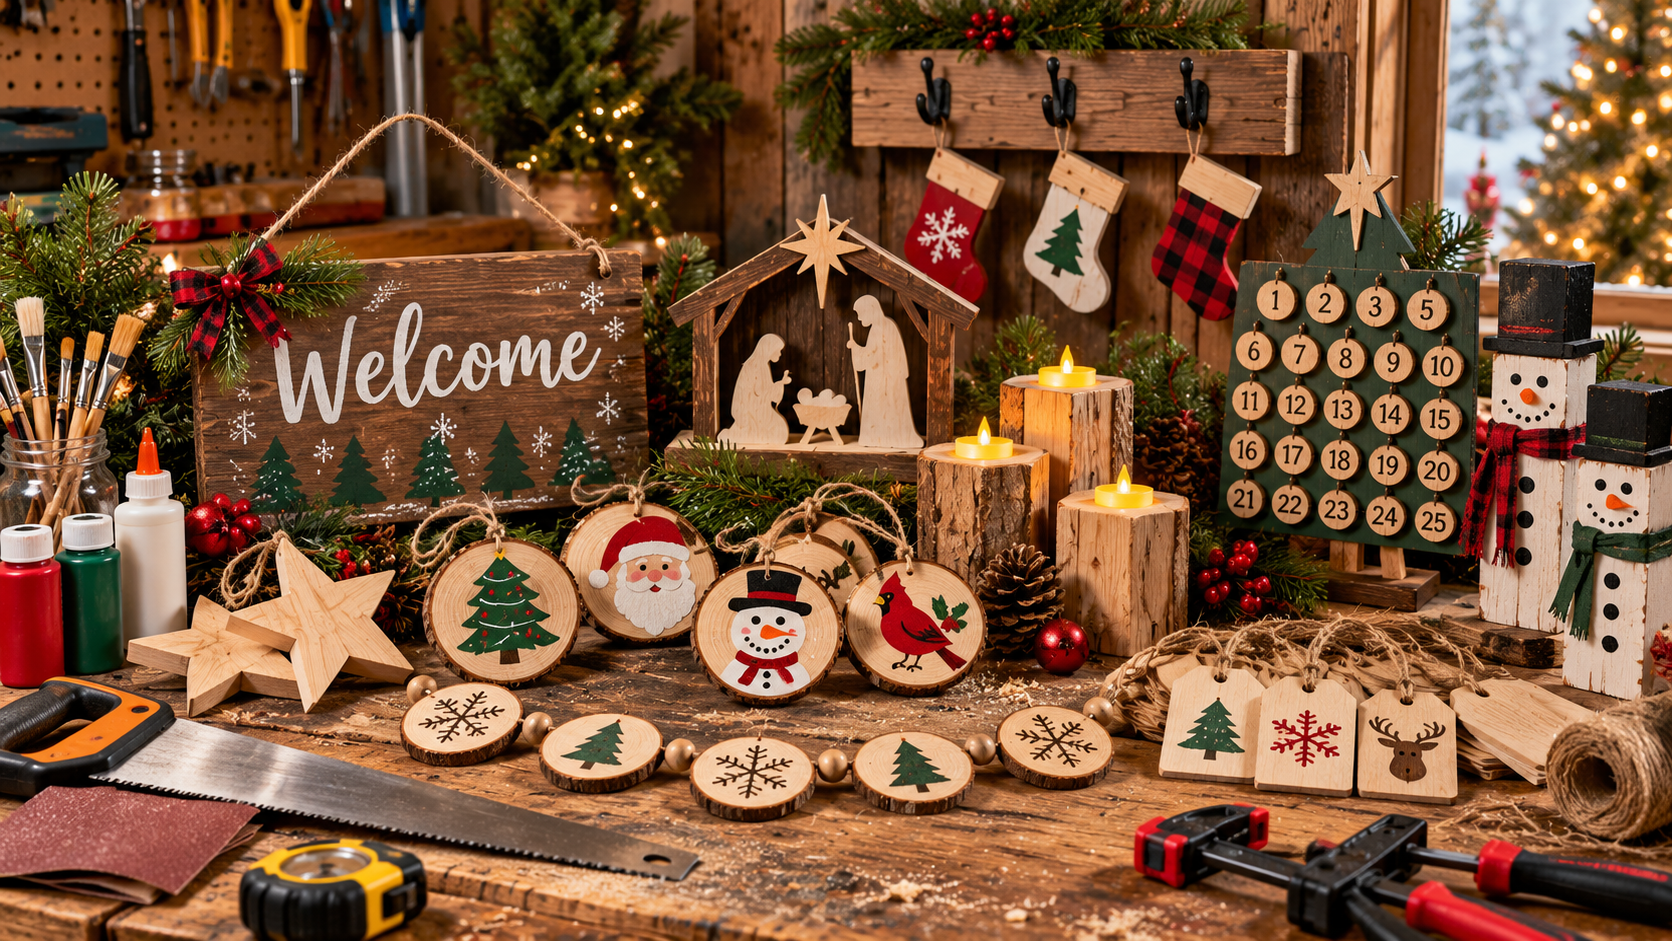
11 DIY Christmas Wood Projects Using Scrap Wood And Simple Tools
If you have a few leftover boards and a free weekend, you have enough to make something you’ll hang every December. The easiest DIY Christmas wood projects for beginners are painted precut ornaments, a small welcome sign, and scrap wood stars, and precut ornaments need the fewest tools with no power saw at all. Start there, and you’ll build the skills for everything else on this list.
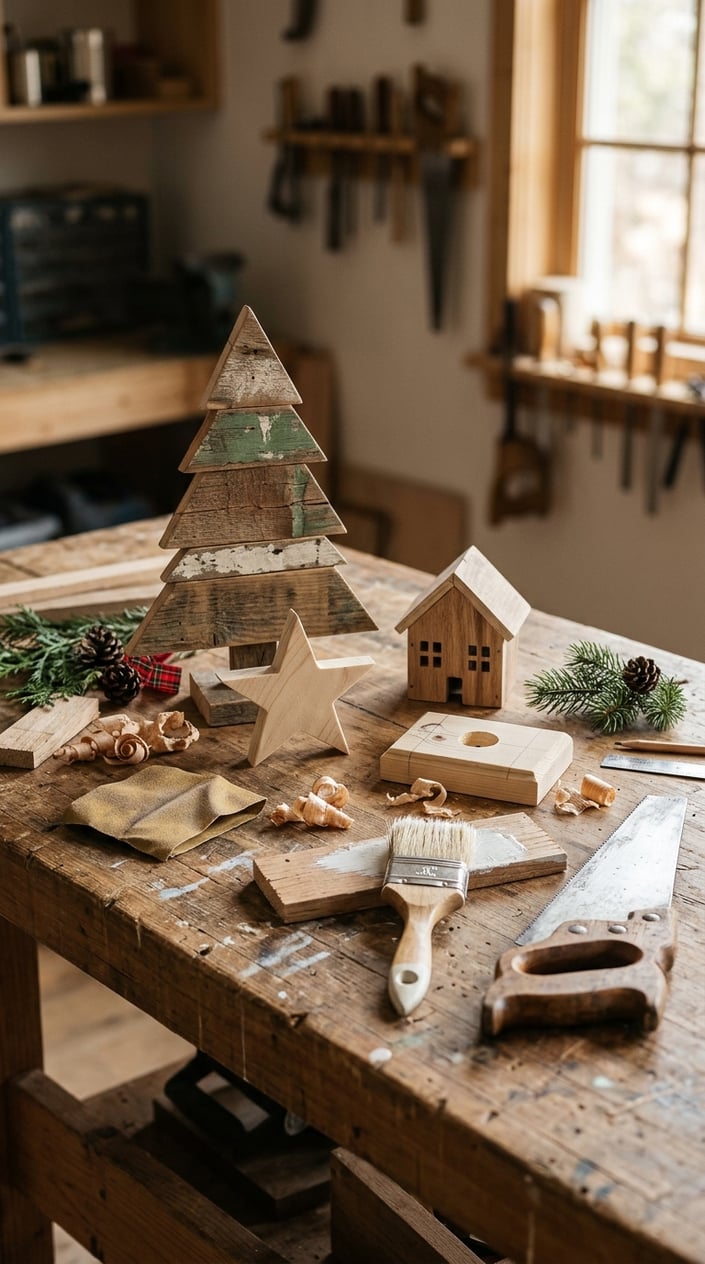
All 11 ideas below fit a garage workbench or a small craft table. Each one comes with supplies, tools, a skill level, a display spot, and one honest drawback, so you can match a project to your space and your comfort level before you cut anything.
Which Three Christmas Decorations Are Easiest To Make First?
Painted precut ornaments come first because they need only sandpaper, paint, and string. The welcome sign adds one or two straight cuts, and the stars need short strips that you cut with a hand saw or buy precut from a craft store.
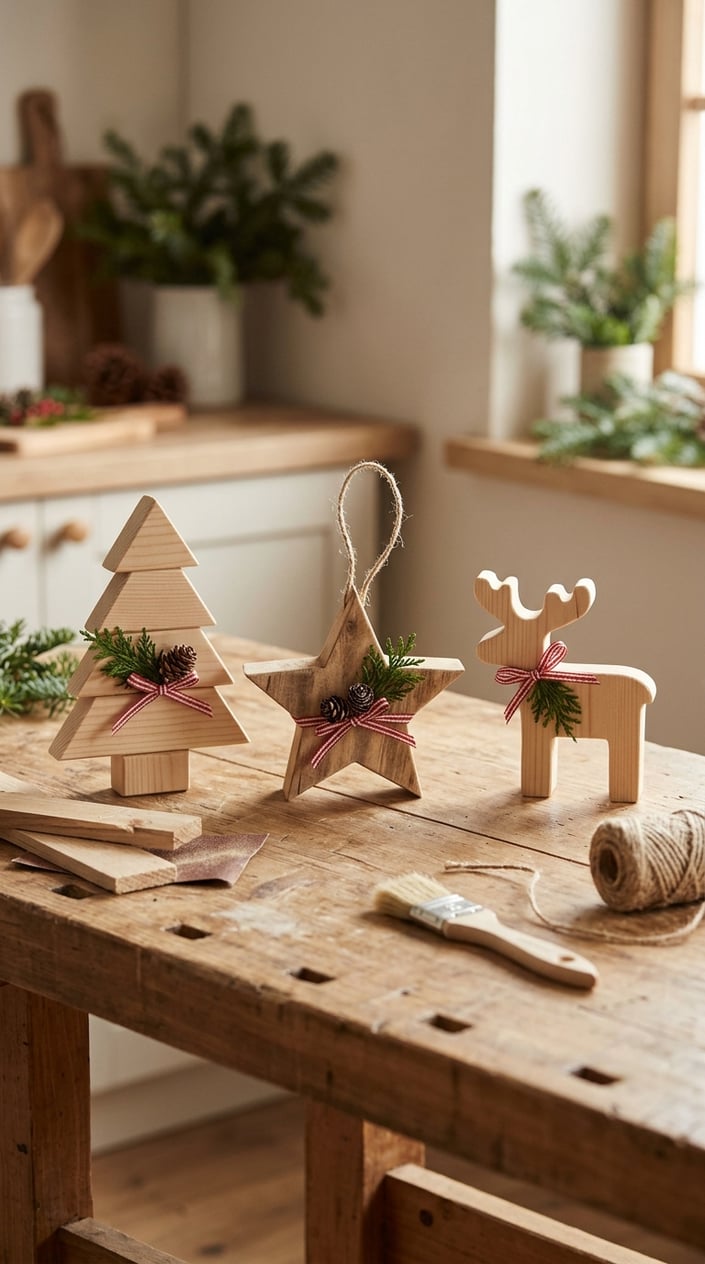
Painted Wooden Ornaments Using Precut Shapes
Supplies: precut wood shapes with holes (stars, trees, circles), acrylic paint or paint pens, twine or ribbon, clear water based sealer
Tools: 220 grit sandpaper, small brushes
Skill level: Very easy, kid friendly with help
Display: Tree branches, gift packages, a window
- Sand the faces and edges lightly until smooth.
- Wipe off dust with a dry cloth.
- Paint a base coat and let it dry fully.
- Add details with paint pens, like names or the year.
- Seal both sides once the paint is dry.
- Thread twine through the hole and tie a loop.
Drawback: Thin precut shapes chip if dropped, so pad them in storage.
Best Pick For This Project
If you’re just getting started, I recommend using precut wooden Christmas ornaments. You can skip the cutting, grab some paint and brushes, and get right to decorating. Look for a kit with smooth wooden shapes and hanging string so you won’t need a drill.
A Small Christmas Welcome Sign
Supplies: one scrap pine board (a 1×6 works well), paint, a stencil, sawtooth hanger or twine with two screw eyes
Tools: tape measure, square, pencil, hand saw, sandpaper, clamp
Skill level: Easy
Display: Front door (covered porch), entry wall, mantel
- Measure and mark your length with a square.
- Clamp the board and cut along the line with a hand saw.
- Sand the cut edges and faces.
- Paint a background color and let it dry.
- Tape your stencil down and dab paint lightly to avoid bleeding.
- Attach the hanger to the back center.
Drawback: Uneven cuts show on a sign. If your hardware store will cut boards for you, ask.
Best Pick For This Project
I always recommend using reusable Christmas stencils if you’re not comfortable painting designs by hand. This set includes Christmas trees, snowflakes, and holiday lettering that can help you dress up a simple wooden sign. The 3-inch designs work nicely on smaller boards, and you can reuse them for ornaments and other Christmas crafts.
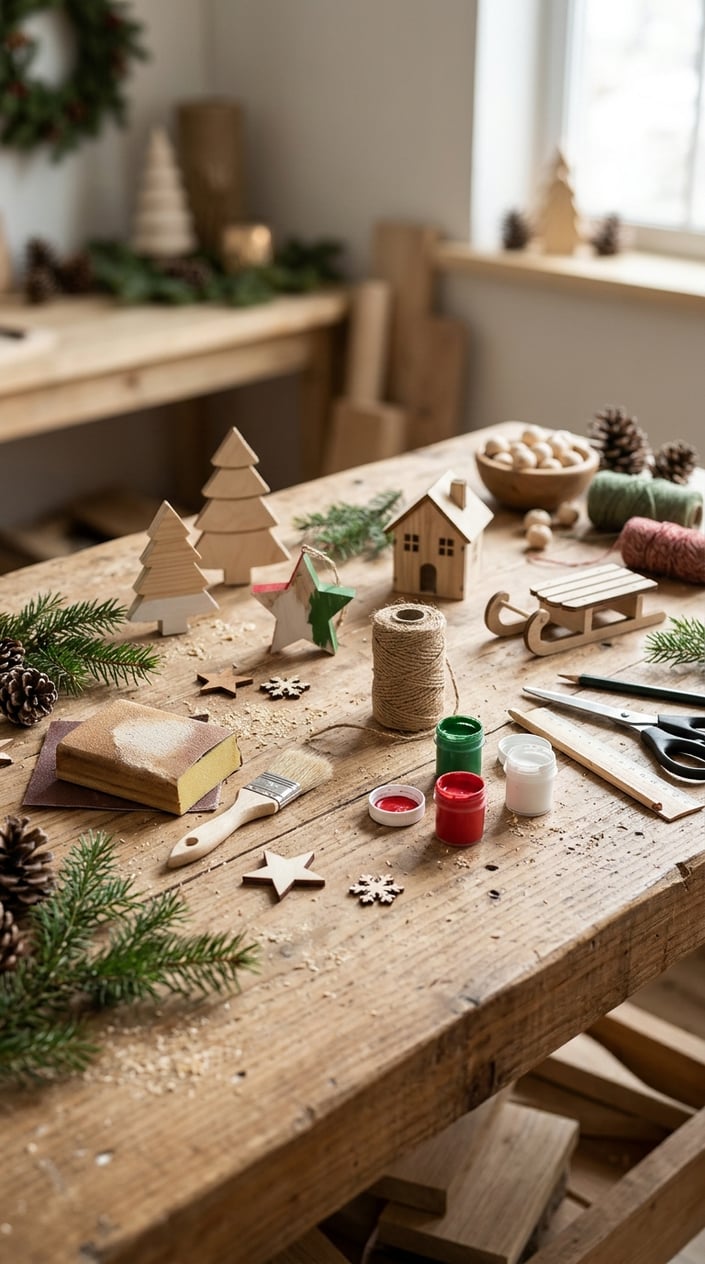
Scrap Wood Stars Made with Simple Strips
Supplies: five equal wood strips (paint stirrers or thin lattice), wood glue, paint, twine
Tools: hand saw or precut strips, clamps or clothespins, sandpaper
Skill level: Easy to moderate
Display: Wall above a mantel, front of a cabinet, tree topper if light
- Cut five strips to the same length.
- Sand each strip smooth.
- Lay them out in a star shape on wax paper.
- Glue each overlapping joint.
- Clamp the joints and let the glue cure fully.
- Paint, then add a hanging loop.
Drawback: The joints stay weak until the glue cures, so don’t rush the hanging step.
Best Pick For This Project
I like using precut wooden craft sticks for Christmas stars because they save you the trouble of measuring and cutting small pieces of wood. These 8-inch sticks are a good size for making lightweight decorations for a wall or mantel. Just arrange five sticks into a star, glue the overlapping joints, and let everything dry before painting. The rounded ends give your stars a simple, handmade look.
What Tools, Materials, And Techniques Do You Need?
A small kit of hand tools, clean pine, and patience with glue and paint covers every project here. Careful marking, clamping, and drying prevent most beginner problems before they start.
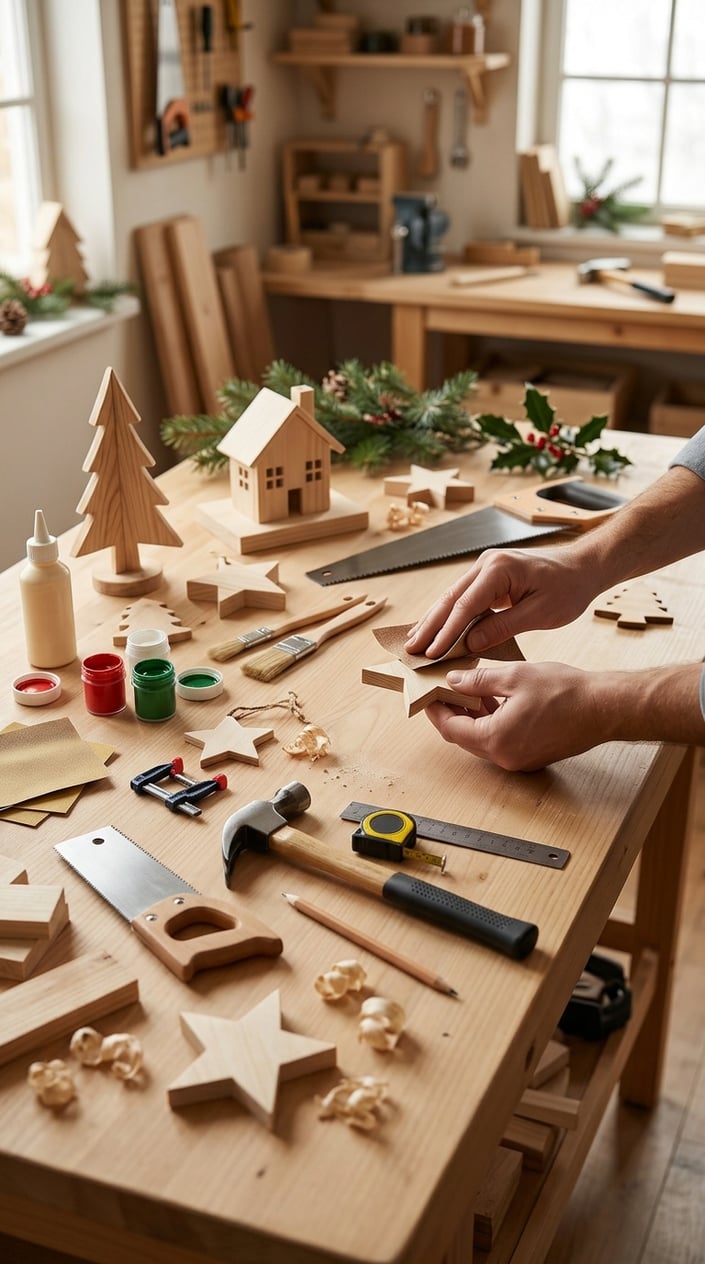
Choosing Scrap Pine, Precut Shapes, and Safe Reclaimed Wood
I always recommend scrap pine for beginners. It’s soft, cuts easily by hand, and takes paint well. Precut craft shapes save you the cutting step completely.
Be picky with reclaimed wood. Skip boards with old flaking paint (it might contain lead), unknown chemical stains, rot, deep cracks, or loose knots. Pallets stamped “MB” were treated with a pesticide, so leave those behind.
Basic Supplies for Small Space Crafting Without Power Tools
You can finish most of these projects with this short list:
- Tape measure, pencil, and combination square
- Fine tooth hand saw and a miter box
- Two or three small clamps
- Sandpaper in 120 and 220 grit
- Wood glue
- Acrylic paint, paint pens, and stencils
- Hand drill or small cordless drill for pilot holes
Cover your table with a drop cloth or cardboard first. Paint and glue drips are much easier to stop than to scrape.
Accurate Marking, Secure Clamping, and Pilot Holes
The key is to mark every cut with a square and a sharp pencil. Crooked lines lead to crooked signs and wobbly bases.
Clamp your wood before you cut or drill. A board that slides is how fingers get hurt. Drill a pilot hole before every screw in pine; it stops the thin wood from splitting.
How to Sand, Paint, and Finish Wooden Decorations
Sand with 120 grit, then 220, always with the grain. Wipe away dust before painting, or the paint dries gritty.
Let each coat dry as long as the label says. Use a water based sealer over acrylic paint so the two work together. For porch pieces, choose an exterior rated finish and rust resistant hardware. Keep painting areas ventilated and follow the product label.
Safe Cutting, Wood Dust Control, and Adult Tool Supervision
Wear safety glasses for every cut, sanding job, and drilling step. Put on a dust mask when you sand, and sweep or vacuum dust instead of blowing it around.
Keep saw blades and knives sharp, since dull tools slip. Power tools are for adults only. Kids can sand, paint, and string ornaments while an adult handles cutting and drilling.
Beginner Mistakes That Cause Rough Finishes and Unstable Decorations
- Skipping sanding: Paint shows every splinter and fuzzy fiber.
- Painting too soon: Tacky paint smears and sticks to storage bins.
- Rushing glue: Joints pop apart once you hang the piece.
- Narrow bases: Standing pieces tip over on a busy shelf.
- Choosing too big: Start small. A finished ornament beats a half built project.
Eight More Scrap Wood Decorations For Gifts And Holiday Displays
These eight projects reuse the same skills: straight cuts, sanding, gluing, and painting. A few add simple hardware like hooks or screws, and the wall pieces need proper anchors. If you want a bigger build later, browse these wooden Christmas tree ideas once you’ve finished a few smaller pieces.
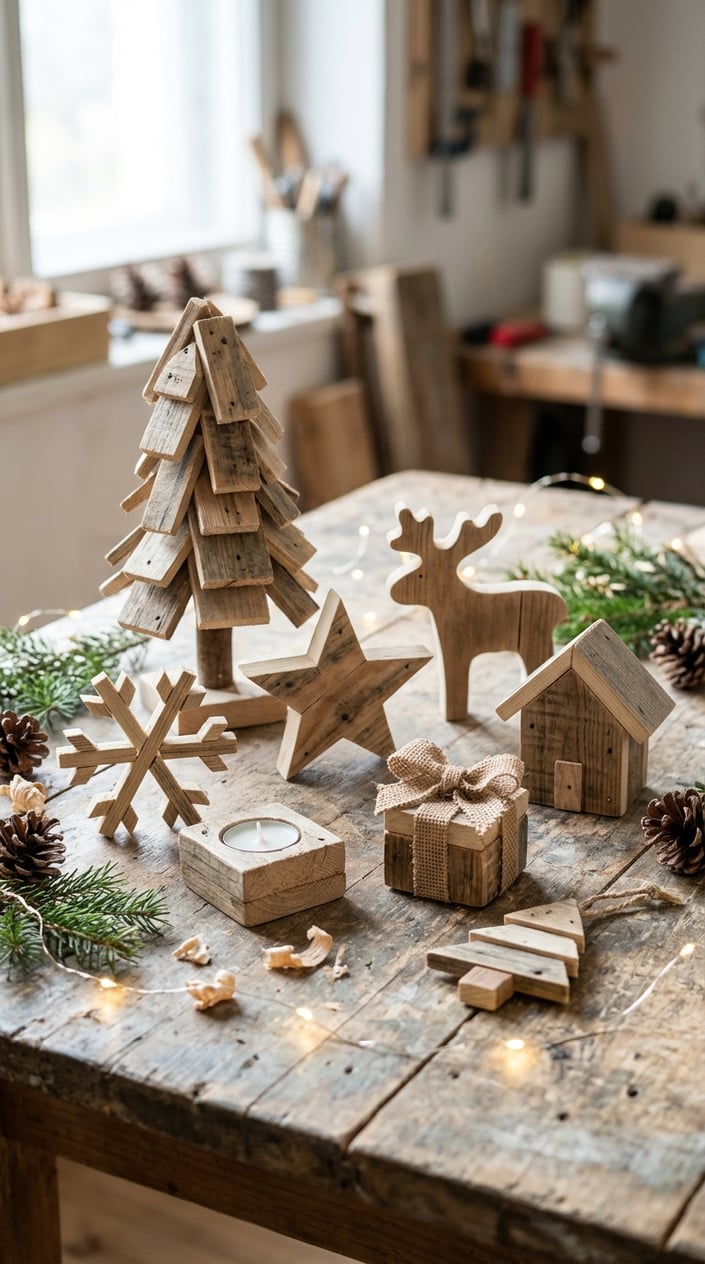
Supplies: thin wood rectangles or precut tags, paint pens, twine
Tools: sandpaper, hand drill with a small bit
Method: Sand, drill a hole near one end, write the name in paint pen, and tie it to the gift.
Skill level: Very easy
Display: On packages, then on the tree
Drawback: Names are permanent, so leave a blank side for reuse.
Best Pick For This Project
I like using unfinished wooden gift tags because they’re a simple way to make Christmas presents feel a little more personal. These wooden tags already have holes and come with twine, so you can skip the drilling and get straight to decorating. Just add a name, a little painted Christmas design, or a holiday message. They’re also nice for labeling homemade gifts or hanging on the Christmas tree.
A Lightweight Wooden Garland
Supplies: thin pine or cedar offcuts, twine, paint
Tools: hand saw, drill, sandpaper
Method: Cut small rectangles or triangles, drill a hole in each, paint, and thread onto twine with knots between pieces.
Skill level: Easy
Display: Mantel, window, stair rail with small clear hooks
Drawback: Drilling many small pieces takes patience; clamp each one.
Best Pick For This Project
I like using precut wooden snowflakes for a Christmas garland because they save you from cutting and drilling a bunch of small pieces. These unfinished snowflakes already have hanging holes and come with twine, so you can paint them or leave the natural wood showing. String a few together with knots between each one, and you’ve got a simple handmade garland for your mantel or window. Just remember to space them out so the garland doesn’t get too heavy.
Scrap Wood Candle Blocks for LED Tea Lights
Supplies: 2×4 or 4×4 scraps, LED tea lights only
Tools: hand saw, drill with a Forstner bit, clamps, sandpaper
Method: Cut blocks at different heights, clamp, drill a shallow pocket sized to the tea light, and sand.
Skill level: Moderate (adult drilling)
Display: Dining table, mantel
Drawback: Never use real flames in wood holders.
Best Pick For This Project
I always recommend battery-operated LED tea lights for wooden Christmas candle holders. You get that warm, cozy glow without worrying about an open flame near the wood. These Homemory tea lights have a built-in timer that runs for six hours each day, which is handy when you’re decorating a mantel or dining table. Just measure the lights before drilling your wood blocks so they fit securely in the openings.
A Tabletop Nativity Silhouette with a Stable Base
Supplies: thin plywood, a scrap block for the base, wood glue, small screws, black paint
Tools: coping saw, drill, clamps, sandpaper
Method: Trace a simple outline, cut it with a coping saw, sand, paint, then glue and screw it into a slot or onto a wide base block.
Skill level: Moderate
Display: Shelf or side table
Drawback: Detailed shapes are hard to cut by hand; keep the outline simple.
Best Pick For This Project
If you’re making a wooden nativity silhouette, a coping saw is a handy tool to have around. I like this option for beginners because you can cut simple curves in thin plywood without investing in an electric saw. This JORGENSEN coping saw comes with two replacement blades, which is helpful when you’re learning. Just clamp your wood securely, wear safety glasses, and take your time following the outline.
A Wood Slice Wreath
Supplies: branch slices, a wreath ring or sturdy plywood circle, wood glue, ribbon
Tools: clamps, sandpaper
Method: Sand the slices, arrange them tightly on the ring, glue, and let cure before hanging with ribbon.
Skill level: Easy
Display: Indoor door, cabinet, above a mantel
Drawback: It’s heavier than it looks, so use a sturdy hook.
A Wooden Advent Countdown Board
Supplies: scrap board, 24 small cup hooks, thin numbered tags, sawtooth hanger
Tools: square, pencil, drill, sandpaper
Method: Mark an even grid, drill tiny pilot holes, twist in hooks, and hang numbered tags.
Skill level: Easy to moderate
Display: Kitchen or hallway wall
Drawback: Sloppy marking makes rows look crooked.

A Wall Mounted Stocking Rack
Supplies: 1×4 or 1×6 pine board, sturdy hooks, screws, wall anchors
Tools: level, drill, stud finder, sandpaper
Method: Sand and paint the board, pre drill and attach hooks, then screw it into studs or rated wall anchors with a level.
Skill level: Moderate
Display: Living room wall when you lack a mantel
Drawback: Full stockings get heavy; skip adhesive strips.
Painted Scrap Wood Snowmen for a Shelf
Supplies: 2×4 or 4×4 offcuts, white and accent paint, fabric scraps for scarves
Tools: hand saw, miter box, sandpaper
Method: Cut blocks with square bottoms, sand, paint white, add faces, and tie on scarves.
Skill level: Easy
Display: Bookshelf, windowsill
Drawback: An angled bottom cut makes them tip, so use a miter box.
FAQs About My DIY Christmas Wood Projects
Are Christmas wood crafts easy enough for beginners?
Yes, simple DIY wood Christmas decorations like painted ornaments and small welcome signs are great starting projects because they require very few tools.
What scrap wood Christmas projects work well in small spaces?
Painted wooden snowmen, reusable gift tags, and lightweight garlands are easy ways to turn leftover wood into holiday decorations without taking up much room.
Can I make wood slice Christmas crafts without power tools?
Yes, you can make a wood slice wreath using precut wood slices, sandpaper, wood glue, and a sturdy wreath base without needing a power saw.
Final Thoughts About DIY Christmas Wood Projects
One thing I love about DIY Christmas Wood Projects is that you don’t have to be an experienced woodworker to make something worth keeping. Start with a simple ornament, a small wooden sign, or a few painted snowmen, and work your way up as you get comfortable with the tools.
Take your time with the sanding, let the paint dry, and don’t worry about making every little detail perfect. Sometimes those handmade touches are what make Christmas decorations feel the most special, especially when you bring them out again next year

Willie Drew
I’m Willie Drew, and I’m here to help you turn your home into a space you’re proud to show off using simple projects, smart tools, and realistic budgets.