

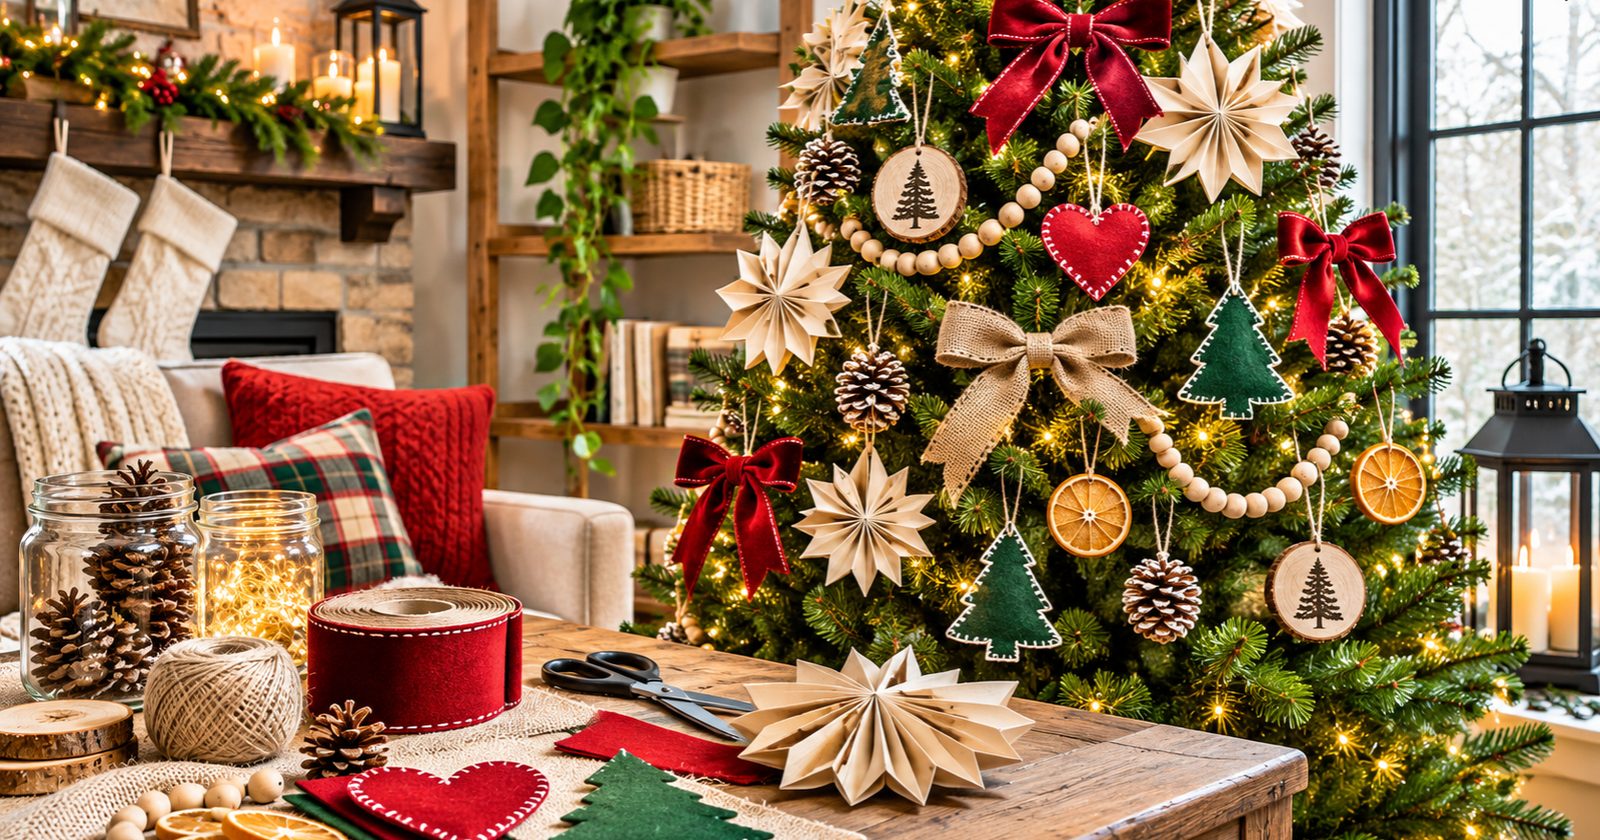
12 DIY Christmas Tree Decorations Made With Simple Supplies
Handmade decorations make a tree feel personal, and most of them start with supplies already in your junk drawer. The best DIY Christmas tree decorations for beginners are lightweight pieces like ribbon bows, folded paper stars, felt shapes, and a cardstock topper, because they cost little, hang safely on thin branches, and store flat after the holidays.
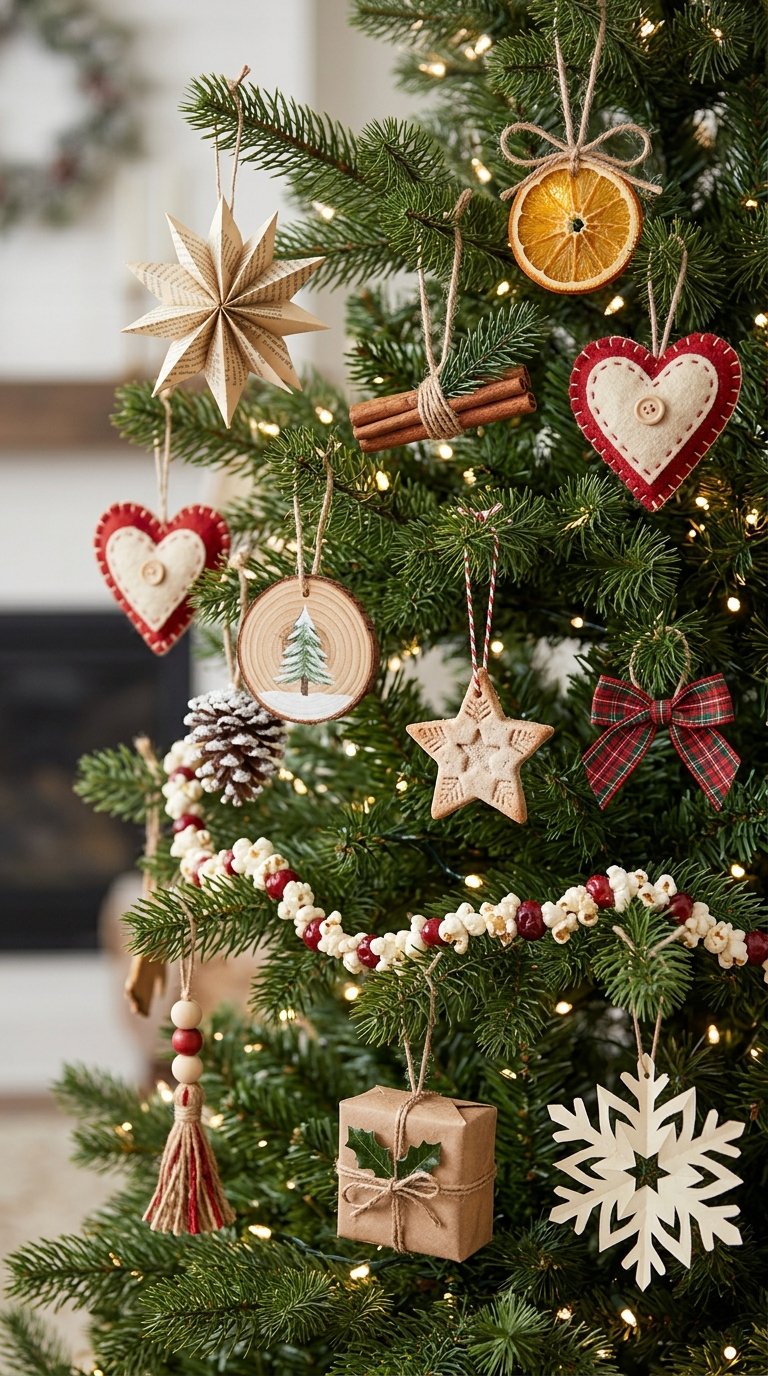
You can make all 12 projects below at a kitchen table with scissors, glue, string, and scraps. Each one includes the materials, steps, hanging method, and best spot on the tree.
We earn a commission if you make a purchase, at no additional cost to you.
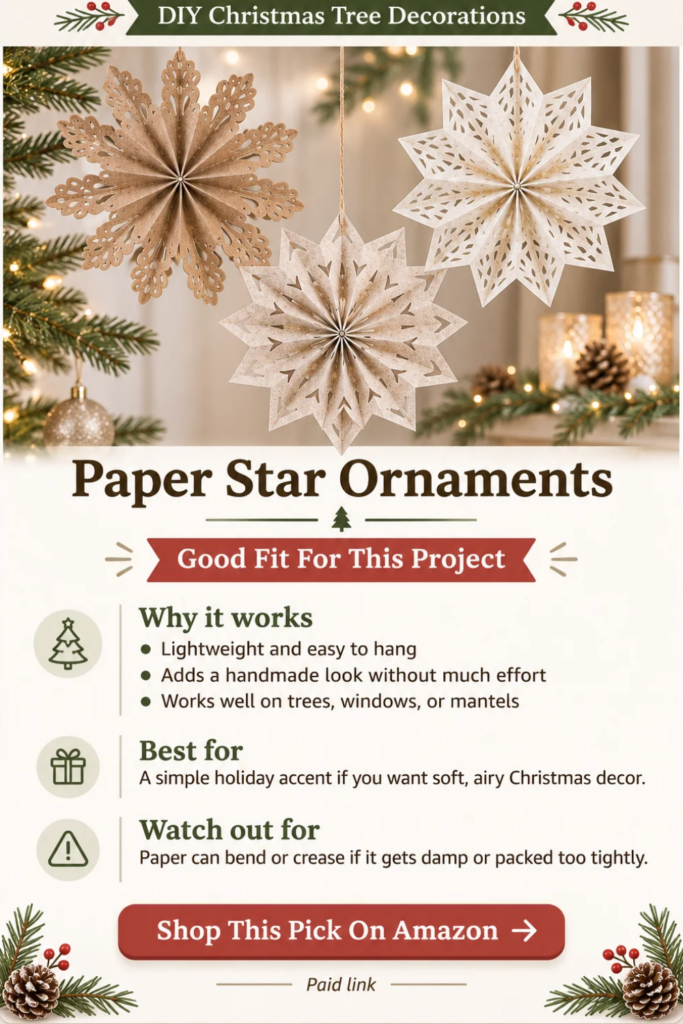
My Recommendation:
Paper Star Ornaments For An Easy Christmas Decorating Shortcut
These foldable paper star ornaments are a nice alternative. They give you that soft, homemade look without having to make each one yourself.
One note applies to every project: keep each piece light. Heavy decorations bend branches on both real and artificial trees, and anything that droops pulls the whole look down.
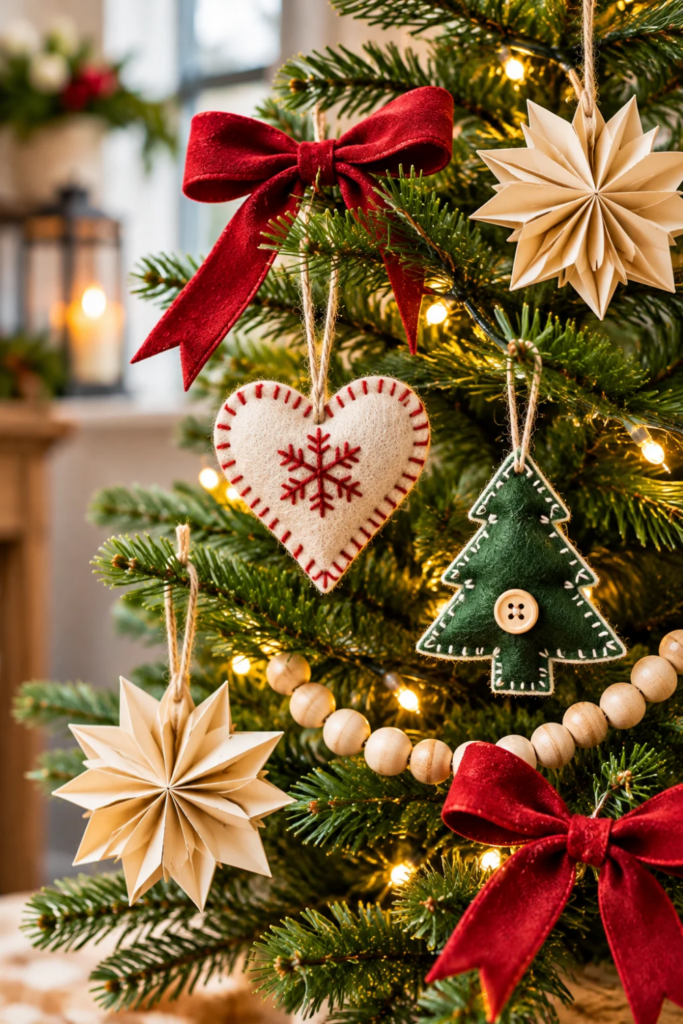
1) Ribbon Bows From Fabric Scraps Or Leftover Ribbon
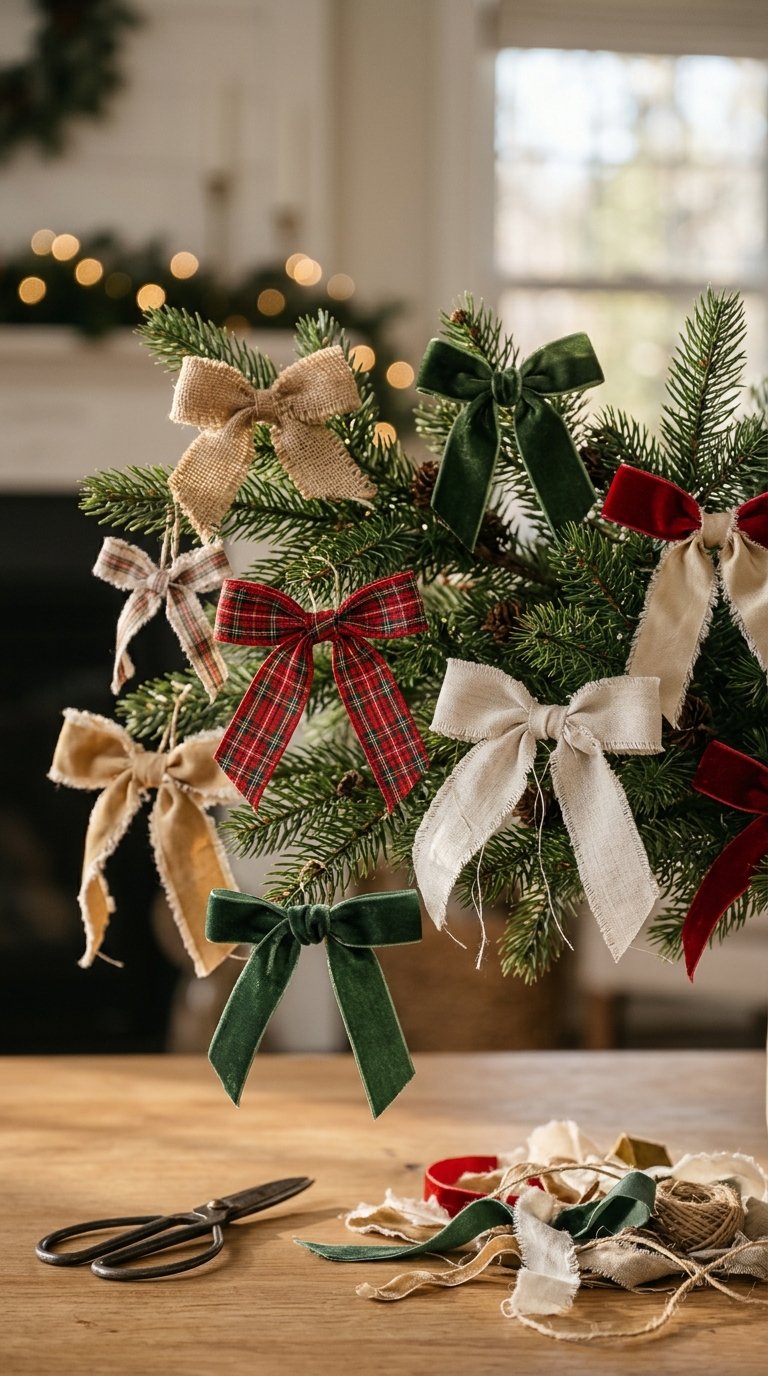
Bows are the fastest way to fill gaps on any tree.
Materials: ribbon or fabric strips about 1 to 2 inches wide, scissors, twist ties or thin wire.
- Cut a strip about 18 inches long.
- Make two loops, cross the tails, and tie a knot in the center.
- Trim the tails at an angle so they don’t fray.
Hanging: twist a twist tie around the knot and wrap it onto a branch.
Place bows near the tips where you see bare spots. Effort is low with no drying. Wired ribbon holds shape best; fabric bows crush, so store them loosely.
2) Folded Accordion Paper Star Ornaments
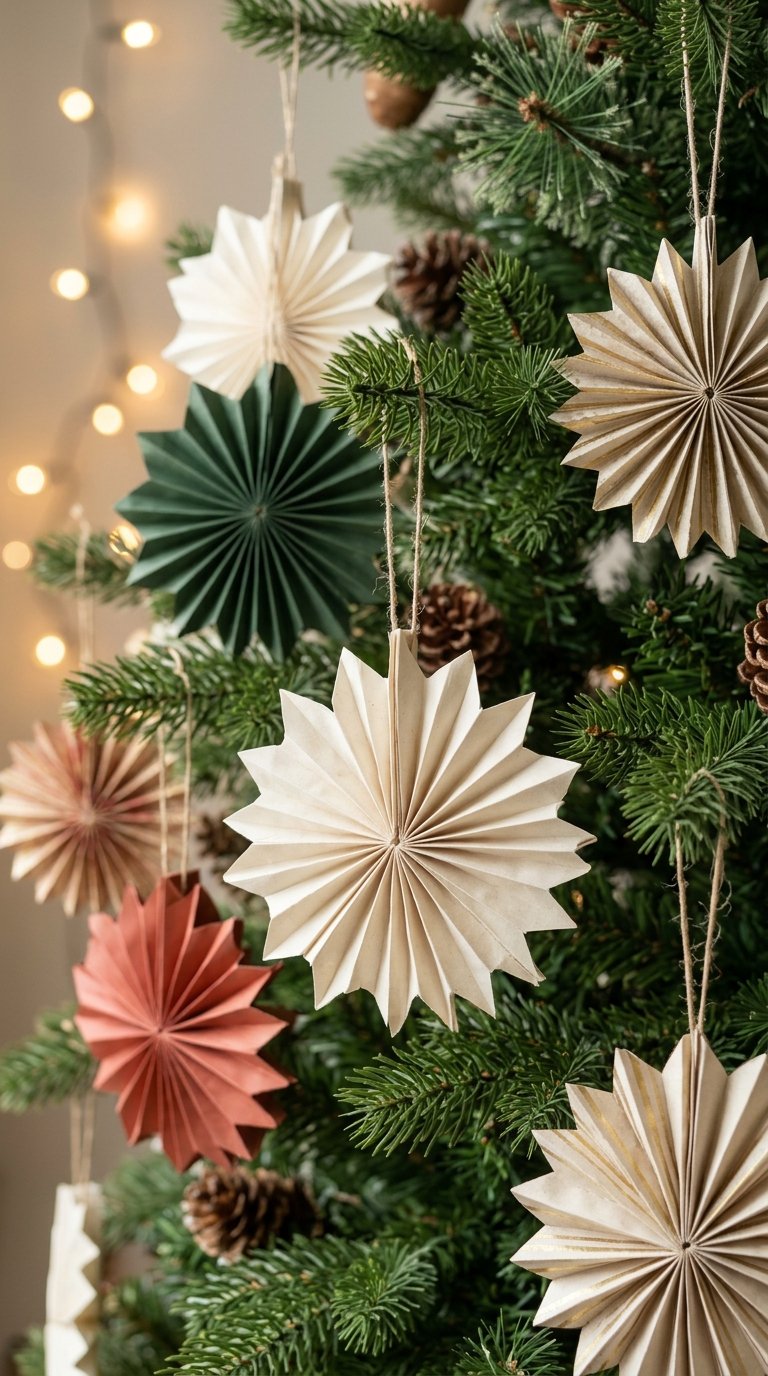
Accordion stars turn old book pages, wrapping paper, or kraft bags into crisp ornaments.
Materials: two paper rectangles (about 4 by 8 inches), glue stick, string.
- Fold each rectangle into half inch accordion pleats.
- Fold each strip in half and glue the inner edges to make a fan.
- Glue the two fans together into a full circle star.
Hanging: punch a small hole in one point and add a string loop.
Hang them in the middle layer. Glue needs about 15 minutes to set. Paper bends in humidity, so store stars flat in an envelope.
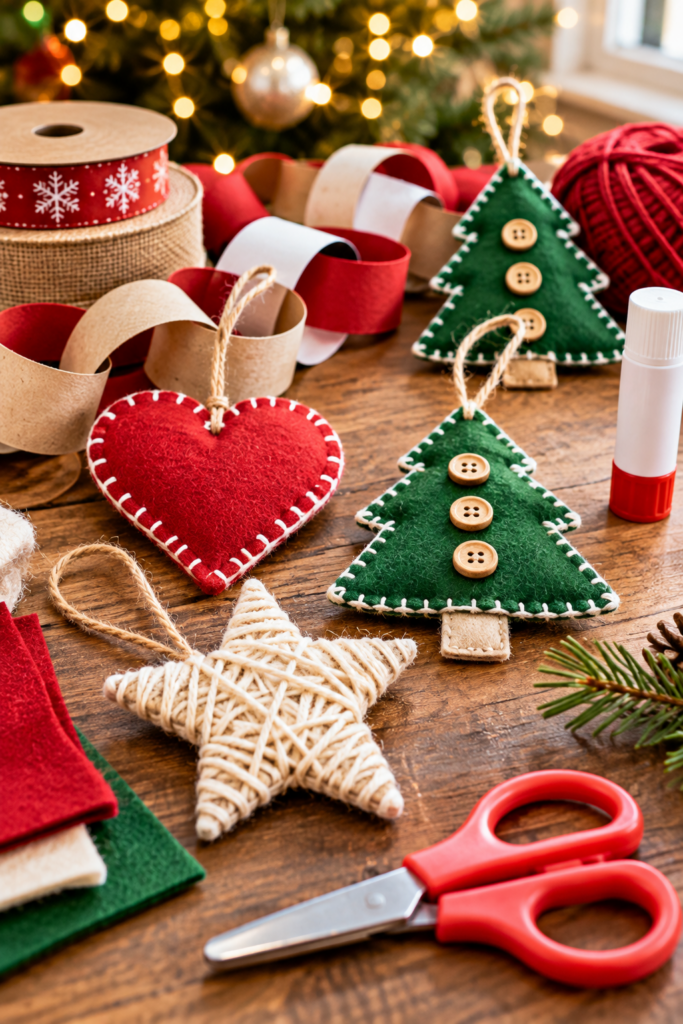
3) No Sew Felt Hearts And Christmas Trees
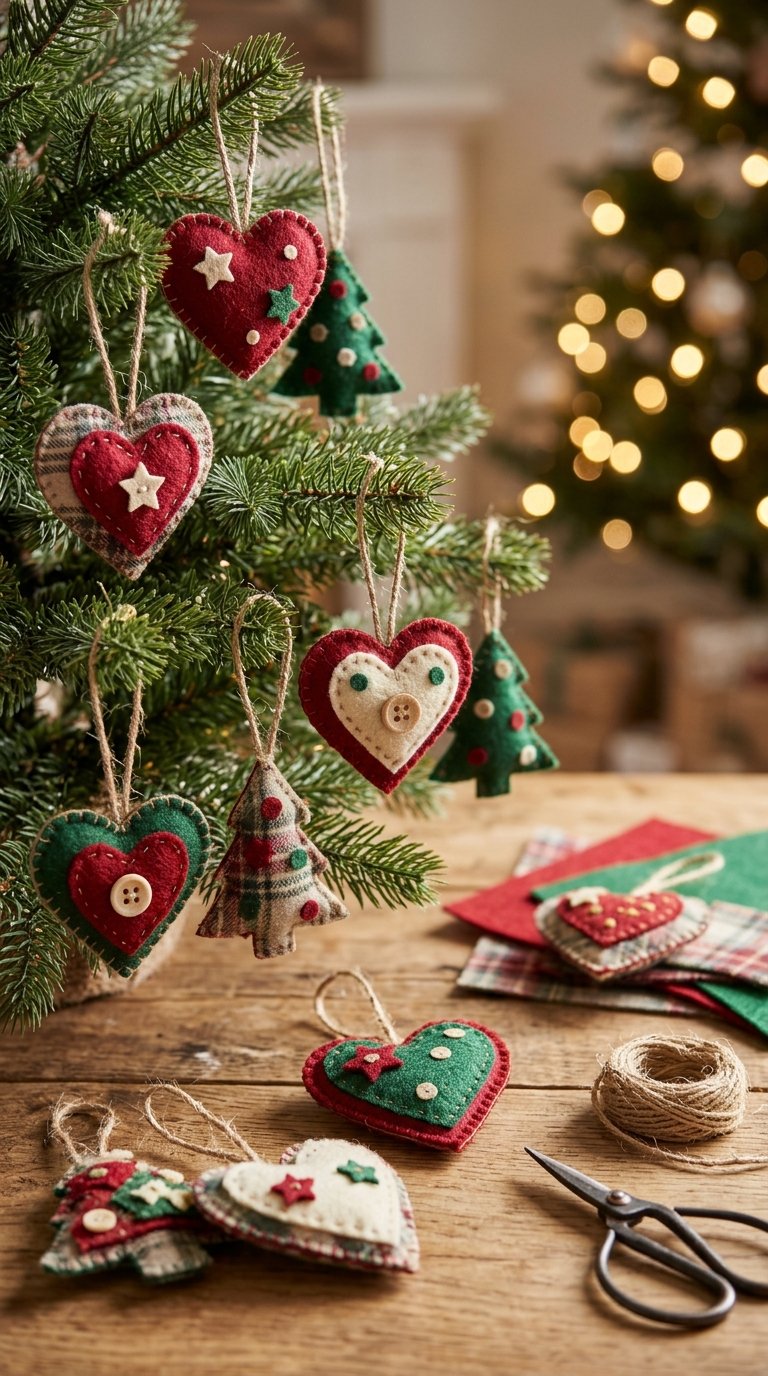
Felt shapes need no needle, which makes them a great first family craft.
Materials: craft felt, a paper template, scissors, craft glue, thin ribbon.
- Trace a heart or tree shape twice on felt and cut both.
- Fold a 6 inch ribbon into a loop and lay the ends between the layers.
- Glue the edges and press under a book.
Let the glue dry overnight before hanging. These soft pieces suit every level of the tree, including low branches near kids. Felt survives years of packing, though pet hair sticks to it.
4) Recycled Paper Chain Garland
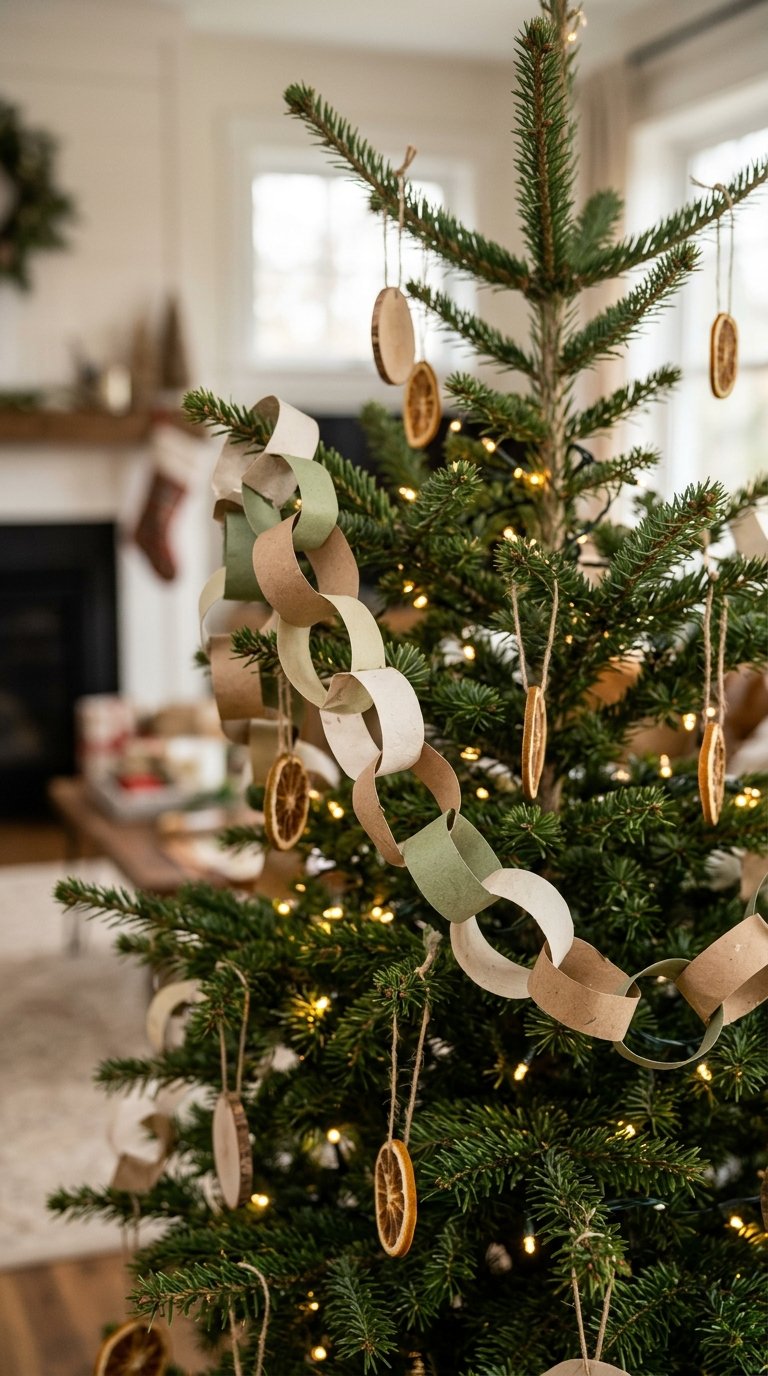
Paper chains give an old fashioned look that fits well with vintage Christmas decor ideas.
Materials: strips of junk mail, old cards, or scrap paper (1 by 6 inches), tape or glue stick.
- Curl one strip into a loop and tape it closed.
- Thread the next strip through and close it.
- Keep going until the chain wraps your tree a few times.
Hanging: drape it in loose swags from branch to branch, starting at the top.
Effort is low but takes patience. Chains tear easily, so expect to make a fresh one most years.
5) Yarn Wrapped Cardboard Stars
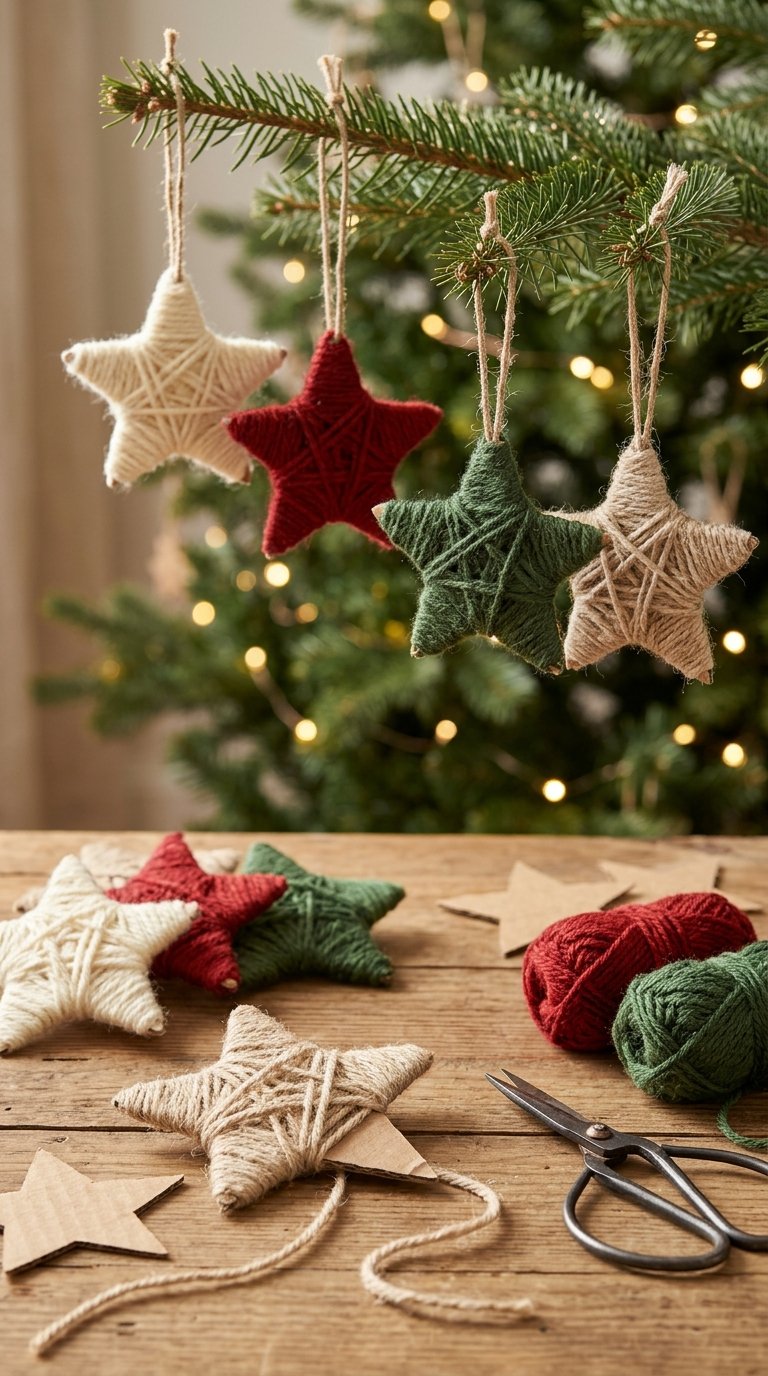
Cereal boxes and yarn scraps become cozy, textured stars.
Materials: thin cardboard, a star template, scissors, yarn, a dab of glue.
- Cut a star about 3 to 4 inches wide.
- Glue the yarn end to the back.
- Wrap yarn around the star in criss cross passes until the cardboard is covered.
- Tuck and glue the end, leaving a loop at one point.
Hang these on sturdy middle branches. No drying beyond the glue dot. Yarn stars hold up well and pack together without breaking.
6) Pinecone Ornaments With Twine Loops
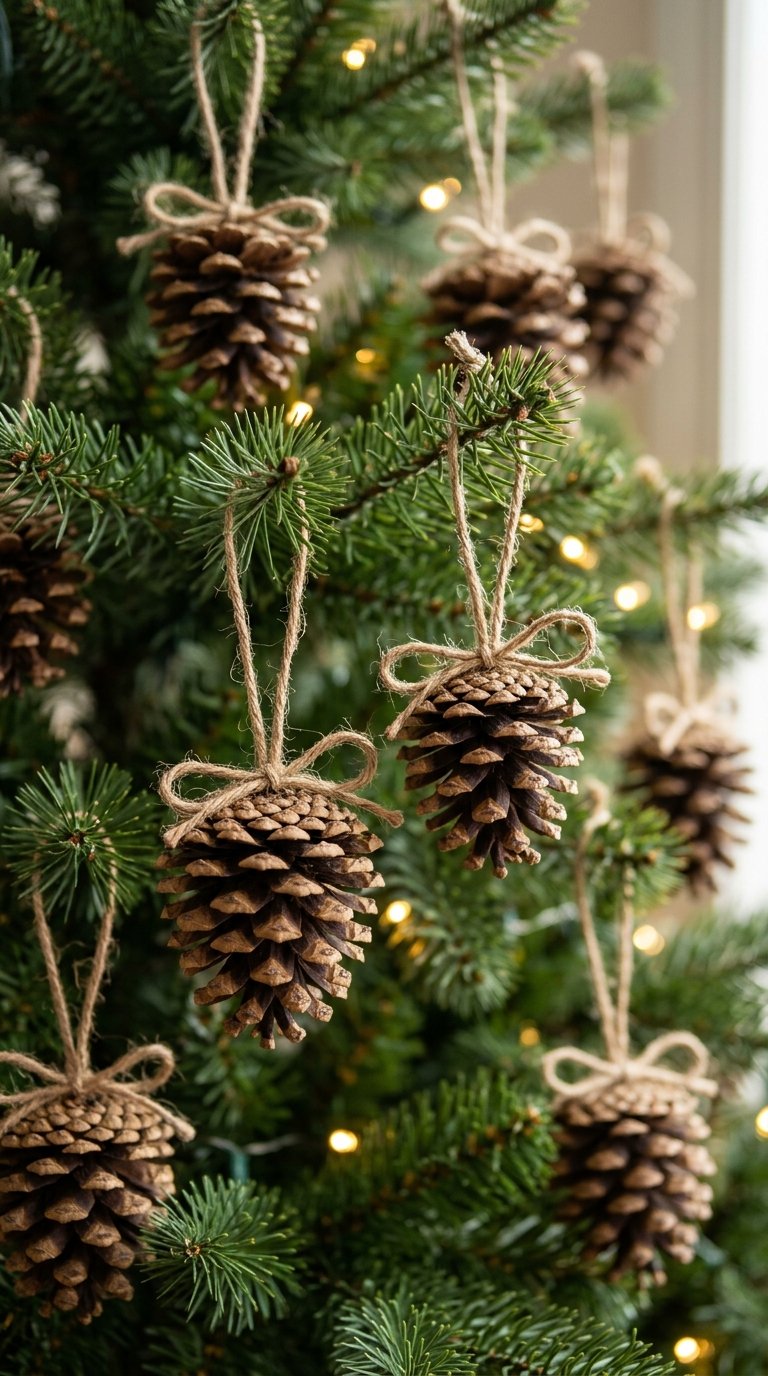
Foraged pinecones add a natural texture for free.
Materials: small pinecones, jute twine, hot glue or craft glue, a baking sheet.
- Brush off dirt and bake pinecones at 200°F for about 30 minutes to dry out sap and bugs.
- Cool completely.
- Tie twine around the top scales or glue a loop to the stem end.
Pick small cones and hang them deep in the tree on thick branches, since big ones weigh more. Skip glitter. Cones close up if stored damp, so keep them in a dry bin.
7) Painted Wood Slice Ornaments
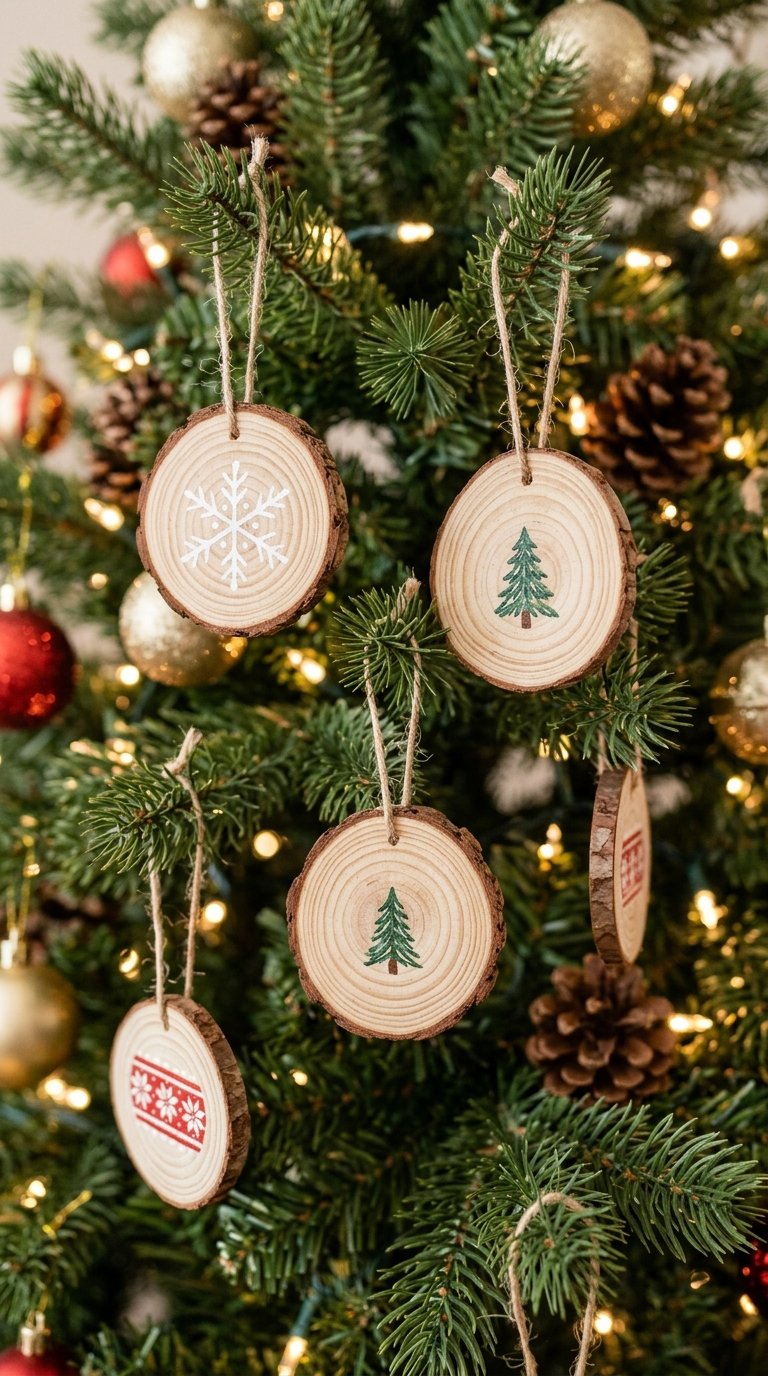
Wood slices are sturdy keepsakes, and you’ll find more ideas in DIY wooden Christmas ornaments.
Materials: thin pre drilled wood slices (about 1/4 inch thick), acrylic paint, small brushes, twine.
- Paint a simple design: a snowflake, initial, or year.
- Let paint dry about an hour, then add a clear coat if you like.
- Thread twine through the hole and knot it.
Wood is heavier than paper, so hang slices on strong inner branches. They last for years.
8) Personalized Photo Ornaments On Cardboard Backings
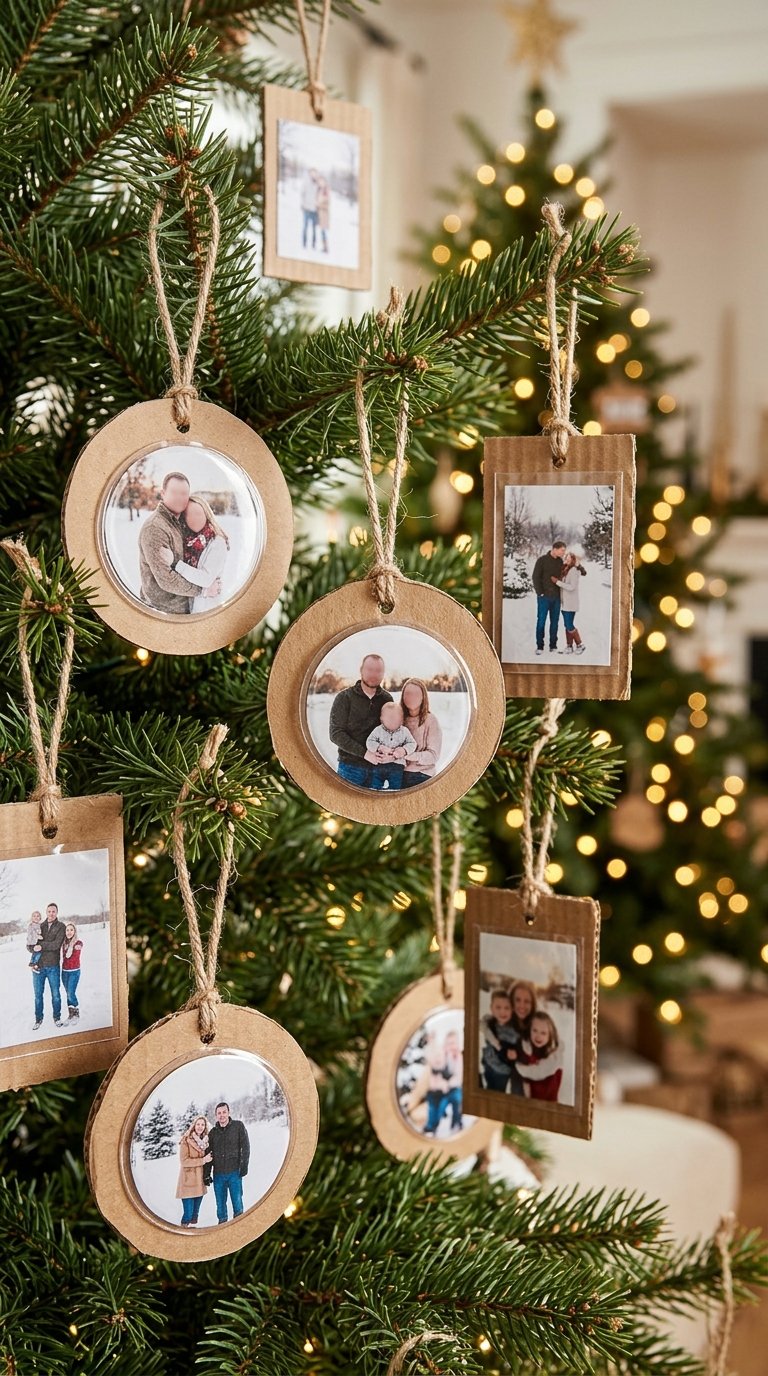
Photo ornaments turn family memories into decorations with no frames needed.
Materials: small printed photos, thin cardboard, glue stick, scissors, ribbon, a hole punch.
- Glue each photo to cardboard and press flat.
- Trim into a circle or square, leaving a small border.
- Punch a hole at the top and tie a ribbon loop.
Glue a second photo on the back for a two sided piece. Hang them at eye level where guests notice. Store them flat between paper so the photos don’t scratch.
9) Clear Fillable Ornaments With Paper Or Fabric Scraps
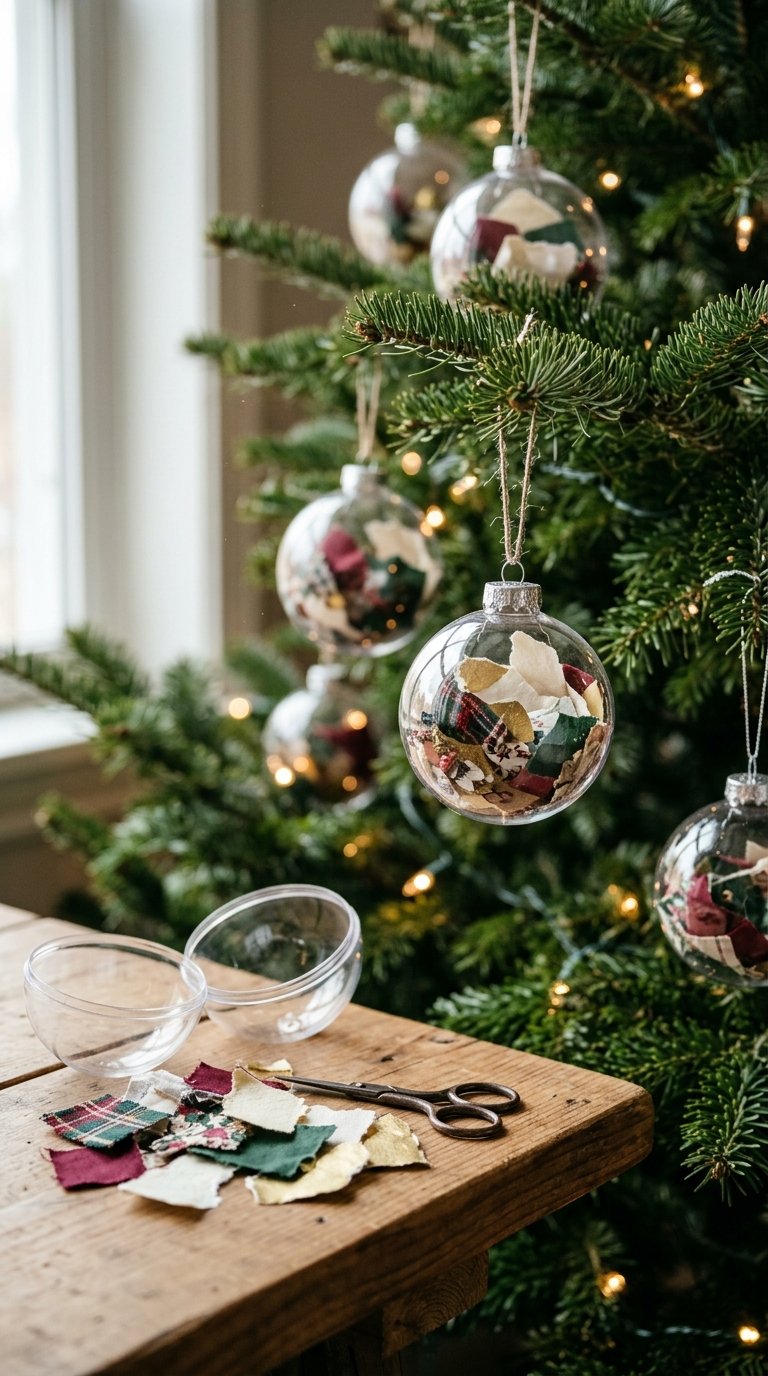
Fillable balls are an easy way to use tiny leftover scraps.
Materials: nonbreakable plastic fillable ornaments, shredded paper, fabric bits, ribbon pieces, or yarn.
- Pop off the cap.
- Fill the ornament loosely with scraps; a pencil helps push them in.
- Replace the cap and add a ribbon loop.
Choose plastic over glass for safety. Fill lightly to keep weight down, and hang near lights so the colors show. They store well in their original boxes.
10) Dried Orange Slice Ornaments
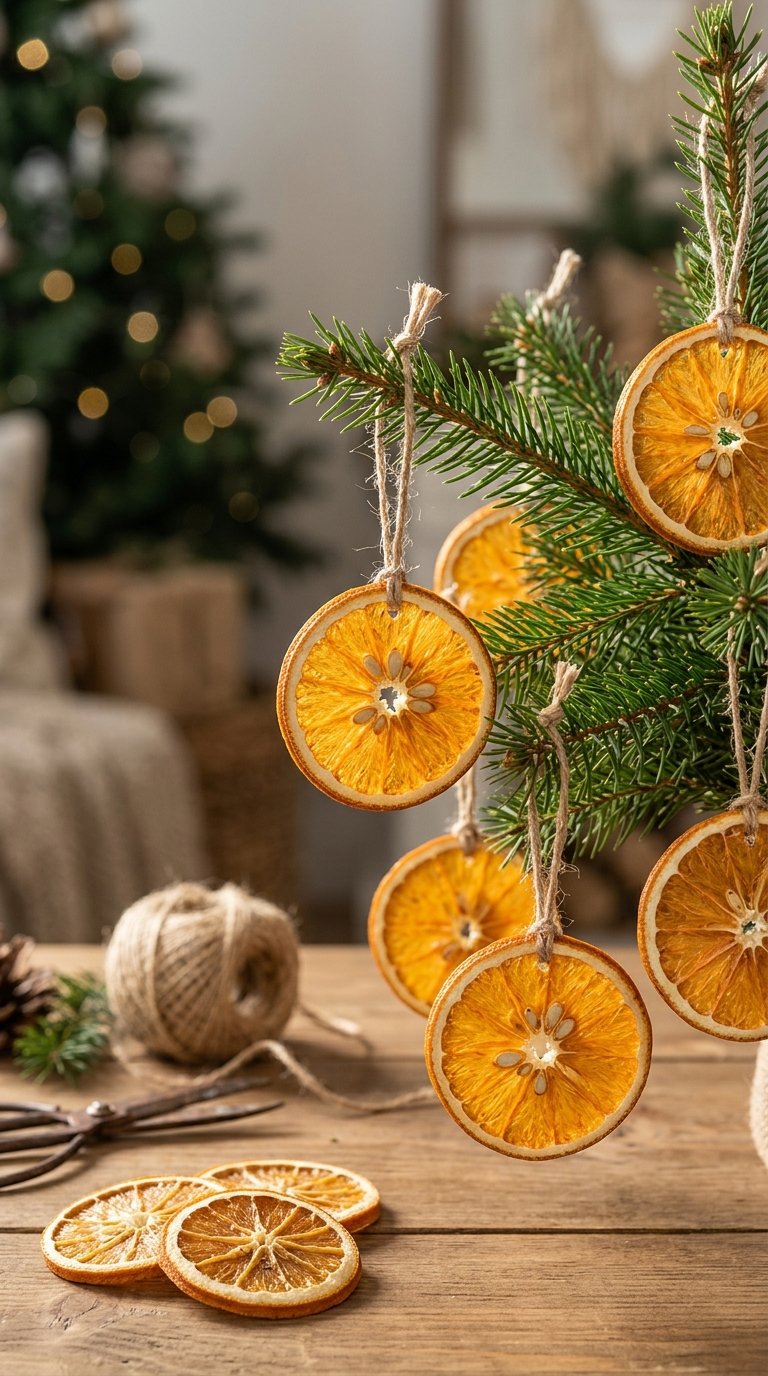
Dried oranges glow when your tree lights shine through them.
Materials: oranges, a sharp knife, paper towels, baking sheet, twine.
- Slice oranges about 1/4 inch thick and pat dry.
- Bake at 200°F for 3 to 4 hours, flipping every hour.
- Let them air dry another day until fully crisp.
- Thread twine through the top edge.
Hang near lights. Keep them indoors only, and store in an airtight container once completely dry.
11) Wooden Bead Garland On Cotton Cord
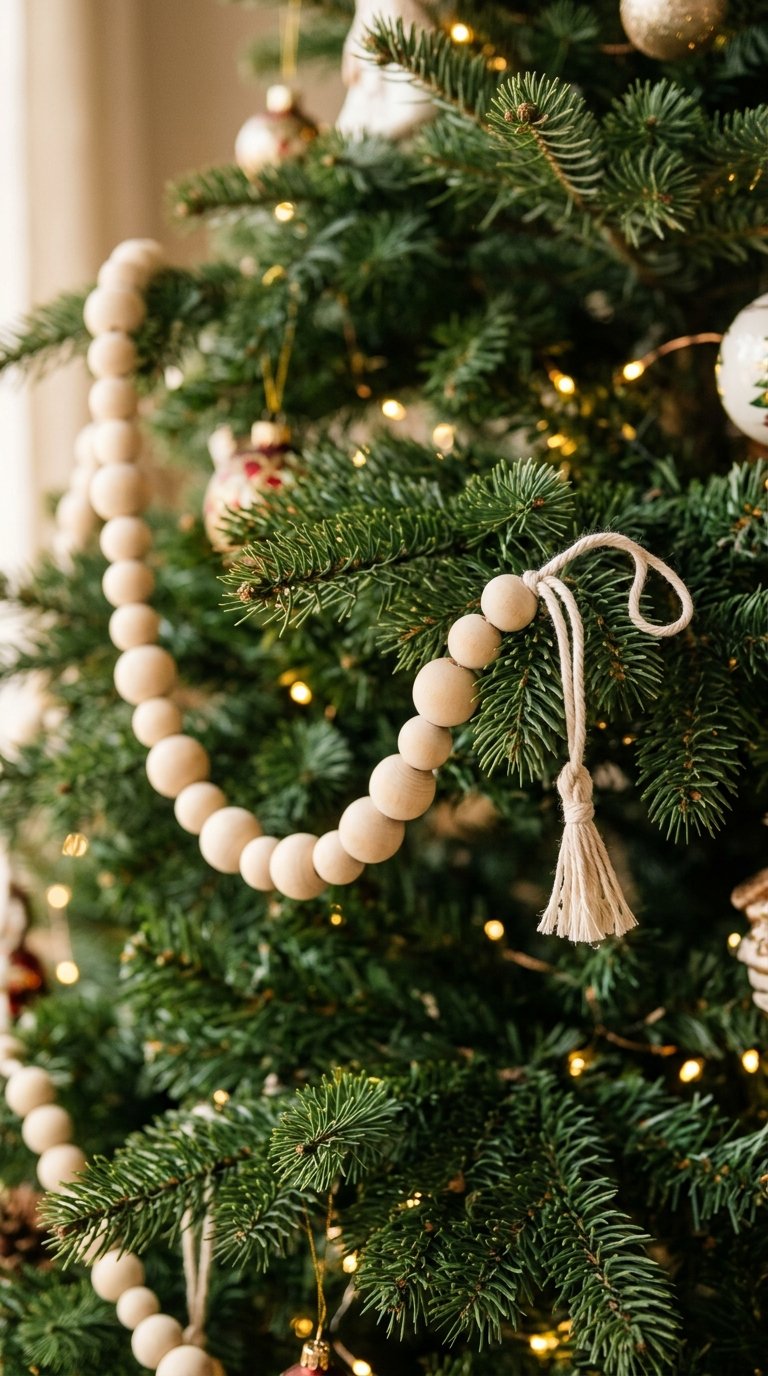
A bead garland adds a soft, farmhouse touch.
Materials: wooden beads (about 1/2 inch), cotton cord or thick string, scissors, tape.
- Tape one cord end to keep it stiff for threading.
- String beads, leaving 6 inches bare at each end.
- Tie a knot or small tassel at each end.
Keep each garland to about 3 to 4 feet so it stays light. Drape in loose swoops across the outer branches. Beads are a choking hazard, so keep garlands up high around toddlers. They last for years.
12) Lightweight Layered Cardstock Star Topper
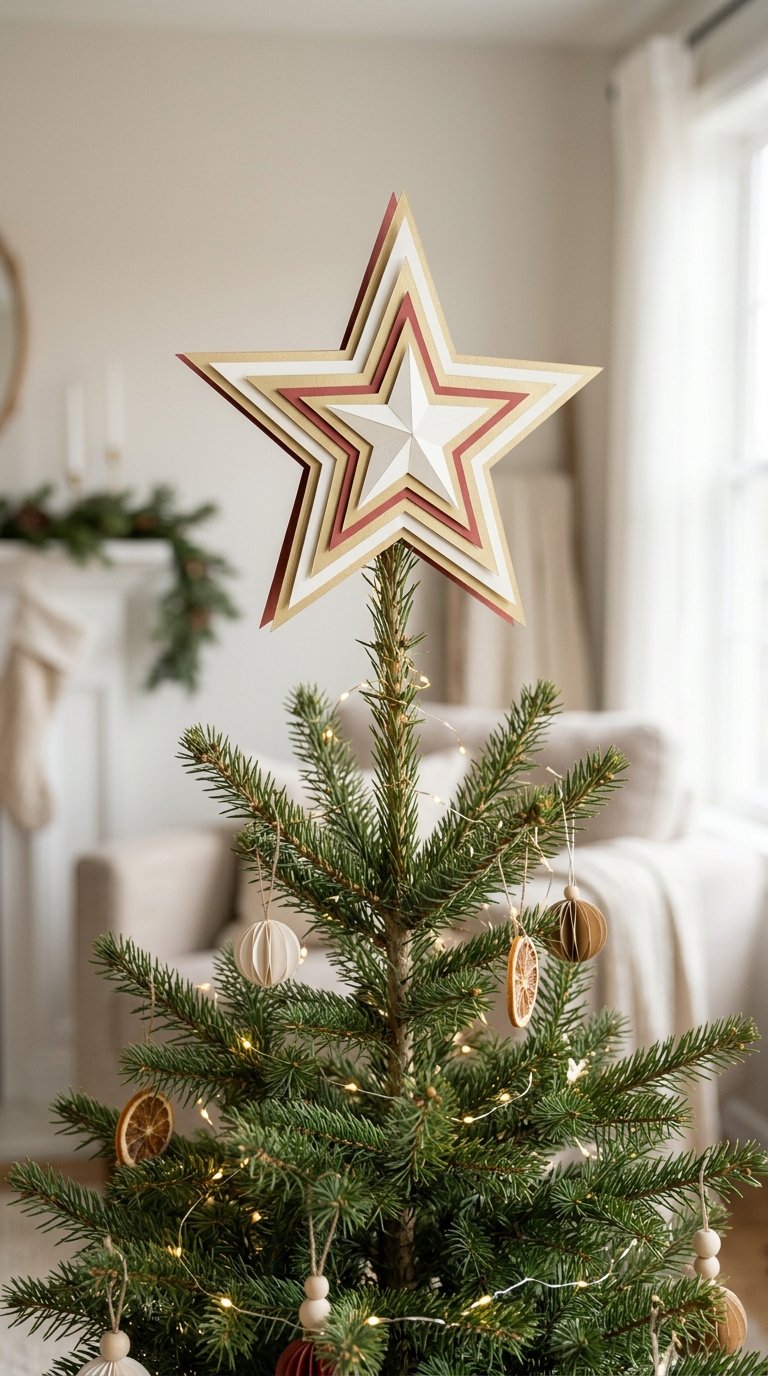
A cardstock topper sits upright without bending the top branch.
Materials: two or three sheets of cardstock in matching shades, a star template, scissors, glue, a cardboard tube or rolled cardstock.
- Cut three stars in shrinking sizes, such as 8, 6, and 4 inches.
- Glue them stacked, turning each slightly so the points offset.
- Glue a 3 inch tube to the back.
Slide the tube over the top branch. Let glue dry a few hours first. Store it flat.
FAQs About My DIY Christmas Tree Decorations
What are the easiest DIY Christmas tree decorations?
Ribbon bows, paper chains, and felt shapes are the easiest. They need no sewing or drying beyond a little glue.
How do I make ornaments without a Cricut or sewing machine?
Trace shapes by hand from a paper template and cut them with scissors. Use craft glue in place of stitching for felt.
How do I store delicate homemade ornaments?
Store them flat or in divided bins, separated by material. Wrap each in tissue and keep the box somewhere dry.
Decorating A Small Tree Without Crowding The Branches
A small tree looks best with fewer, smaller ornaments spaced evenly. For more styling help, browse these small Christmas tree ideas.
How Should You Scale Ornaments, Garlands, and the Topper?
Match size to tree height. On a tree under 4 feet, keep ornaments around 2 to 3 inches wide.
- Bows: use 1 inch ribbon and cut strips about 12 inches long.
- Garlands: use one short paper chain or bead strand, not several.
- Topper: shrink the cardstock star layers to 5, 4, and 3 inches.
A topper that is too big makes the top tip lean.
Where Should You Leave Open Space?
Leave a little green showing between ornaments, about a hand’s width apart. That gap lets each piece stand out.
Keep the lowest branches lighter if the tree sits on a table. If floor space is tight, a DIY ladder Christmas tree can hold these lightweight pieces too.
Kid Friendly And No Sew Crafting Options
Felt shapes, paper chains, yarn stars, and filling clear ornaments are the easiest projects for kids. None need sewing, and most use only glue sticks.
Which Tasks Can Children Help With?
Young kids can do plenty:
- Tracing templates onto felt or paper.
- Taping paper chain loops.
- Wrapping yarn around precut stars.
- Stuffing scraps into fillable ornaments.
- Painting wood slices with washable paint.
Older kids can fold accordion stars and string bead garlands.
When Do Scissors and Hot Glue Require Adult Supervision?
Sharp scissors and hot glue guns need an adult nearby every time. Hot glue burns skin fast, so let kids use craft glue while you handle the glue gun.
Adults should also handle the knife and oven steps for oranges and pinecones. Give younger children safety scissors for paper.
How Can You Keep Decorations Away From Young Children and Pets?
Hang anything small or chewable above the reach of toddlers and pets. Beads, pinecones, and dried fruit belong on upper branches.
Put soft felt pieces down low. Anchor the tree stand well, since curious cats and kids pull on branches.
Protecting Handmade Ornaments In Storage
Store handmade ornaments dry, separated by material, and protected from crushing. Good Christmas ornament storage containers make this easy.
How Should You Separate Paper, Felt, Wood, and Fragile Ornaments?
Group pieces by material:
- Paper: flat in envelopes or folders.
- Felt and fabric: in a zip bag to keep dust off.
- Wood: wrapped in tissue so paint doesn’t scratch.
- Fragile items: on top, in their own slots.
Never stack wood on paper.
When Should You Use Divided Bins or Reused Household Boxes?
Divided bins work best for fillable balls and photo ornaments. Egg cartons and shoe boxes with tissue work fine for small pieces.
Use plain boxes for flat items like stars and the topper. Label each box.
Which Natural Decorations May Need Replacing Next Christmas?
Dried oranges fade and pinecones shed over time. Check them each year.
Paper chains rip easily, so plan on a fresh one. Toss anything soft or moldy.
Final Thoughts About DIY Christmas Tree Decorations
For me, the best part of DIY Christmas tree decorations is using simple things to make a tree feel more personal. I’d start with two or three projects, like ribbon bows for bare spots and paper stars to fill in the middle.
Just remember to keep heavier ornaments close to the trunk and pack delicate pieces carefully when Christmas is over. You don’t have to make everything from scratch to give your tree a handmade touch.

Willie Drew
I’m Willie Drew, and I’m here to help you turn your home into a space you’re proud to show off using simple projects, smart tools, and realistic budgets.