


12 DIY Wooden Christmas Ornaments That Are Easy To Make
You don’t need a workshop full of tools to make wooden Christmas ornaments that look good on your tree. A few wood slices, some craft paint, and a little ribbon can turn into decorations you’ll enjoy bringing out every December.

I’ve found that small holiday projects are a great place to start if you’re new to DIY. You can use precut wooden shapes, leftover pieces of wood, or simple craft supplies you already have at home.
The easiest way to start is with predrilled wooden ornament blanks. They’re already shaped and ready to decorate, so there’s no sawing or drilling involved. Just sand any rough spots, add paint or a personal design, and tie on a ribbon.
What You Need To Make Wooden Christmas Ornaments
Before buying anything, look around your home or garage. You might have leftover wood from a shelf project, a few unused craft supplies, or some ribbon from last Christmas.
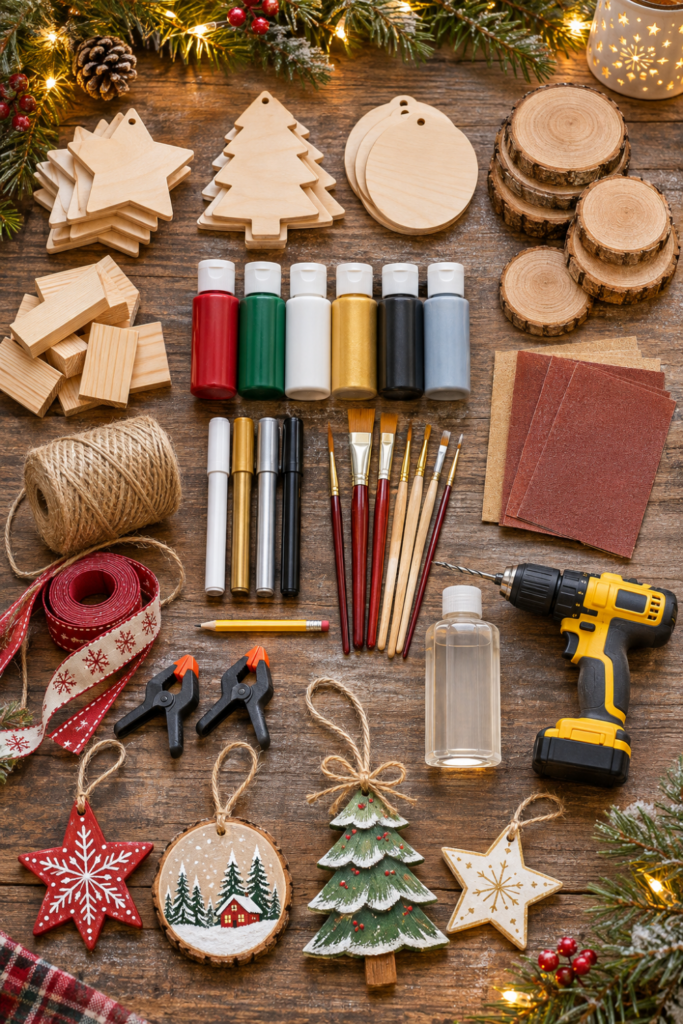
For beginners, I recommend keeping the materials simple.
Basic Supplies
- Precut wooden ornament blanks, wood slices, or small pieces of untreated wood
- 180 grit and 220 grit sandpaper
- Water based acrylic craft paint
- Small paintbrushes or paint pens
- Pencil and eraser
- Twine, string, or decorative ribbon
- Clear water based craft sealer, optional
- Small drill bit and drill, only if your ornaments need hanging holes
- Clamps and a scrap board for drilling
- Safety glasses and suitable dust protection when sanding or drilling
You can make several ornaments with the same small set of supplies. There’s no need to buy separate paints and brushes for every design.
Should You Use Precut Blanks or Scrap Wood?
Both work well, but they’re not quite the same.
| Material | Best For | What to Know |
|---|---|---|
| Precut wood blanks | First time DIYers and families | No cutting required; some have hanging holes |
| Wood slices | Rustic decorations | Choose dry, smooth pieces without loose bark |
| Scrap wood | Simple handmade shapes | May require cutting, sanding, and drilling |
| Thin plywood | Flat stars, trees, and houses | Lightweight, but cut edges need sanding |
| Basswood craft pieces | Painting and personalizing | Smooth, lightweight, and easy to decorate |
For a first project, I’d choose a small pack of precut wooden ornaments with holes already drilled. You can work at the kitchen table without bringing out power tools.
If you’re using wood from another project, make sure it’s clean, dry, untreated, and free of nails or staples.
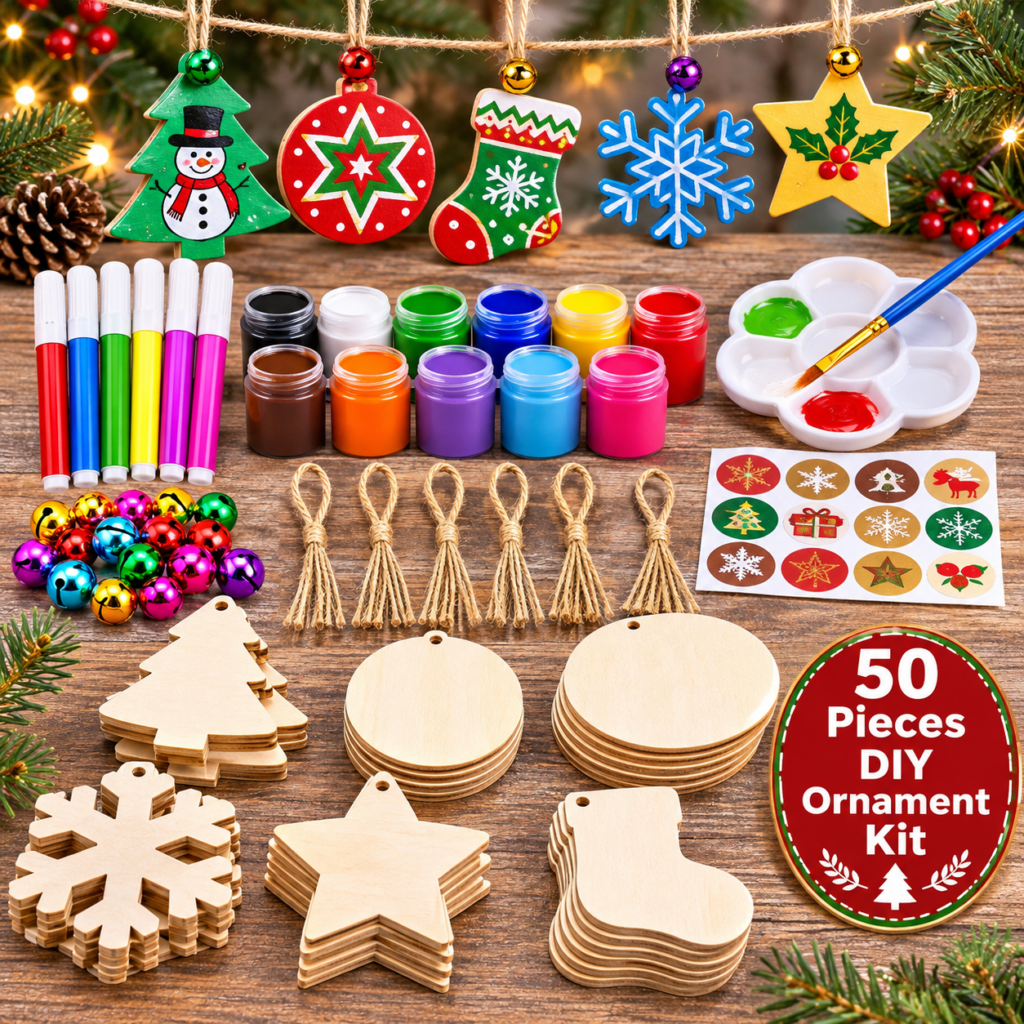
My Recommendation:
Best Pick for Beginner Christmas Crafting
VLUSSO 50 Piece DIY Wooden Christmas Ornament Kit
If you’re making wooden Christmas ornaments for the first time, I like the idea of starting with a kit that has most of the basics in one box.
You don’t have to make all 12. Start with one design you like, make a couple of practice pieces, and see how they turn out.
1. Painted Wooden Christmas Stars
Wooden stars are one of the easiest ornaments to decorate because the shape already looks festive before you add anything.

What you’ll need: Precut wooden stars, sandpaper, acrylic paint, a small brush, and twine.
Lightly sand the edges, then paint the stars white, red, dark green, or whatever color works with your Christmas tree. Once the paint dries, use a smaller brush or paint pen to add dots, stripes, or a simple border.
I like leaving a little natural wood visible around the edges. It gives the ornaments a handmade look without needing detailed painting skills.
Use a star blank with a predrilled hole, or attach a hanging loop using a suitable craft adhesive following its instructions.
Beginner tip: Make several stars in two or three matching colors. They’ll look coordinated even when every design is slightly different.
2. Rustic Wood Slice Ornaments
A simple round piece of wood can become a lovely Christmas ornament without much decorating.
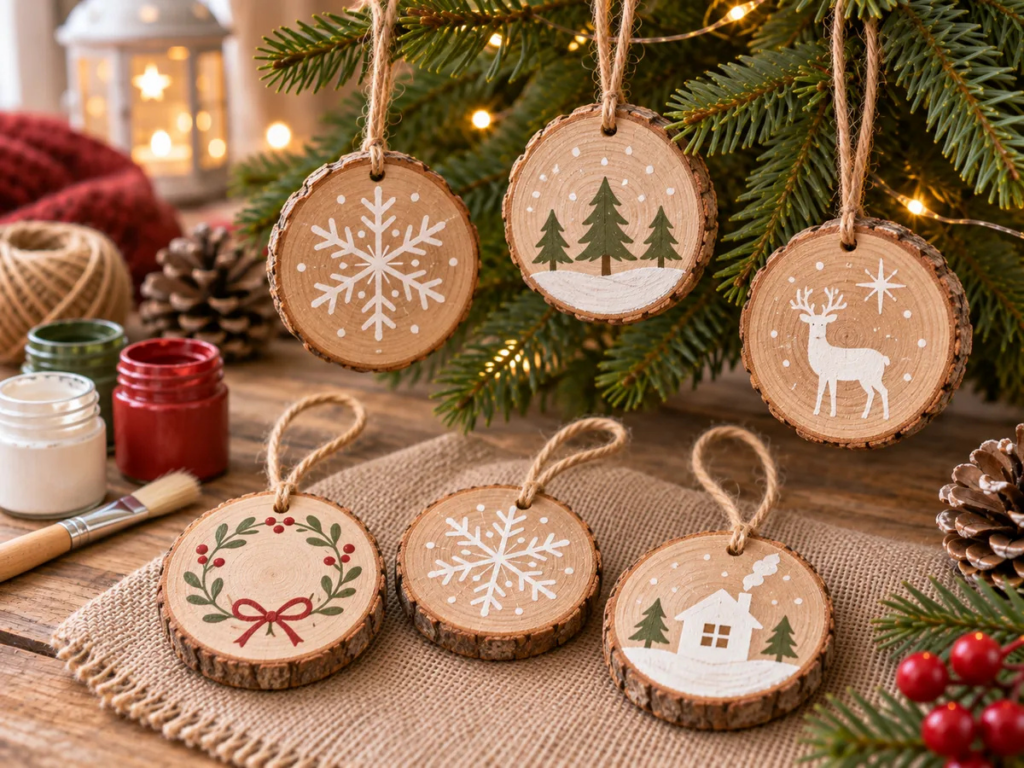
What you’ll need: Dry wood slices, fine sandpaper, a paint pen, and twine.
Start with slices that are already cut and dried. Sand the front and back until they’re smooth enough to handle comfortably.
Draw a small Christmas tree, snowflake, wreath, or even a single letter on the front. Keep the bark edge natural if it’s secure.
Thread twine through the existing hole and tie a loop.
I love how these ornaments work with greenery, plaid ribbon, and warm white Christmas lights. They also look good on a simple tree without much other decoration.
Watch out for: Damp or freshly cut wood can crack or develop mold. Use dry craft slices rather than cutting fresh branches right before decorating.
3. Wooden Christmas Tree Ornaments
Small wooden trees are a good project when you want something festive without painting a complicated design.
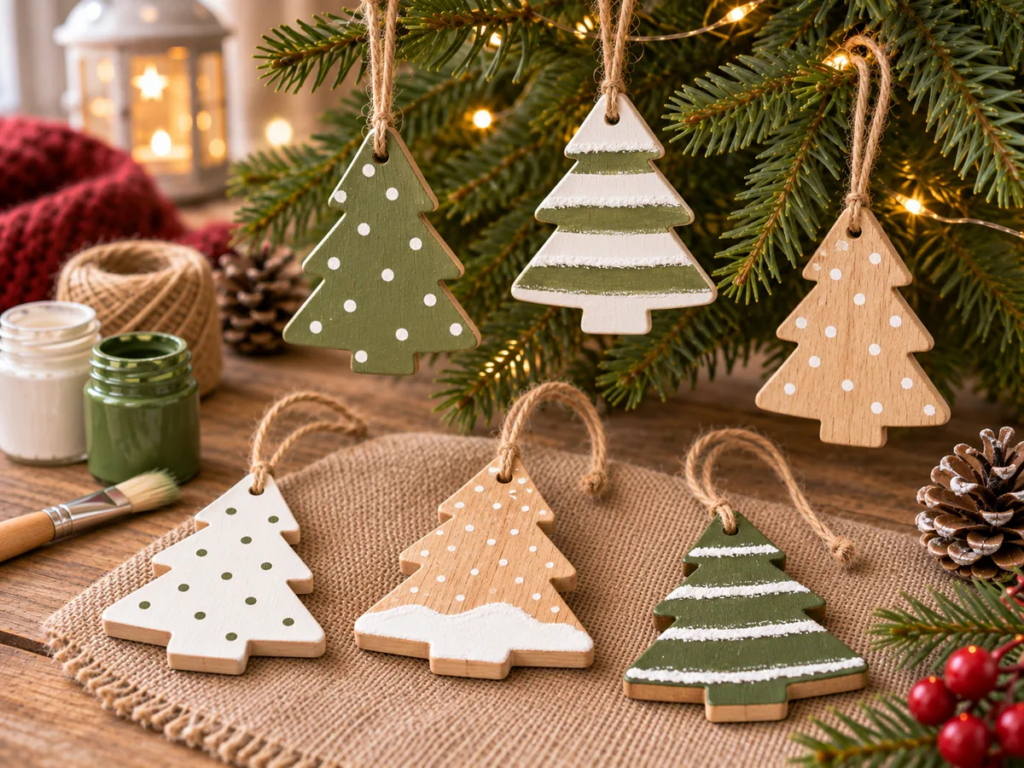
What you’ll need: Precut wooden tree shapes, green and white paint, a brush, and ribbon.
Sand any rough edges and paint the tree green. Once dry, use white paint to make short lines across the branches for a snowy look.
You can also leave the wood natural and paint only a small star at the top.
For a more modern look, choose simple triangle shaped tree blanks. They work especially well with white, black, or muted green paint.
If you enjoy working with wood, you can take the idea a little further with my DIY wooden Christmas tree ideas. Those projects make larger decorations for shelves, mantels, and entryways.
4. Personalized Name Ornaments
Personalized wooden ornaments make thoughtful gifts without costing much or requiring special equipment.
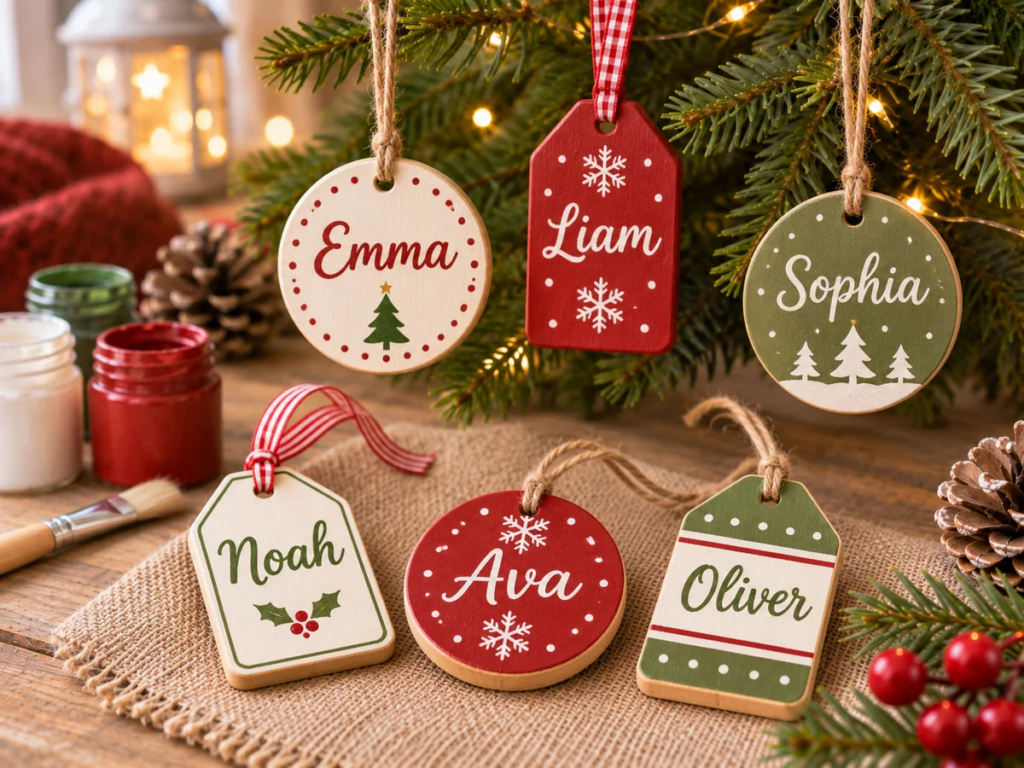
What you’ll need: Small wooden discs or tags, a pencil, paint pens, and ribbon.
Start with a smooth wooden blank. Lightly sketch a name, initial, or short message in pencil.
Trace over the lettering with a paint pen, then let it dry. You can add a small snowflake, heart, or Christmas tree underneath.
If your handwriting isn’t perfect, don’t worry. Simple block letters are often easier to read than elaborate lettering.
These are especially nice for marking a child’s first Christmas, celebrating a new home, or giving family members something personal for their trees.
Beginner tip: Write the date on the back. It’s a small detail that becomes more meaningful as the years pass.
5. Wooden Snowflake Ornaments
Snowflake ornaments look detailed, but you don’t need to cut complicated wooden shapes to make them.
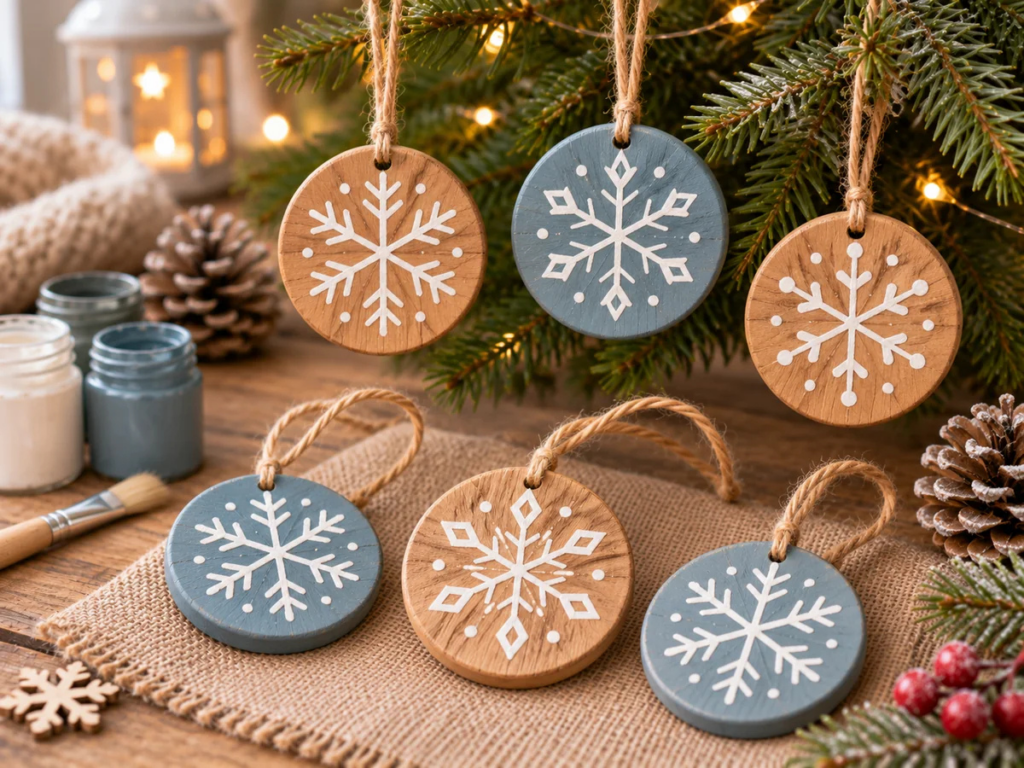
What you’ll need: Round wooden blanks, white paint pens, a ruler, and ribbon.
Paint the wooden circle a solid color, or leave it natural.
Mark a small dot in the center. Draw three straight lines crossing through it to create six branches.
Add shorter angled lines along each branch to create a snowflake pattern. Finish with a few small dots around the edges.
The trick is to keep the lines simple. You don’t need every snowflake to match.
I like using white paint on natural wood or dark blue backgrounds. Both give the snowflake design enough contrast to stand out.
6. Scrap Wood Christmas Ornaments
Small pieces of leftover wood can make attractive ornaments, especially when you already have supplies sitting in the garage.
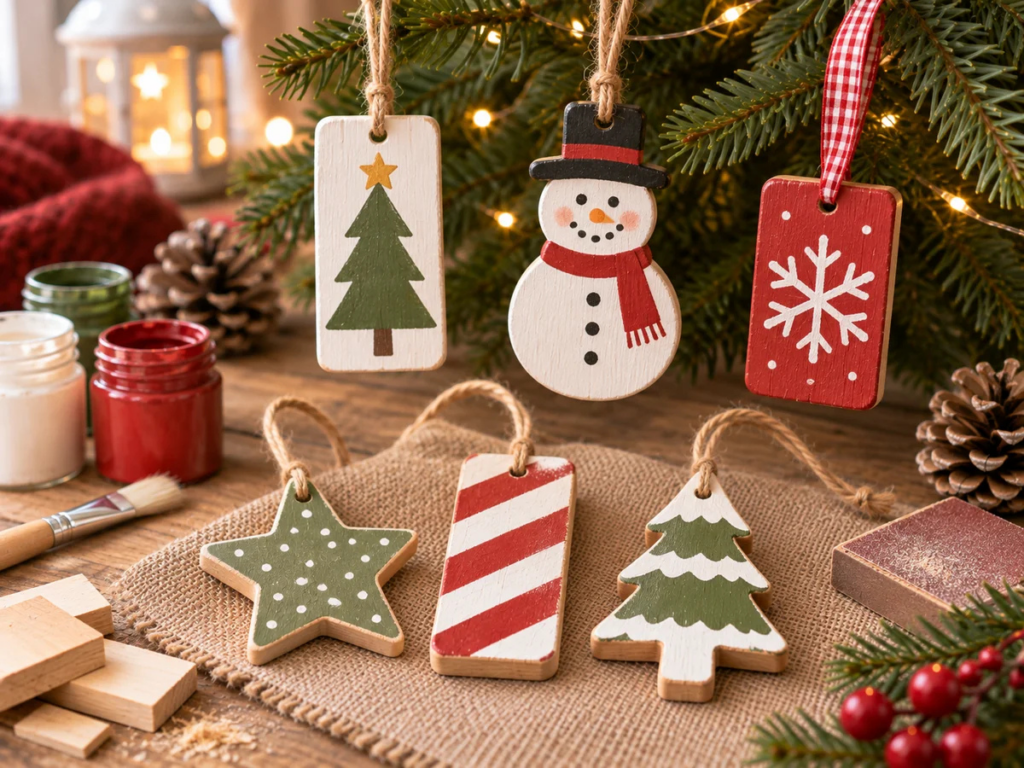
What you’ll need: Thin, clean scrap wood, sandpaper, paint, and hanging cord.
Look for lightweight rectangular or square offcuts that are already close to the size you need.
Sand the faces, corners, and edges. Then paint a simple holiday design, such as a snowman, Christmas tree, or the word “Joy.”
If the wood needs trimming, secure it properly and use a suitable saw only if you’re comfortable doing so. Otherwise, stick with pieces that don’t need cutting.
For hanging, drill a small hole with the workpiece firmly clamped over a scrap board, or use suitable hanging hardware if the wood is thick enough.
Keep these ornaments light so they don’t pull down the branches of your Christmas tree.
If you have more leftover wood than you know what to do with, take a look at these scrap wood projects for other practical home decor ideas.
7. Wooden Reindeer Ornaments
Reindeer ornaments are a fun project for families, especially when you keep the design simple.
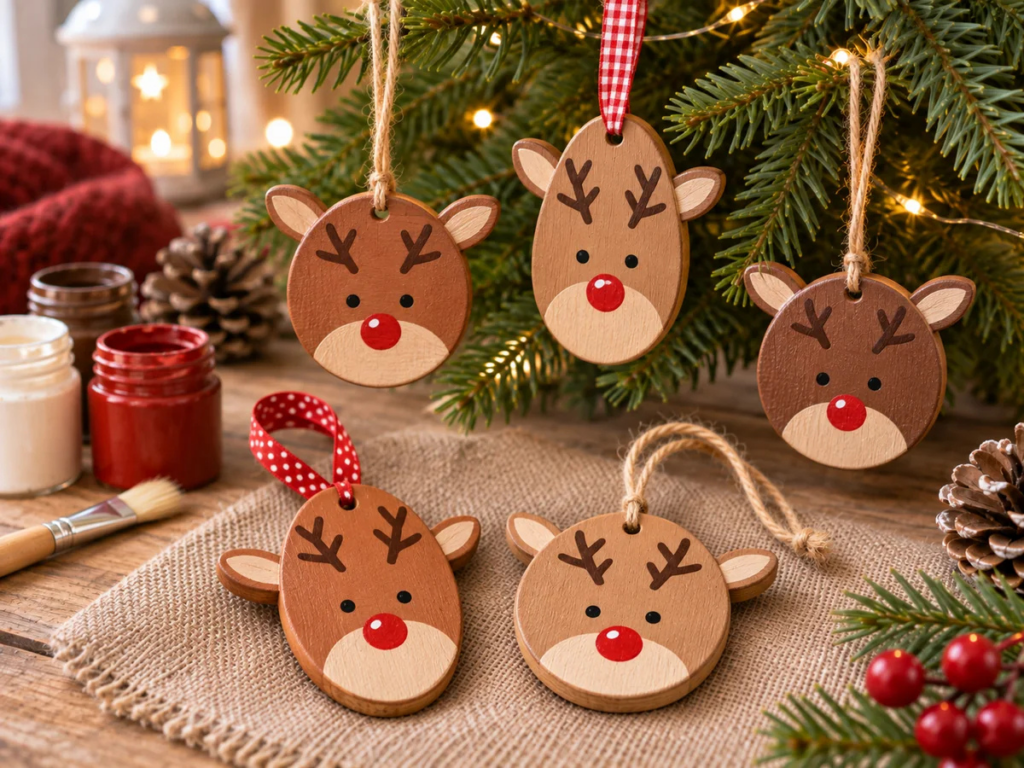
What you’ll need: Oval or round wooden blanks, brown paint, black and red paint pens, and ribbon.
Paint the wood a light brown color and let it dry.
Use a black paint pen to draw two eyes and a pair of antlers. Add a small red nose for a playful Christmas look.
You can make several reindeer with slightly different expressions. Some can have closed eyes, while others can have little smiles.
I recommend drawing the antlers rather than attaching tiny twigs or small loose decorations. It’s easier, sturdier, and better suited to households with young children.
8. Mini Wooden House Ornaments
Tiny wooden houses are a nice choice if you enjoy simple, cozy Christmas decorations.
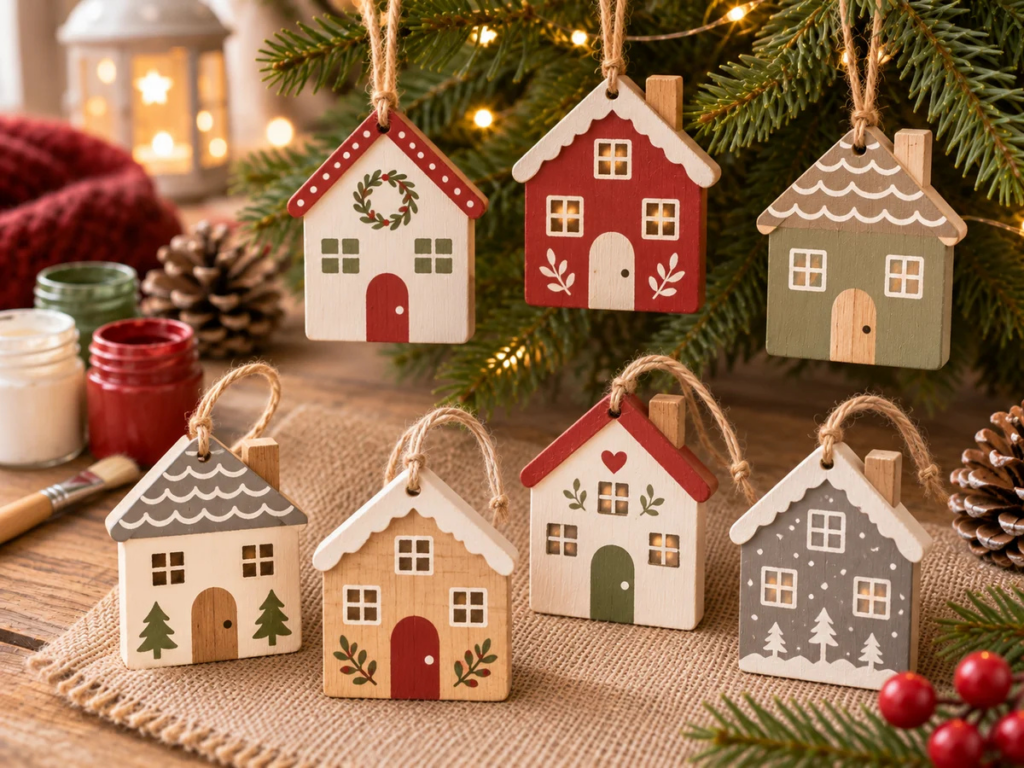
What you’ll need: House shaped wooden blanks, white or gray paint, a small brush, and twine.
Choose a precut house shape rather than building one from separate pieces.
Paint the front a soft white, cream, or natural wood color. Add a small door, two windows, and a roofline.
A few painted dots along the roof can look like falling snow.
These ornaments work well for a neutral Christmas tree, but you can also paint them red or green for a more traditional style.
Personal touch: Add the year or a family’s last name to the back.
9. Painted Christmas Character Ornaments
If you’re decorating with kids, character ornaments are a good way to make the project feel more playful.
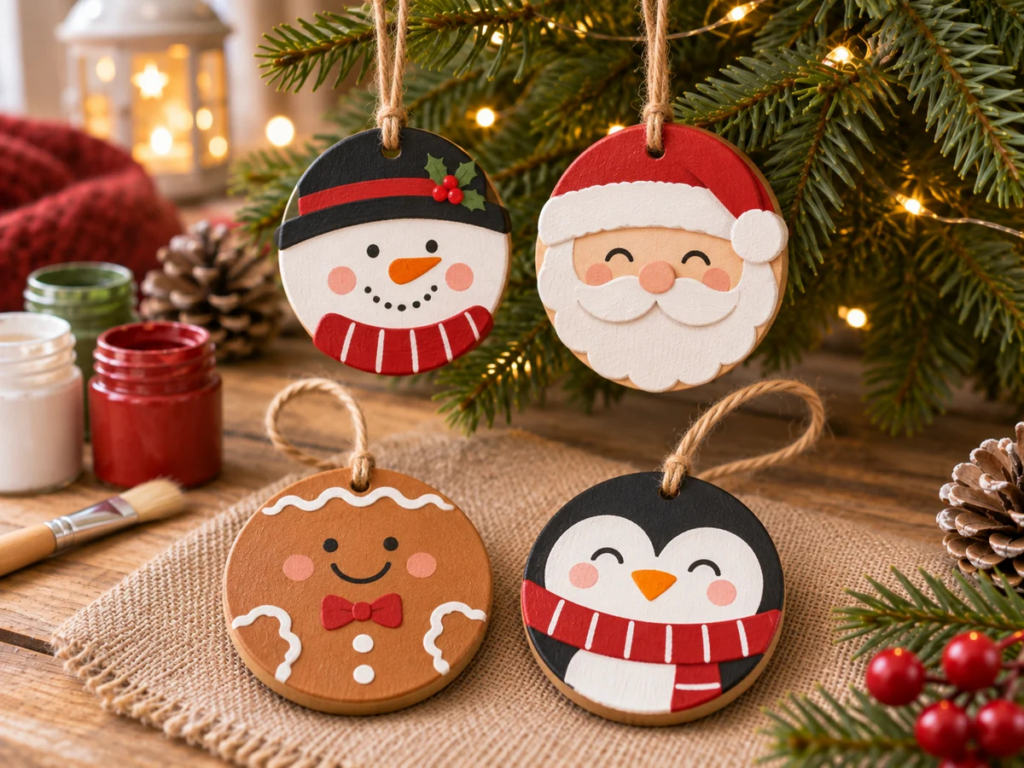
What you’ll need: Round wooden blanks, acrylic paint, brushes, and paint pens.
Choose one easy character to start with. A snowman, Santa face, or gingerbread style figure can all be painted onto a simple round blank.
For a snowman, paint the wood white, let it dry, then add black eyes, an orange nose, and a small smile.
For a Santa ornament, use red for the hat and white for the beard.
You don’t need to make every detail perfect. Simple faces often work better than complicated designs, especially on small pieces of wood.
Let younger children handle the painting with age appropriate, labeled art supplies while adults take care of sanding, drilling, and other tool work.
10. Wooden Ornaments With Ribbon
Sometimes the ribbon is what makes a plain wooden ornament look finished.
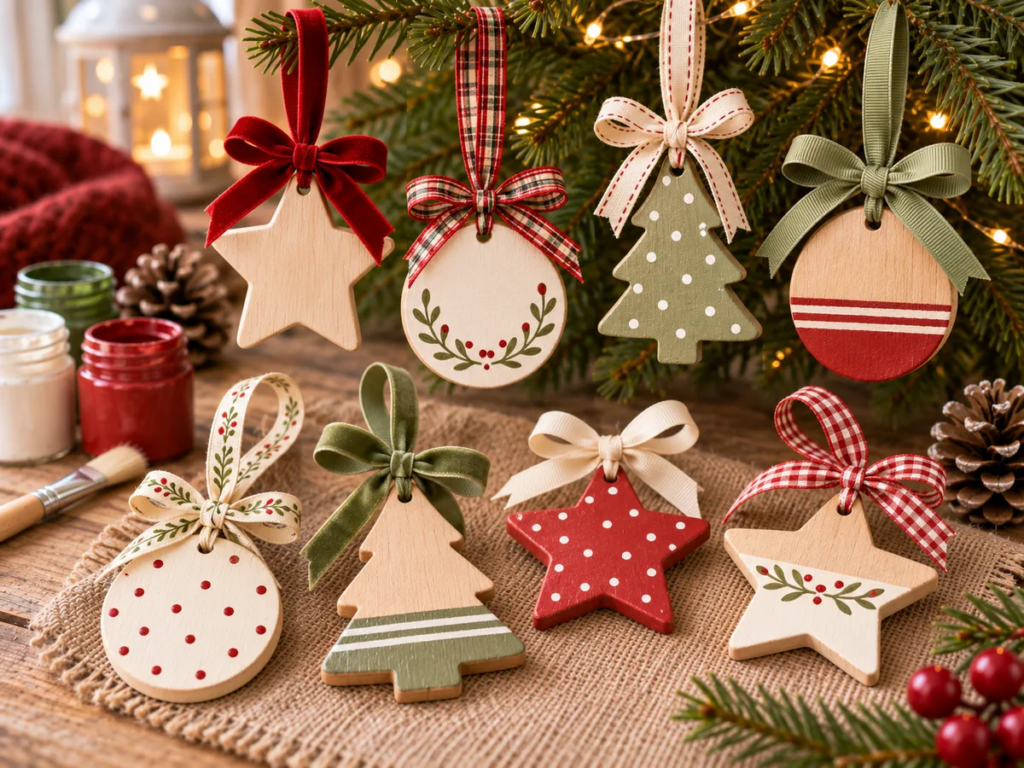
What you’ll need: Wooden shapes, decorative ribbon, scissors, and optional paint.
Start with an unfinished wooden ornament. Sand any rough spots, then decide whether to leave the wood natural or give it a light coat of paint.
Choose a ribbon that suits your decorating style.
Red velvet looks traditional. Buffalo plaid gives a rustic feel. Cream or sage green ribbon works well with neutral holiday decor.
Thread the ribbon through the hole and tie a loop or small bow. Trim the ends neatly.
I’ve found that keeping the wood simple lets the ribbon stand out without making the ornament look too busy.
11. Natural Wood Christmas Ornaments
You don’t have to paint every piece of wood to make a beautiful Christmas decoration.
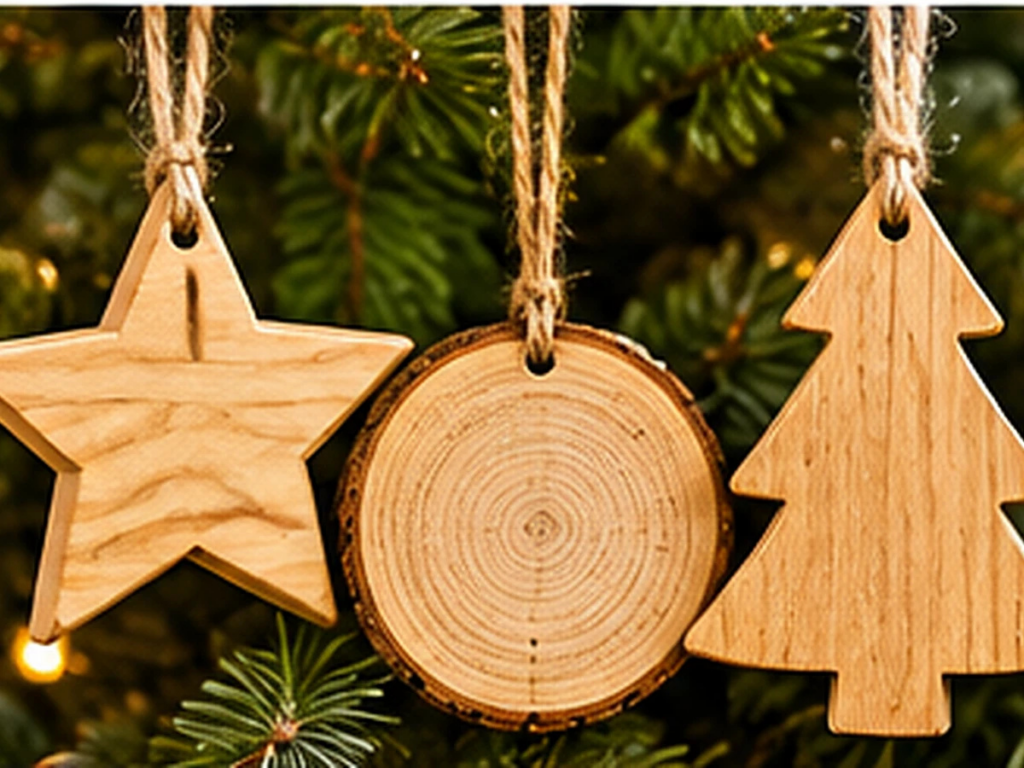
What you’ll need: Smooth wooden blanks, fine sandpaper, a clear water based finish if desired, and twine.
Choose pieces with interesting natural grain.
Sand the surface gently and remove the dust. Leave the wood unfinished for a simple look, or apply a compatible clear finish to help protect it from handling.
Once it’s dry, thread the twine through the hanging hole.
You can mix round slices, stars, hearts, and simple tree shapes for variety.
These ornaments look especially nice with pine garlands, neutral stockings, and warm white tree lights.
12. Wooden Christmas Ornaments Made From Craft Blanks
If you like the look of layered decorations, craft blanks give you an easy way to make something with a little more detail.
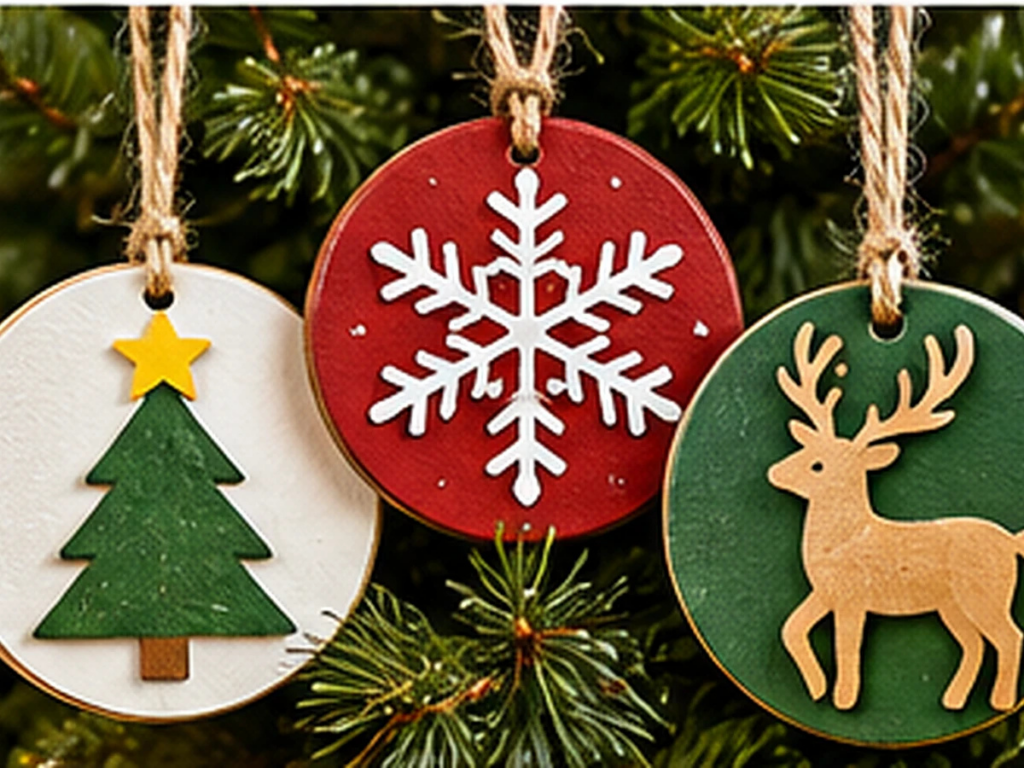
What you’ll need: Flat wooden ornament blanks, smaller wooden accent shapes, craft glue, paint, and ribbon.
Start with a larger round, square, or rectangular blank. Paint it a solid color and let it dry.
Choose a smaller wooden shape, such as a star or tree, and paint it a contrasting color.
Once both pieces are dry, attach the smaller shape to the front using craft glue suitable for wood. Let the adhesive cure according to its label.
The layered design adds dimension without requiring you to cut complicated pieces.
Make sure the added shape doesn’t cover the hanging hole or make the ornament too heavy.
FAQs About My DIY Wooden Christmas Ornaments
Can You Make Wooden Christmas Ornaments Without Power Tools?
Yes, predrilled craft blanks make homemade wooden Christmas ornaments easy to paint and hang without sawing or drilling.
How Do You Protect Painted Wood Christmas Ornaments?
Let the acrylic paint dry completely, then apply a compatible clear water based sealer if you want extra protection.
Can You Make Christmas Tree Ornaments From Wood Slices?
Yes, dry, lightweight wood slices make rustic Christmas tree ornaments you can decorate with painted snowflakes, names, or small evergreen trees.
How To Store Handmade Wooden Christmas Ornaments
After Christmas, a little care can help keep your ornaments looking good for another season.
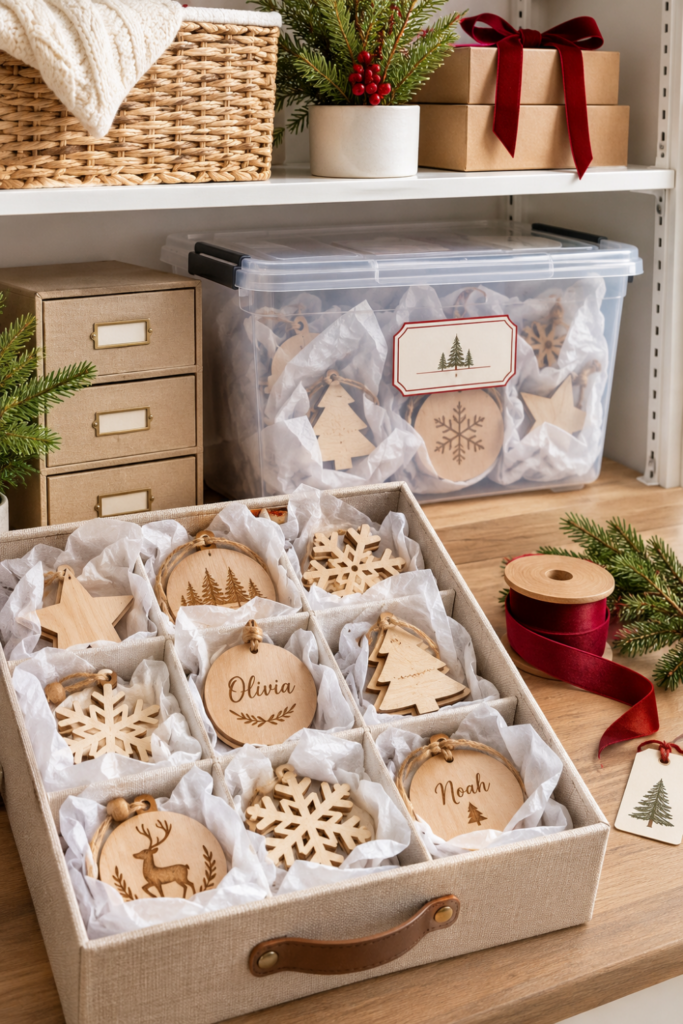
First, make sure the paint and protective finish are fully cured.
Then wrap each ornament in soft tissue paper or a clean piece of fabric. Keep pieces with raised decorations separate so they don’t rub against one another.
I recommend storing wooden ornaments in a small divided box or sturdy plastic bin.
Keep the container in a dry, temperature stable closet rather than a damp basement or a very hot attic.
Before packing them away, check the hanging ribbons and knots. If any are loose or frayed, replace them so the ornaments are ready for next Christmas.
For personalized ornaments, you can also label the storage box by year. It makes those handmade family pieces easier to find later.
Final Thoughts On DIY Wooden Christmas Ornaments
Making your own Christmas decorations doesn’t have to be complicated or expensive.
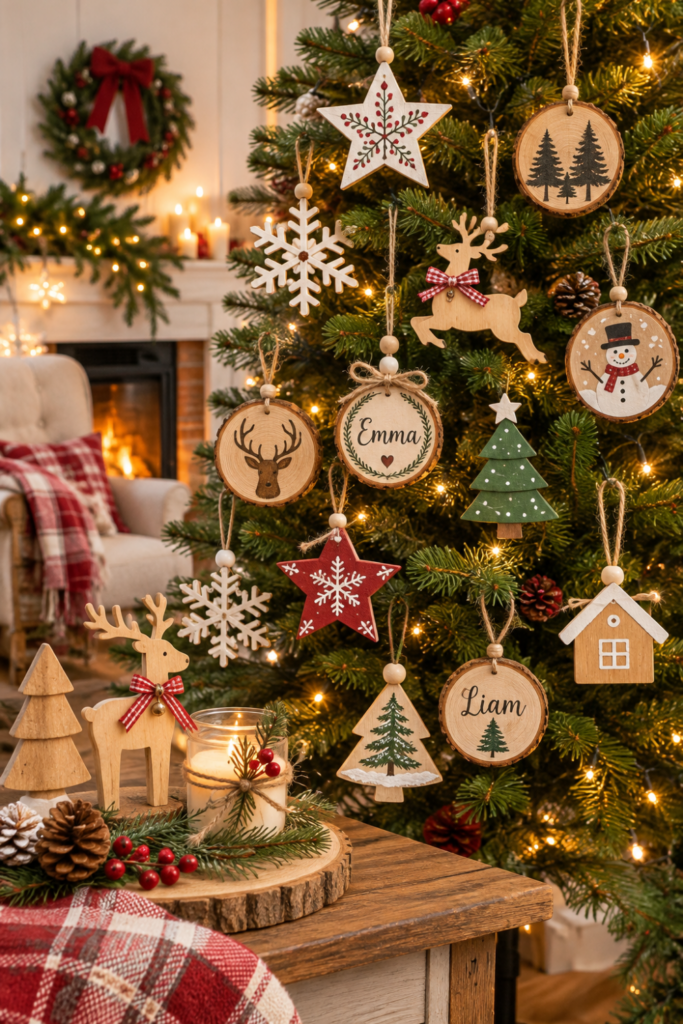
A few wooden blanks, some paint, and a little patience are enough to make ornaments that feel personal. You can keep the designs simple, involve the family, or turn leftover wood into something you’ll actually use.
I always recommend starting with one easy shape instead of trying to make a whole collection at once. Get comfortable with sanding, painting, and adding the hanging loop.
Once you’ve made that first ornament, you’ll have a much better idea of what you want to try next.
And when you unpack those handmade ornaments next Christmas, you’ll have something a little more meaningful than another store bought decoration.

Willie Drew
I’m Willie Drew, and I’m here to help you turn your home into a space you’re proud to show off using simple projects, smart tools, and realistic budgets.