

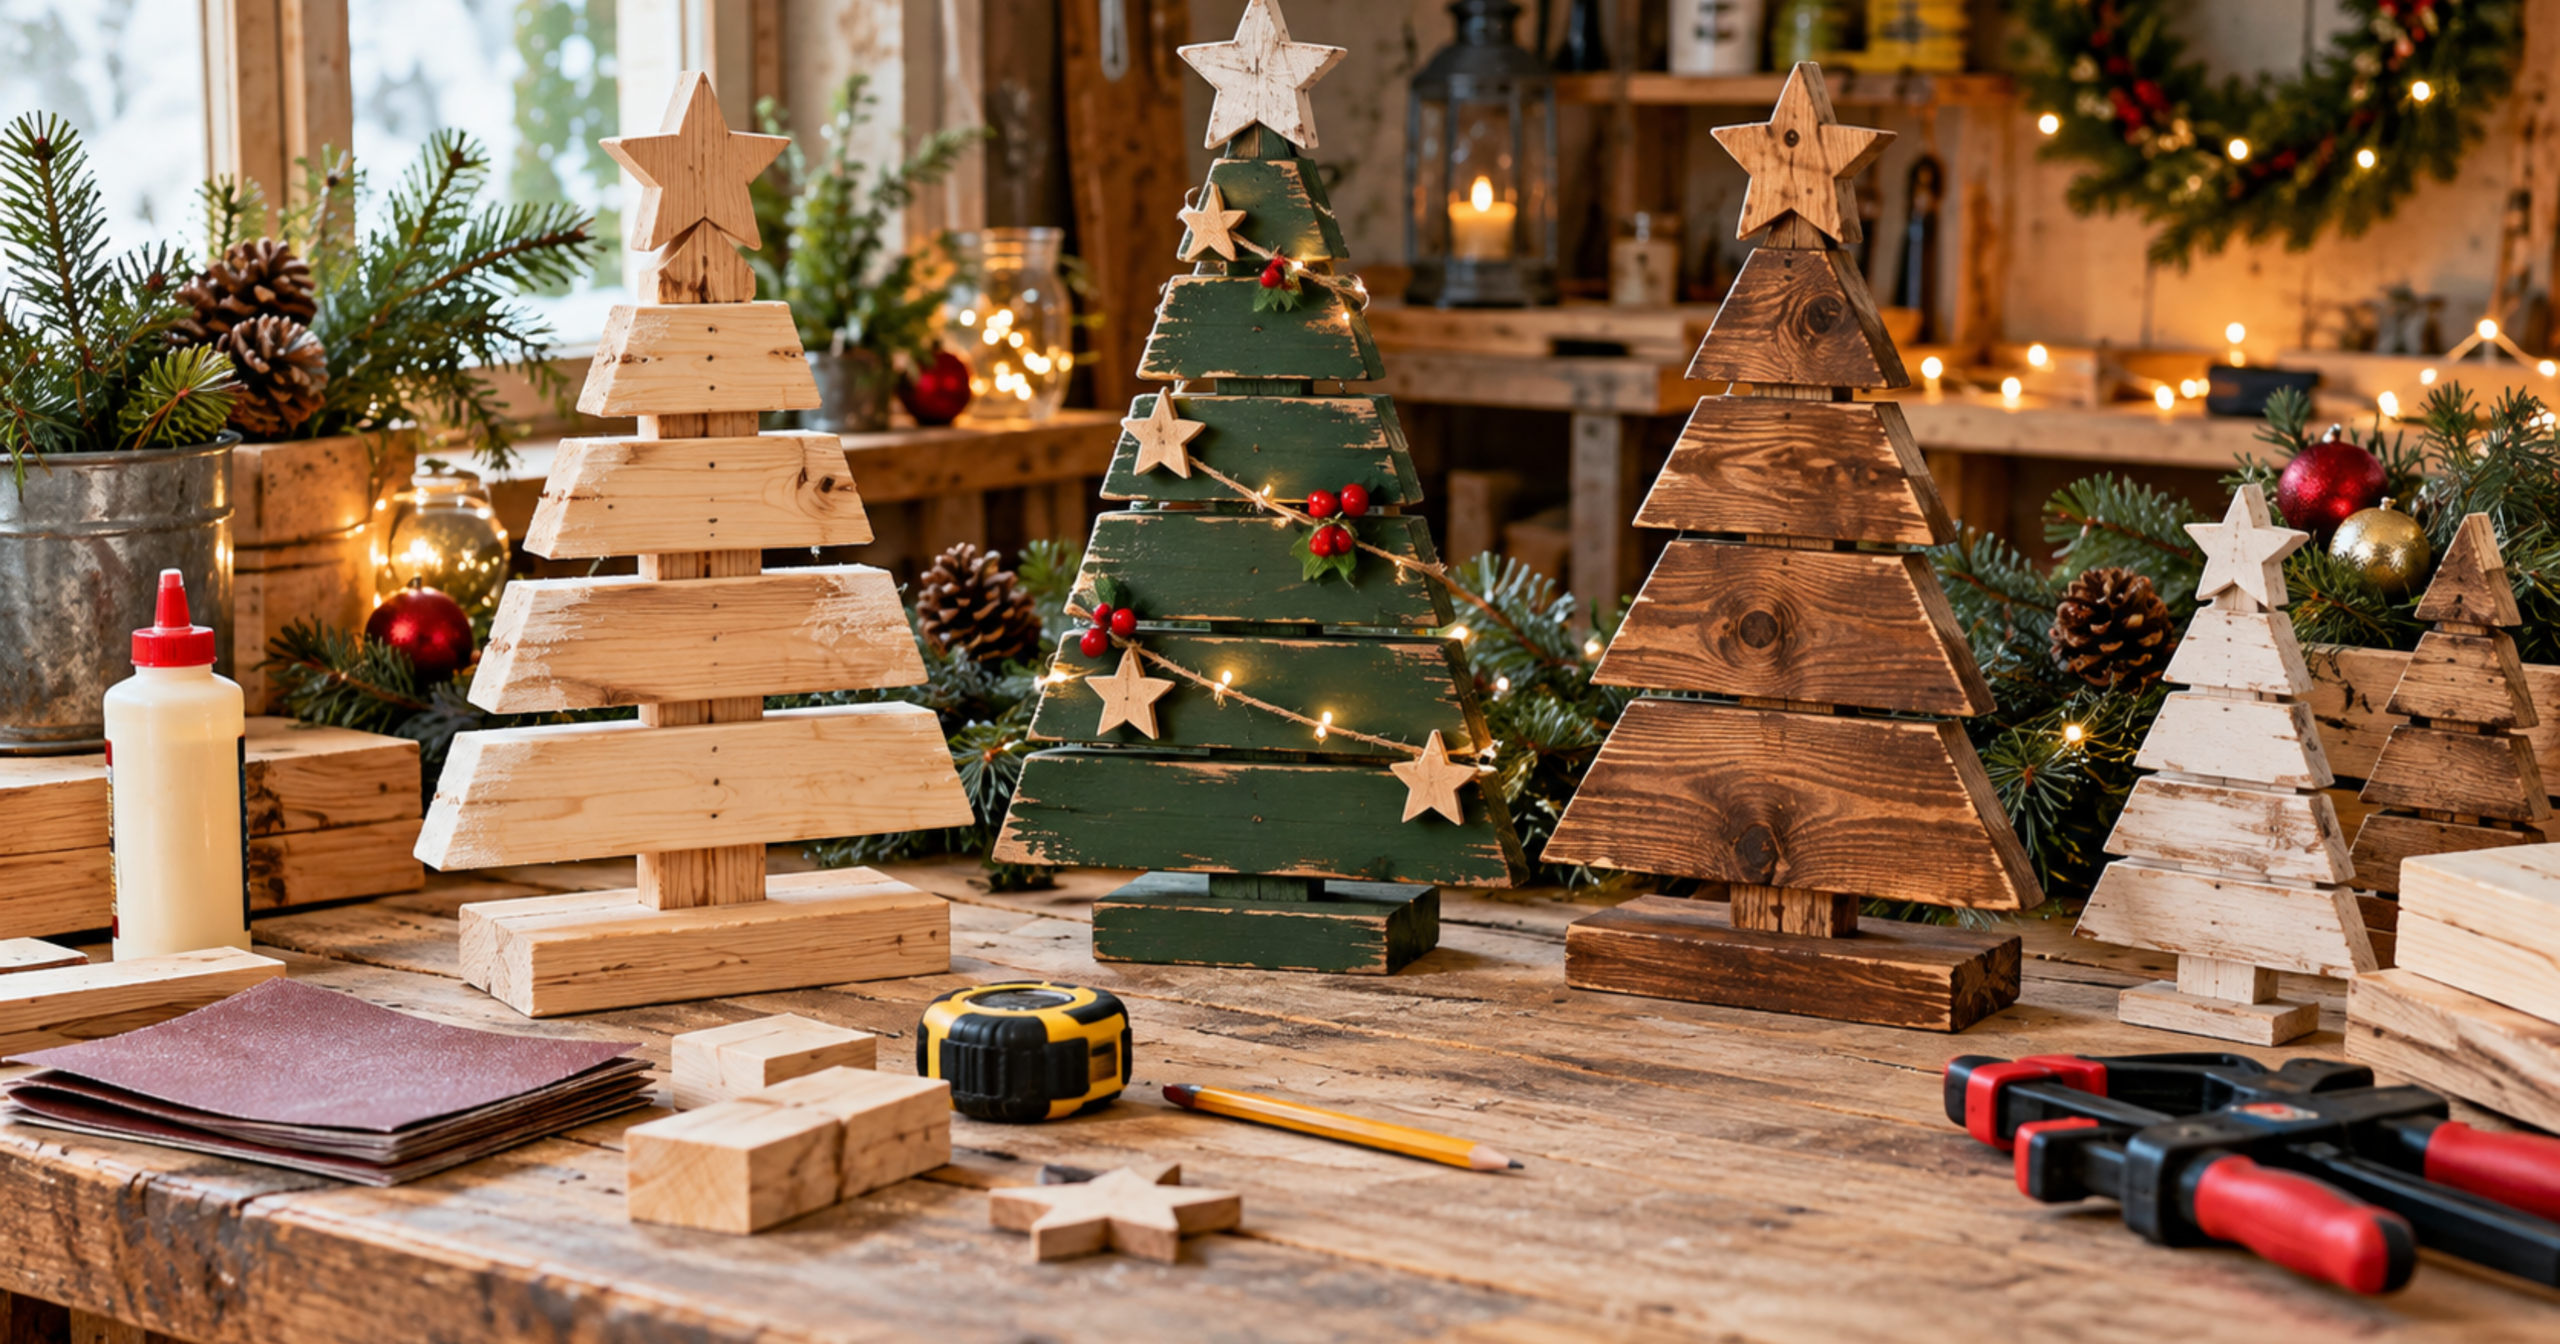
Easy DIY Wooden Christmas Trees Ideas For Beginners
A wooden Christmas tree is one of the easiest holiday projects you can build with leftover lumber. You need a vertical support, a handful of boards cut shorter and shorter, some wood glue, and a heavy base to keep the tree standing.
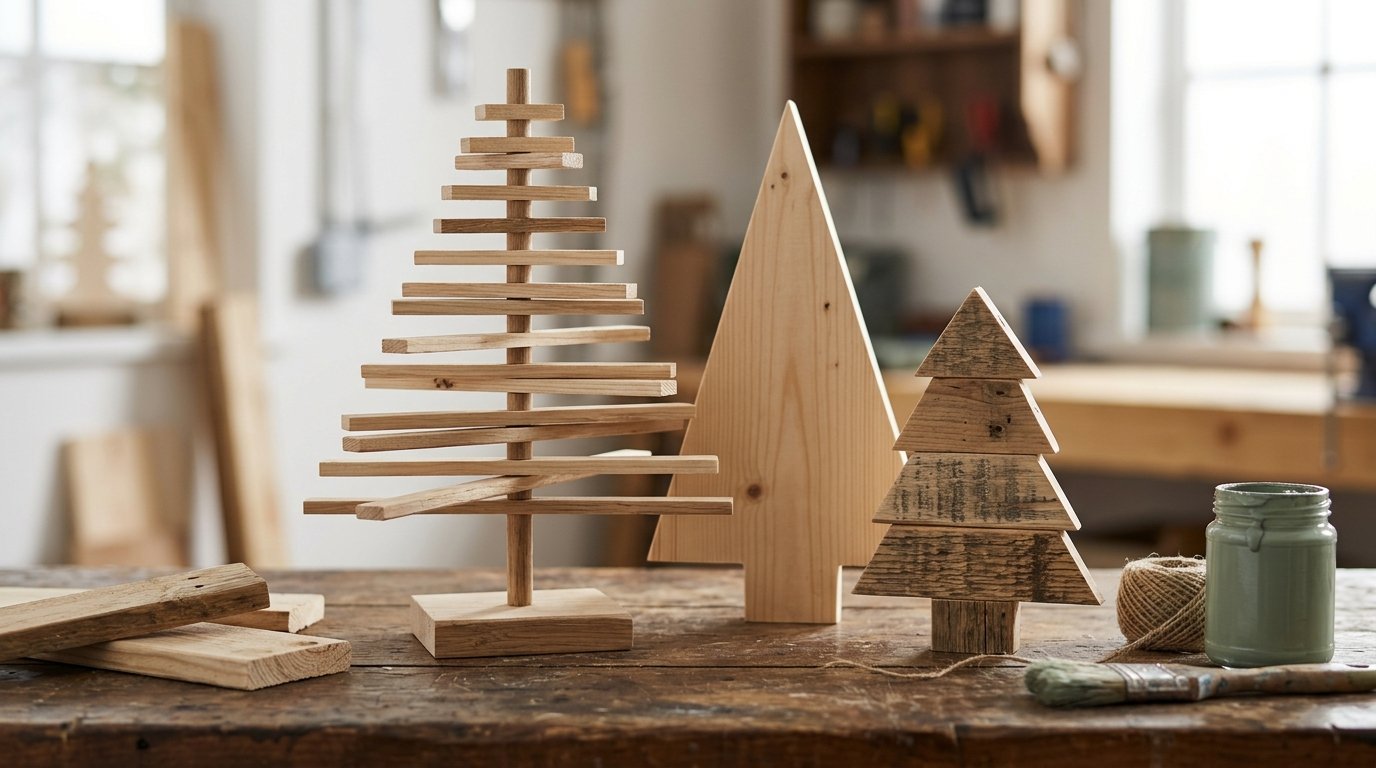
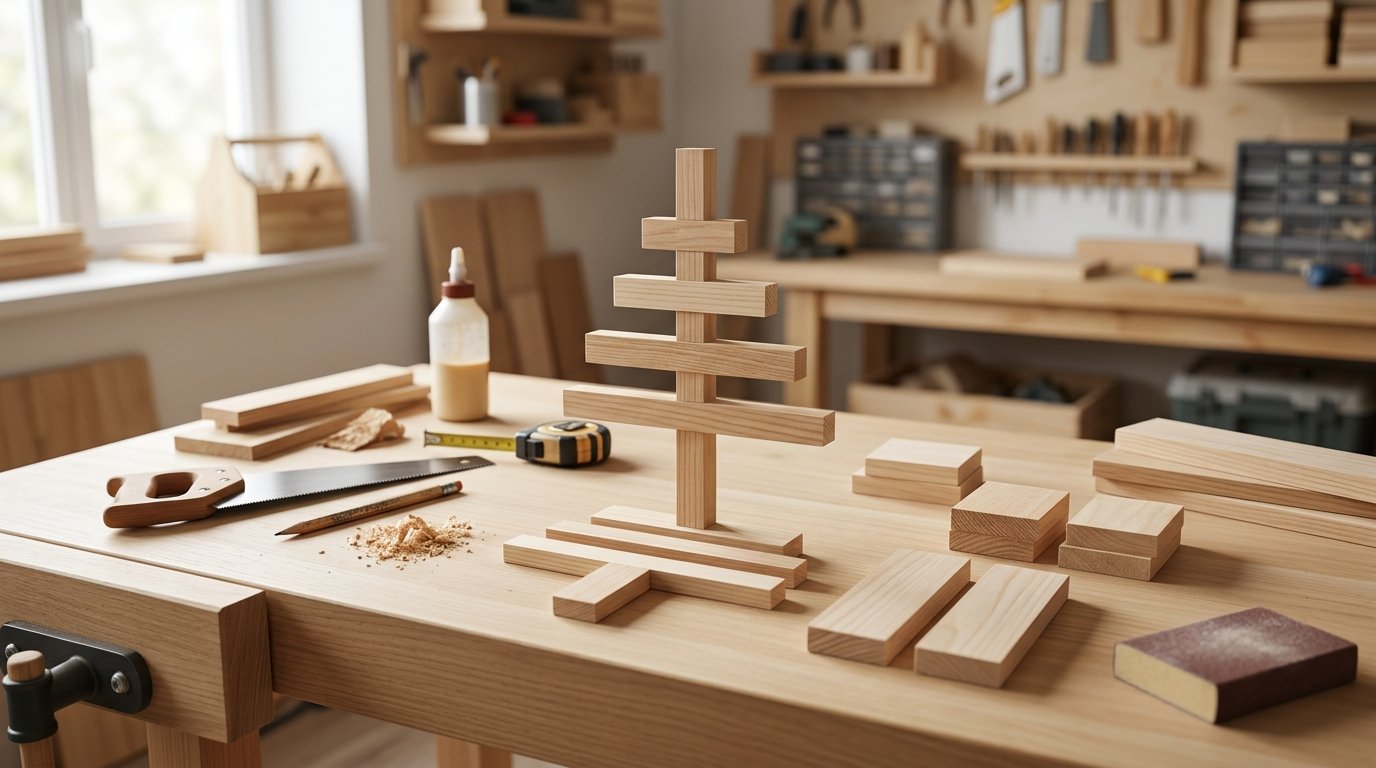
The easiest wooden Christmas tree to make is a tabletop tree: glue progressively shorter boards across a single upright piece, sand it smooth, and screw it to a sturdy base. I like this design because it works with scrap wood, a basic hand saw, and an afternoon of your time. It also looks good on a mantel, shelf, or entry table.
If cutting wood makes you nervous, you still have options. A DIY wooden Christmas tree can start with pre cut craft shapes from a hobby store. Once you see how the pieces fit together, you’ll know which version suits your space, your tools, and your comfort level.
How to Make a Simple Tabletop Tree
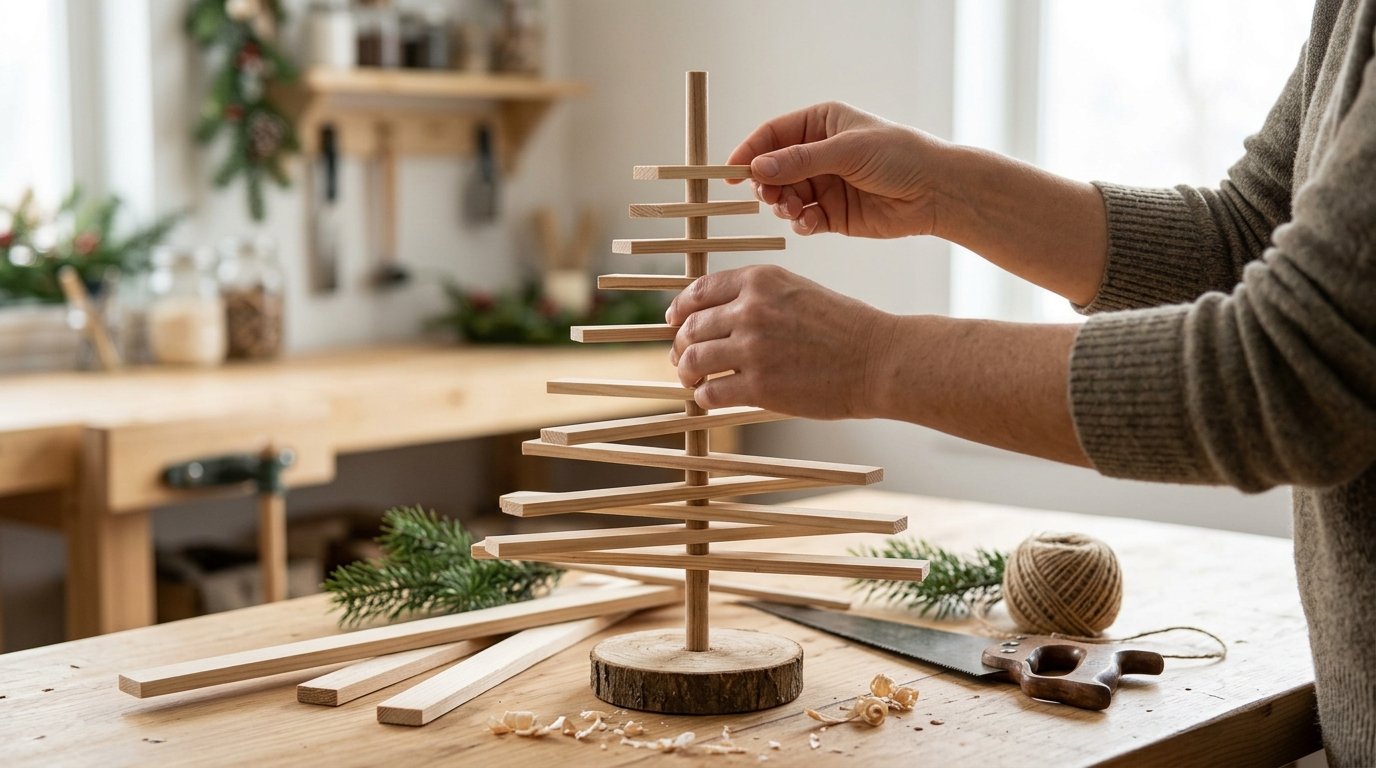
A simple tabletop tree comes down to stacking straight cut boards from longest at the bottom to shortest at the top, all glued to one upright piece. Your tools can be as basic as a hand saw and sandpaper, and the safety steps matter more than the speed of your cuts.
What Materials and Tools Do You Need?
You can build a small wooden Christmas tree with very little. Here’s the list I always recommend for a first build.
Materials:
- One straight board for the vertical support (the “trunk”)
- Several scrap boards for the branches, all roughly the same thickness
- A thicker or wider block for the base
- Wood glue
- Wood screws long enough to pass through the base and into the trunk
- Sandpaper in a coarse grit and a fine grit
- Paint, stain, or clear finish (optional)
Tools:
| Tool | Do you need it? | What it does for you |
|---|---|---|
| Hand saw | Yes, unless you use a power saw | Makes straight cuts with full control |
| Miter saw | Helpful, optional | A circular saw on a hinged arm that chops clean, square cuts fast |
| Jigsaw | Optional | Handy for a curved base or star topper |
| Drill | Helpful | Makes pilot holes and drives screws into the base |
| Clamps | Yes | Hold boards steady while you cut and while glue dries |
| Sander | Optional | Saves your arms; a sanding block works fine |
| Tape measure, pencil, square | Yes | Marks straight, even lines |
| Safety glasses | Yes | Protects your eyes from dust and chips |
You don’t need a full workshop. A hand saw, a clamp, and sandpaper will get you a finished tree.
Plan and Mark the Boards
Lay your boards out on the floor before you cut anything. Put the longest one at the bottom and work up to the shortest at the top. This dry layout acts as your own wooden Christmas tree plans, and it shows you right away if the shape looks too skinny or too wide.
The key is keeping the steps between boards even. Decide how much shorter each branch should be, then mark every board with a pencil and a square so the line runs straight across.
Leave a little trunk showing at the bottom. That gap gives the tree some height and leaves room to attach the base later. Many printed wood Christmas tree plans list exact sizes, but your scrap pile decides what’s possible, so let the boards you have guide the layout.
Cut Straight Pieces Safely
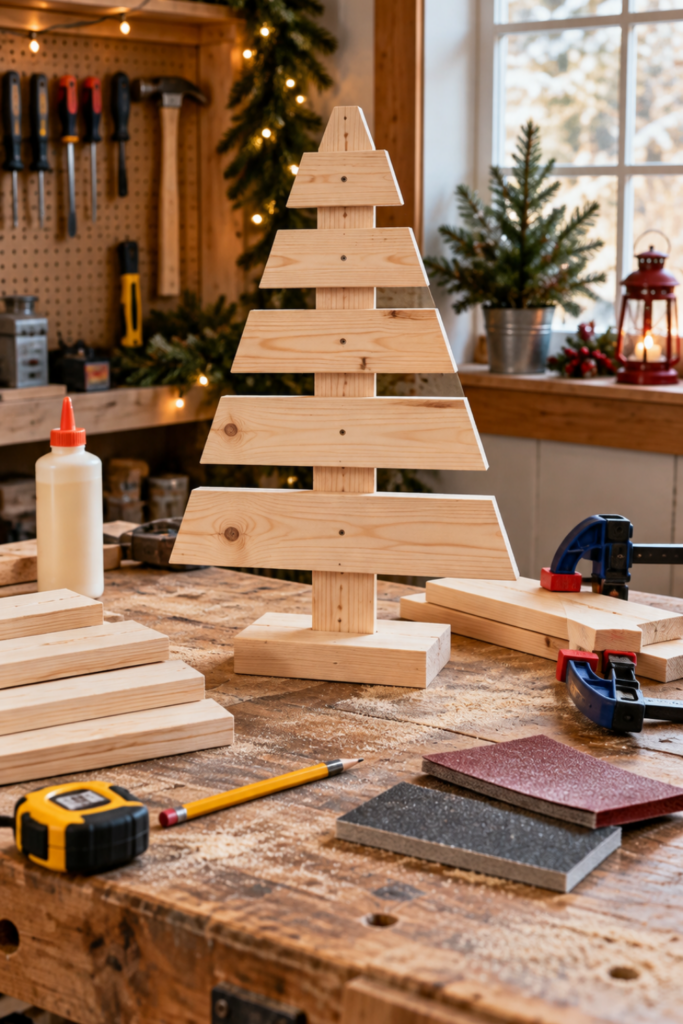
Straight cuts start with a board that can’t move. Clamp it to a sturdy table or workbench with the marked line hanging just past the edge. Never hold the board with one hand while you saw with the other close to the blade.
A few safety habits make a big difference:
- Wear safety glasses for every cut, even quick ones.
- Remove rings, watches, and necklaces, and tie back long hair. Skip loose sleeves.
- Keep your fingers well away from the blade path. Your free hand belongs on the clamp or the far end of the board.
- Use a sharp blade. Dull blades bind and jump.
If you use a miter saw, keep its blade guard in place. Hold the board firmly against the back fence, let the blade reach full speed, and lower it slowly. Wait for the blade to stop completely before you lift it or reach for the cut piece.
With a hand saw, start with a few short pull strokes to make a groove, then use long, steady strokes. Let the saw do the work.
Sand and Assemble the Tree
Sand every cut end before you glue anything. Start with the coarse grit to knock off fuzzy edges and splinters, then switch to fine grit for a smooth feel. Round the sharp corners slightly, especially if kids will touch the tree.
Wipe away the dust. Lay your trunk flat and spread a thin line of wood glue where the first branch goes. Press the branch on, centered, and check it with your square.
Work your way up one board at a time. Clamp each section or set something heavy on top while the glue sets. Wipe off any glue that squeezes out right away, because dried glue blocks stain. Let the tree dry for the time listed on your glue bottle.
Attach a Stable Base
A tree that tips over ruins the fun, so the base deserves care. Pick a block that’s wider than the bottom branch’s thickness and heavy enough to anchor the tree.
Center the trunk on the base and mark its outline. Drill pilot holes up through the bottom of the base so the wood doesn’t split. Add glue to the trunk’s end, set it on the base, and drive screws from underneath.
Give the tree a gentle push from the side. If it rocks, use a wider or heavier base, or add felt pads underneath to protect your furniture and keep it from sliding.
Which Wood and Tree Design Should You Choose?
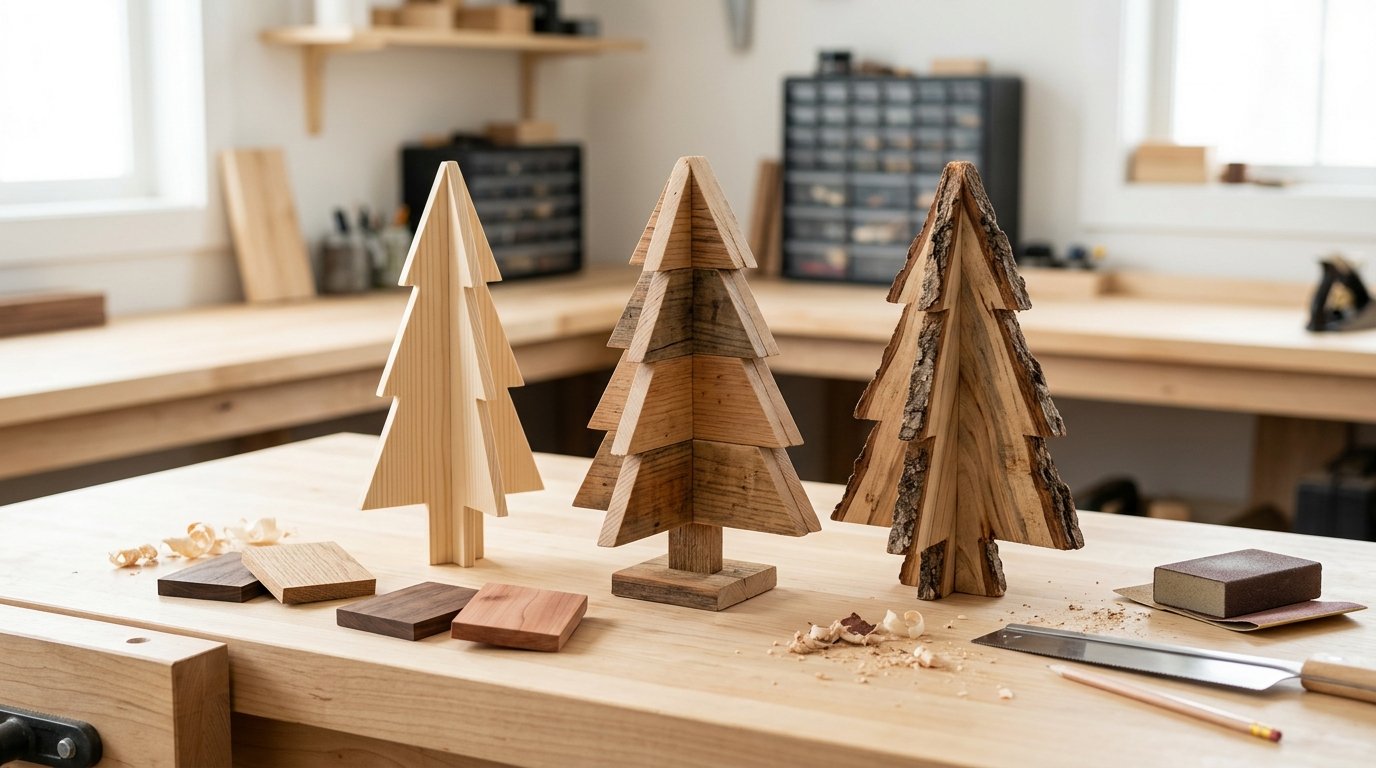
Start with whatever wood you already have, as long as it’s clean, dry, and free of old chemical treatment. Once the basic tree feels comfortable, pre cut shapes, pallet boards, blocks, and triangles open up plenty of other looks.
Plywood, Solid Wood, Reclaimed Boards, or Craft Shapes?
Each material gives you a different result. Here’s how they compare for DIY wood Christmas trees.
| Material | Best for | Watch out for |
|---|---|---|
| Plywood | Flat cutout trees and painted designs | Edges splinter; sand and seal them |
| Solid wood | Stacked branch trees with visible grain | Costs more if you buy new boards |
| Reclaimed boards | Rustic, weathered looks | Nails, staples, dirt, and unknown treatments |
| Pre cut craft shapes | No cut projects and kids’ crafts | Smaller sizes and less custom shape |
One warning about reclaimed wood: avoid lumber from old decks, fences, or playsets. Before 2004, many of those were built with wood treated with chromated copper arsenate, a preservative containing arsenic. If you’re unsure, leave it out. Never burn treated scraps, and wear goggles and a dust mask if you ever have to cut them.
A No PowerT ool Tree Using Pre Cut Shapes
You can make an easy wooden Christmas tree with zero saw work. Hobby stores sell wood rectangles, craft sticks, wooden stars, and small blocks that are ready to use.
Here’s a simple way to do it:
- Pick a long craft stick or dowel for the trunk.
- Choose wood strips or rectangles in graduated lengths. Many packs already include several sizes.
- Sand the edges lightly by hand.
- Glue the pieces across the trunk, longest at the bottom.
- Glue a wooden star at the top and press the trunk into a small block with a drilled hole, or glue it to a flat wood square.
I like this option for families because kids can paint the pieces before assembly. It’s also a smart first step if you want to test a design before cutting your own boards.
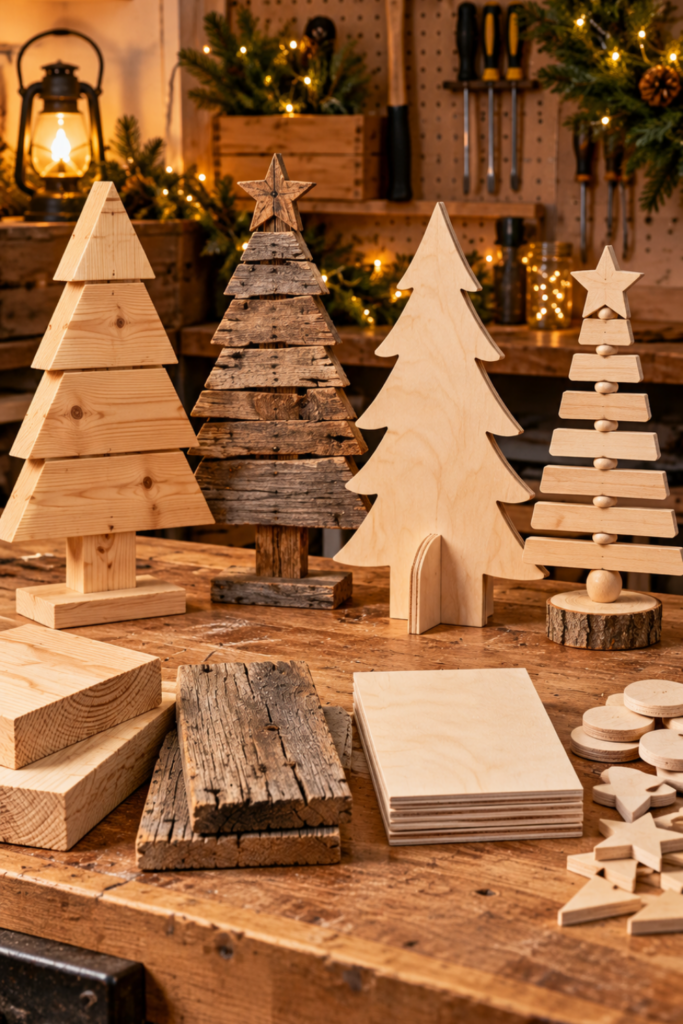
Scrap, Pallet, and Block Tree Ideas
Scrap wood Christmas trees are a great way to clear out your garage. Here are a few wooden Christmas tree ideas that use different leftovers:
- Pallet Christmas tree: Pry apart pallet slats, pull every nail, and arrange the boards in a tall triangle against a back brace. This size works best on a porch or leaning against a wall.
- Wood block Christmas tree: Cut a thick post or 2×4 into chunky blocks of different heights. Line them up from tall to short, or stack three cubes and top them with a smaller one.
- Branch slice tree: Glue thin cuts from a fallen branch onto a flat backer in a tree shape.
- Dowel tree: Drill holes through a vertical post and slide dowels through in graduated lengths.
Each of these wooden Christmas tree crafts uses the same idea as the tabletop build: big at the bottom, small at the top.
When Is a Triangle or Layered Tree Worth Trying?
A wooden triangle Christmas tree makes sense once you’re comfortable with angled cuts. You’ll build an open frame from three boards, which takes careful measuring so the corners meet cleanly. A miter saw or a miter box (a simple guide that holds a hand saw at a set angle) makes this much easier.
Layered trees stack flat cutouts on top of each other for depth. These need a jigsaw and a bit of patience with curves. If you want to try either, look for woodworking plans with a full cut list so you aren’t guessing at angles.
How Do You Finish, Display, and Store Your Tree?
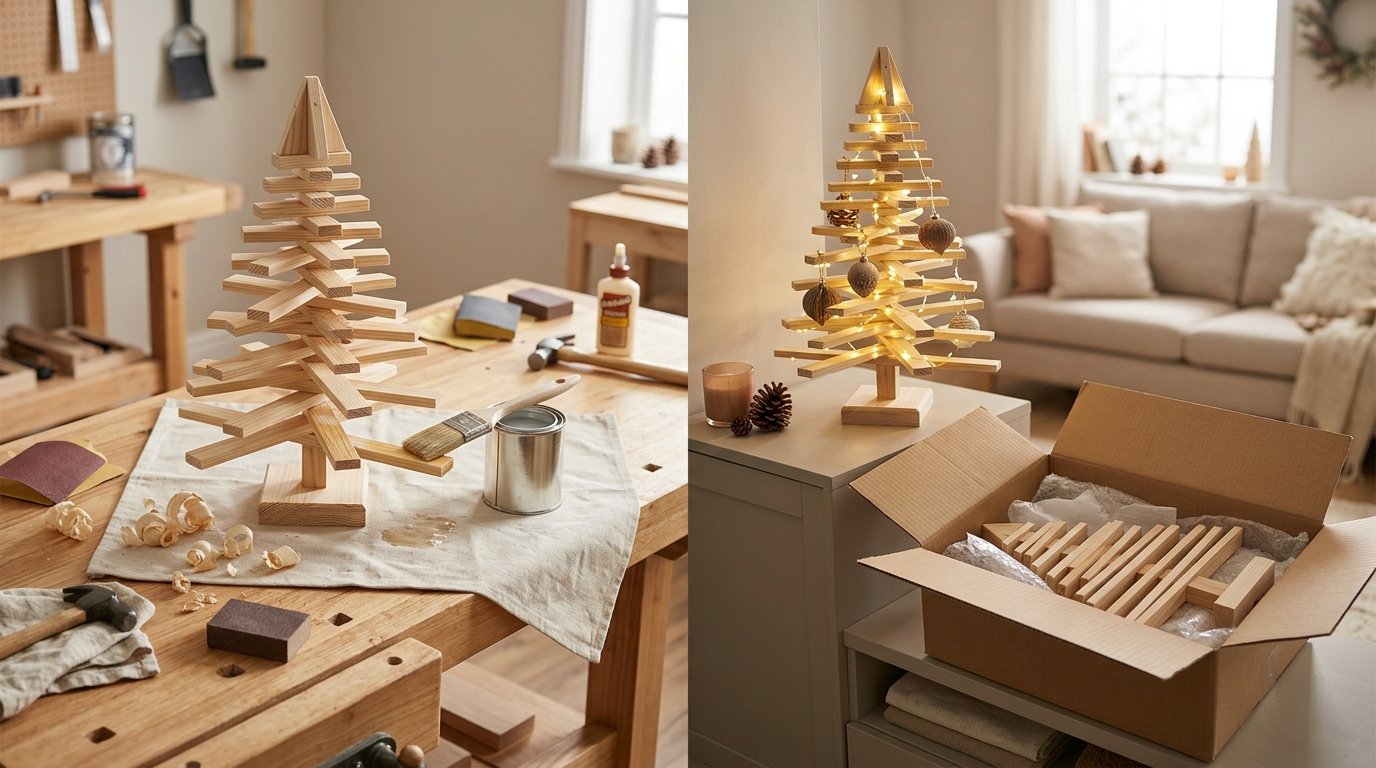
Finish your tree based on where it will live, then display it on a flat, stable spot and store it somewhere dry. Indoor trees need very little protection, while outdoor trees need weather ready wood and a tough finish.
Paint, Stain, Lights, and Simple Decorations
Sand once more with fine grit and wipe off all dust before you add any finish. Wood stain soaks in and shows off the grain, which suits solid and reclaimed boards. Paint covers knots and mismatched scraps, so it’s a good pick when your pieces don’t match.
Test your stain on a leftover scrap first. Pine soaks it up unevenly, and a quick test saves you from a blotchy tree. Apply thin coats and let each one dry fully.
For wood Christmas tree decor, keep it light:
- Battery powered fairy lights wrapped around the trunk
- Small hooks or tiny screw eyes for mini ornaments
- A wooden or metal star on top
- Twine, ribbon, or a strip of burlap at the base
Battery lights skip the cord, which makes the tree easier to place on a shelf or mantel.
What Changes for an Outdoor Tree?
An outdoor wooden Christmas tree faces rain, snow, and sun, so the wood and the finish both need to be tougher. Cedar is a natural pick because it resists rot and bugs on its own. It also weathers to a soft gray if you leave it unfinished.
For any wood, seal every surface with an exterior grade paint or outdoor stain, including the bottom and cut ends. Those ends soak up water fastest.
Outdoor wooden Christmas trees also need a heavier, wider base or a stake into the ground, since wind pushes on tall flat shapes. Raise the base slightly off wet porch floors with small feet or pads so water doesn’t sit under it.
Avoid Splinters, Tipping, and Storage Damage
A few common mistakes cause most of the trouble with handmade trees.
Splinters: Sand every edge and corner, not just the faces. If you get a splinter, wash the area, then use clean tweezers to pull it out in the same direction it went in. Wash again and cover it with a bandage.
Tipping: A base that’s too small or too light is the most frequent problem. Keep tall trees away from busy walkways and pet zones, and add felt pads so the base grips the surface.
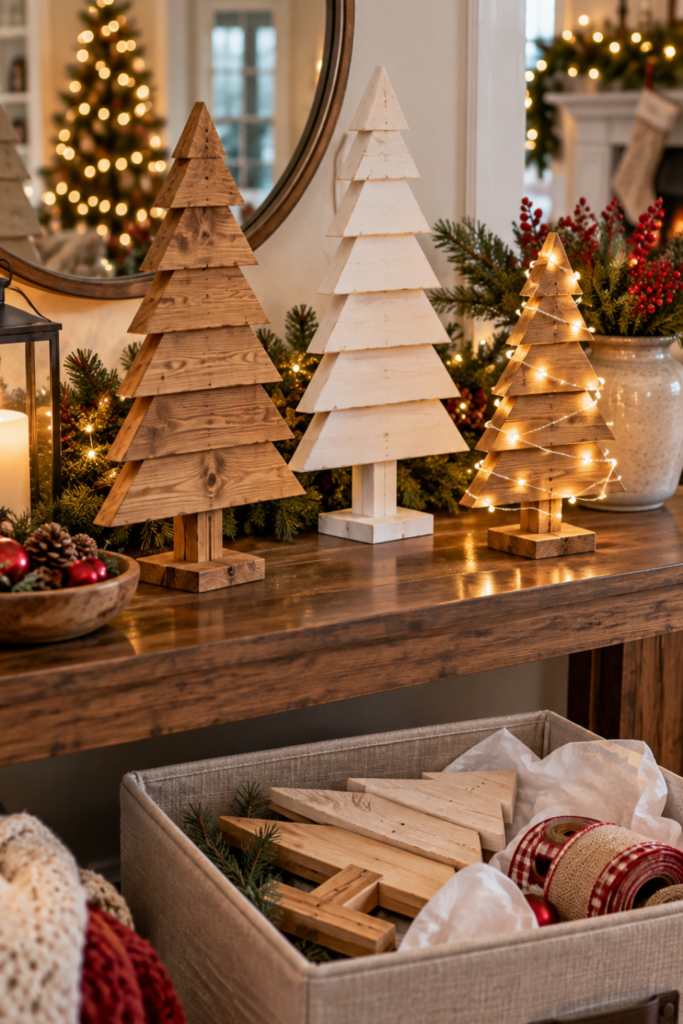
Storage damage: Wrap your tree in an old towel or bubble wrap and store it in a dry closet or bin. Damp basements and hot attics warp wood and crack glue joints. If the base unscrews, store it separately in the same box so you don’t lose it.
FAQs About My DIY Wooden Christmas Trees Ideas
What is the easiest DIY wooden Christmas tree to make?
A small tabletop tree made from scrap wood boards is a good beginner project because it only requires straight cuts, sanding, wood glue, and a sturdy base.
Can I make a wooden Christmas tree cutout without power tools?
Yes, you can buy pre cut wooden Christmas tree cutouts or craft shapes, then sand, paint, and decorate them without needing a saw.
How do I make a wooden outdoor Christmas tree last through winter?
Choose weather resistant wood like cedar, seal every surface with an exterior finish, and use a wide, heavy base or ground stake to keep the tree secure.
Final Thoughts About DIY Wooden Christmas Trees Ideas
You don’t need expensive lumber or fancy tools to make Christmas decorations you’ll enjoy using year after year. What I like about these DIY Wooden Christmas Trees ideas is that you can work with what you already have and make something that fits your home.
Just take your time sanding the edges, make sure the base is sturdy, and choose a finish that works for where you’ll display it. Start with one small tree this Christmas, and you might find yourself making a few more for the porch or as handmade gifts.

Willie Drew
I’m Willie Drew, and I’m here to help you turn your home into a space you’re proud to show off using simple projects, smart tools, and realistic budgets.