

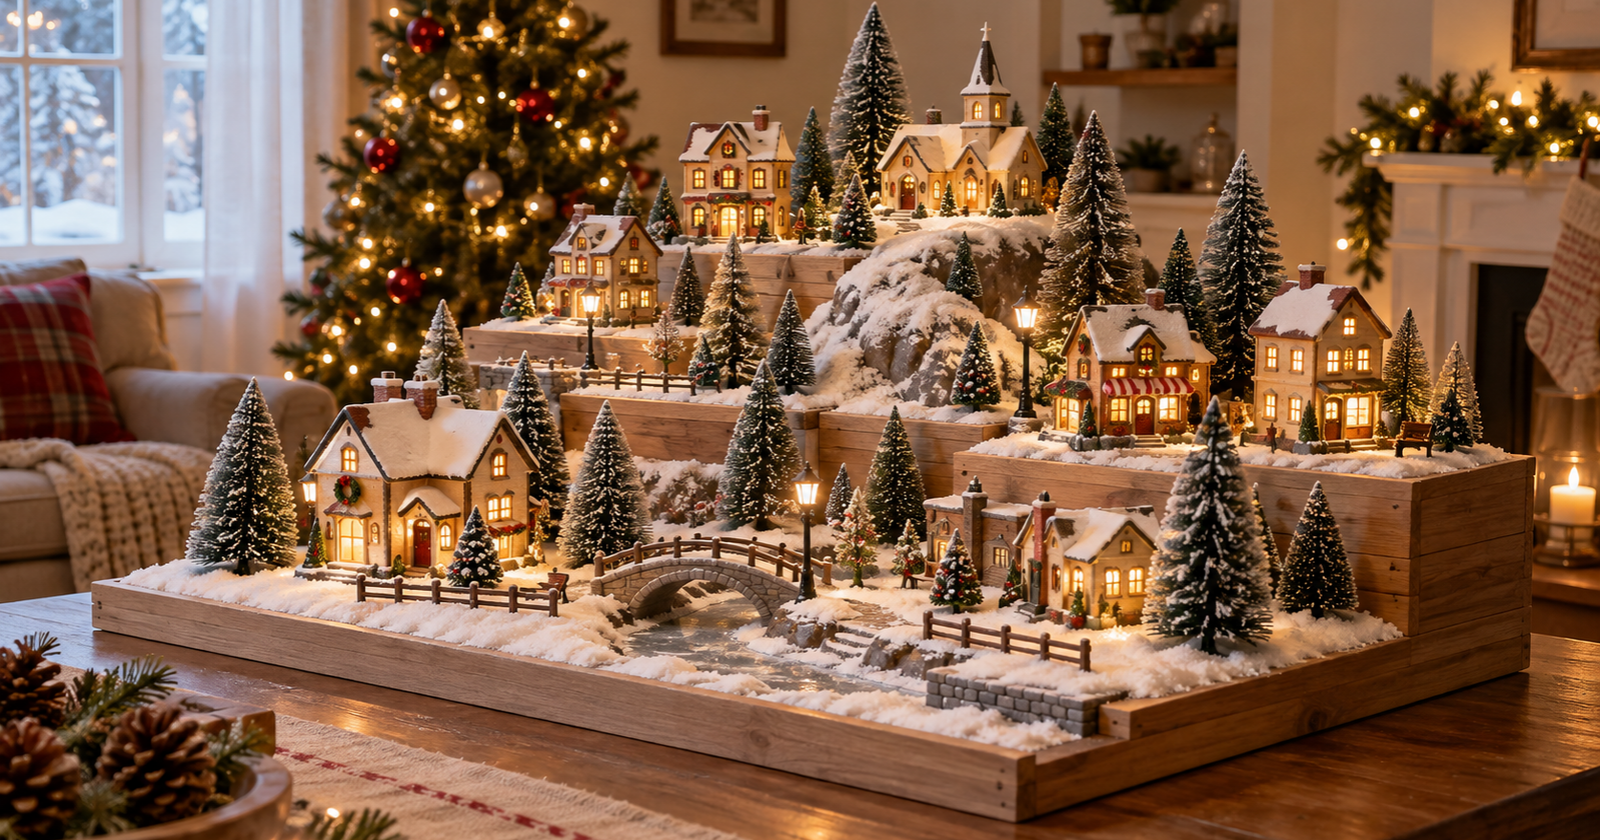
How To Build A DIY Christmas Village Display Platform
A sturdy platform turns a scattered row of miniature houses into a real village with streets, hills, and depth. For most homeowners, the best DIY Christmas Village Display Platform is a rigid plywood base, supported along its length, with wood or foam risers stacked on top for height. That setup costs little and holds weight, and it comes apart for storage after the holidays.
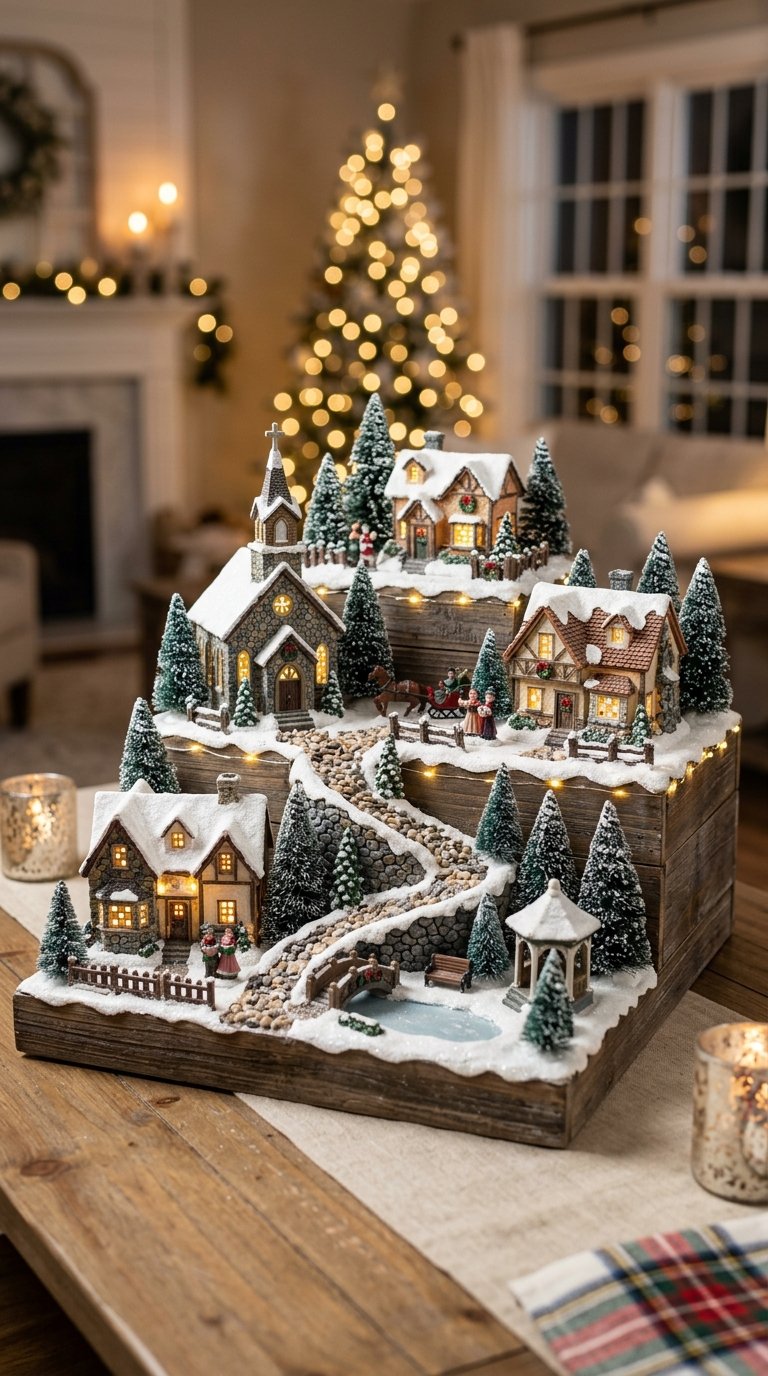
The catch is weight. Ceramic and resin houses add up fast, and foam on its own can sag or crush under a heavy collection. Before you buy a single board, set your actual buildings on a bathroom or kitchen scale and measure their footprints. Those numbers tell you how big the base needs to be and how close together your supports should sit.
With a few basic tools and a weekend, you can build a christmas village platform that looks finished, keeps every cord reachable, and packs into a closet until next year.
Plan The Layout And Choose Your Materials
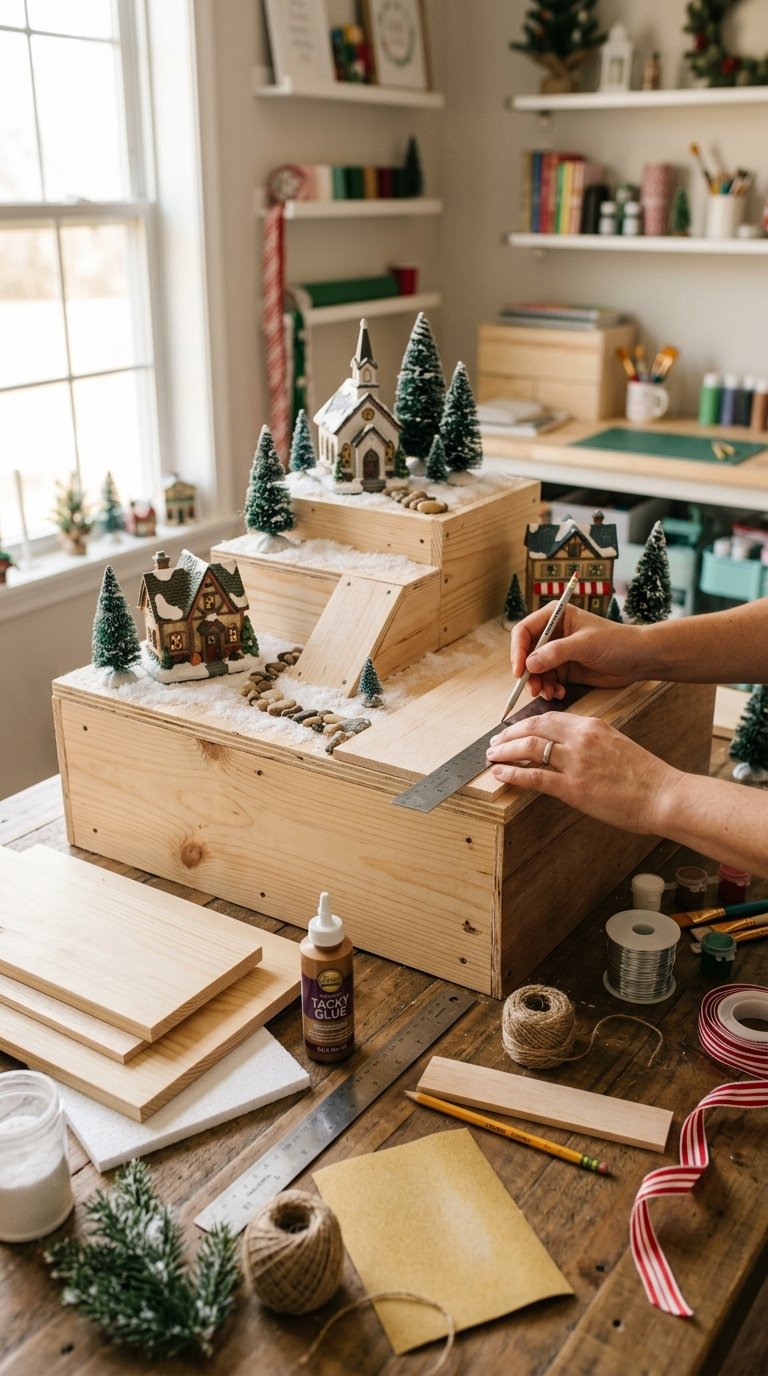
Good planning starts with your space and your collection, then works toward a base that carries real weight. You’ll pick a design shape, choose plywood or a no saw option, gather a short tool list, and mock up the whole village before cutting anything.
Which Platform Design Fits Your Space and Collection?
Pick the design that matches where the village will live. A few common shapes cover most homes:
| Design | Best for | Watch out for |
|---|---|---|
| Flat tabletop board | Small sets, side tables, beginners | Less depth, so back houses hide |
| Stepped tiers (2 to 3 levels) | Mantels, buffets, larger collections | Needs solid risers under each level |
| L shaped or corner layout | Room corners, bay windows | Two boards must join cleanly |
| Vintage suitcase village | Small collections, bookshelves | Limited weight and space |
I like stepped tiers for most christmas village display ideas because every house stays visible. Taller buildings go in back, and shorter cottages sit up front. If you have just a handful of miniature houses, a flat board with one small riser looks great and takes an afternoon.
Think about the viewing angle too. A village against a wall only needs a finished front. A village on a coffee table gets seen from every side, so plan streets that look good all the way around.
If you’re still deciding where to set up your village, take a look at my Christmas village display ideas for inspiration using mantels, shelves, tables, and small spaces.
How Do You Choose a Base That Supports Your Houses?
Your base should be rigid enough that it doesn’t bend when you press on the middle. For most tabletop builds, 1/2 inch or 3/4 inch plywood is the safe pick. Thicker plywood spans farther between supports without sagging.
Here’s how common base materials compare:
- 3/4 inch plywood: strongest choice for heavy ceramic or a large lemax village. Heavier to lift and store.
- 1/2 inch plywood: fine for medium collections when supported every couple of feet.
- MDF: smooth and flat, but heavy and it swells if it gets wet.
- XPS foam board (pink, blue, or green): light and easy to carve for hills. Use it on top of a rigid base, never as the only support for heavy christmas village houses.
If the base will hang past a table edge, keep that overhang short. Unsupported plywood flexes more along its short direction, so place supports under any long edge carrying buildings.
What Materials and Basic Tools Do You Need?
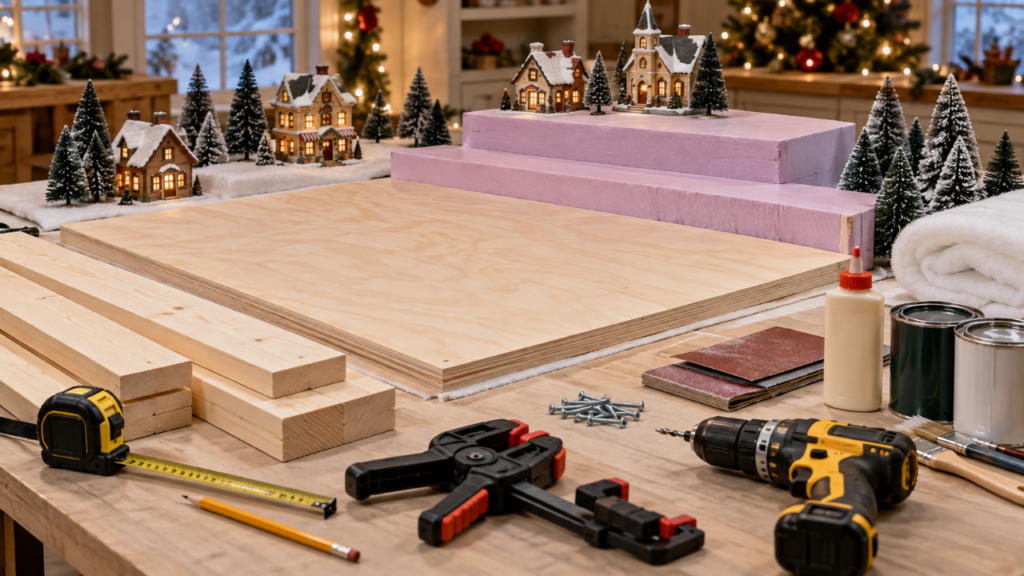
You don’t need a workshop. Here’s a practical list for a typical christmas village set:
Materials
- Plywood sheet or a precut project panel for the base
- 1×4 or 2×2 boards for a support frame and risers
- XPS foam board for optional hills
- Wood glue and foam safe adhesive
- 1 1/4 inch wood screws
- Sandpaper, 100 and 120 grit
- Paint or felt for the surface
- Snow blanket or faux snow, plus miniature trees
- Adhesive cord clips or cable channels
Tools
- Tape measure and pencil
- Drill/driver
- Clamps (at least two)
- Sanding block
- Utility knife or serrated knife for foam
- Circular saw or jigsaw, if you cut your own wood
No saw option: most home centers will cut plywood and boards to your measurements. Bring a written cut list. Another option is to use sturdy wooden crates or flat boxes as risers on a store cut board.
Measure the Space and Dry Fit the Village
Measure the table, mantel, or shelf first. Write down length, depth, and any height limit from a window or cabinet above. Leave a couple of inches clear at the back for cords.
Then dry fit. Lay painter’s tape on the floor in the shape of your planned base and set every house inside it. Use books or boxes to stand in for raised tiers. This tells you fast if the layout is too crowded.
As an example only, a 48 by 24 inch base with a 6 inch back tier fits many mantel sized collections. Your houses decide the real numbers, so build your cut list from the dry fit, then double check it before buying wood.
Mark Your Pieces and Plan for Disassembly
Label every part as you plan. A simple system works: “Base A,” “Riser 1 Left,” “Riser 1 Right.” Write labels on the underside so they stay hidden.
Decide now which parts will come apart. I always recommend screws over glue for joints you’ll separate each year. Snap a phone photo of the finished dry fit so setup next season goes faster.
Build The Base And Raised Levels
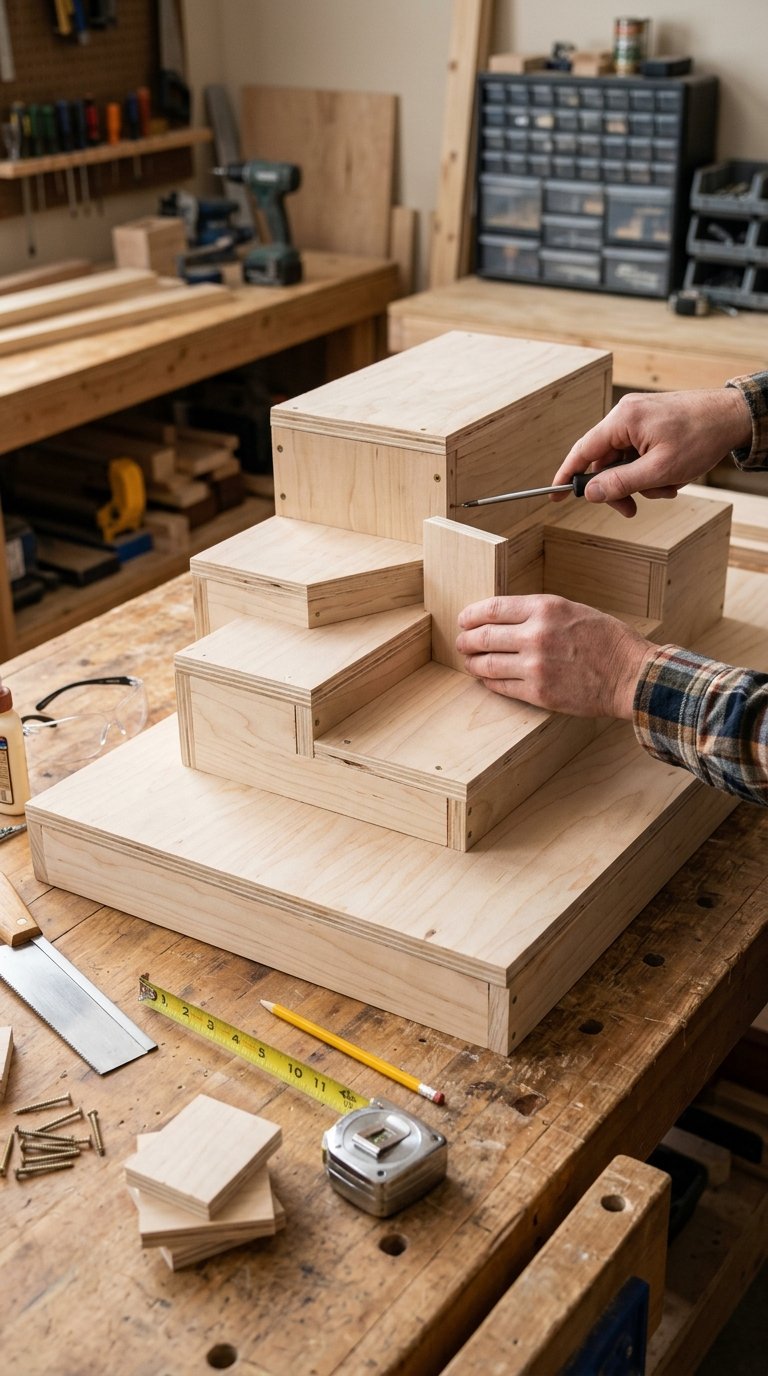
The build comes down to a flat, braced base, solid risers screwed or set on top, and optional foam hills for shape. Test every house for wobble before you add any decor.
Prepare the Rigid Base and Supports
Clamp your plywood to sawhorses or a sturdy table before cutting. A board that shifts mid cut is how fingers get hurt and edges go crooked. Keep both hands clear of the blade path and wear safety glasses.
If you’re cutting a full sheet at home, lay it on a sheet of rigid foam insulation on the floor. Set the saw blade to cut just slightly into the foam. The foam supports both sides of the cut so the panel doesn’t pinch the blade or drop.
Sand every edge after cutting. A sanding block with 100 grit, then 120 grit, removes splinters that snag fabric and hands. Hold the block flat so the edges stay square.
For support, build a simple frame from 1×4 boards under the plywood. Run boards along the edges and add a cross brace under the middle on any longer base.
Assemble and Check the Platform
Attach the frame with wood glue and screws. Drill small pilot holes first so the wood doesn’t split. Glue the frame joints that stay permanent, and use only screws where parts will separate.
Once it’s together, set the base on its final table and press firmly in the center. If you see bounce, add another cross brace. Check for rocking by pressing each corner; a folded felt pad under a high corner fixes small gaps.
Let any glue dry fully before loading weight. Follow the drying time on the bottle, and give it overnight if you can.
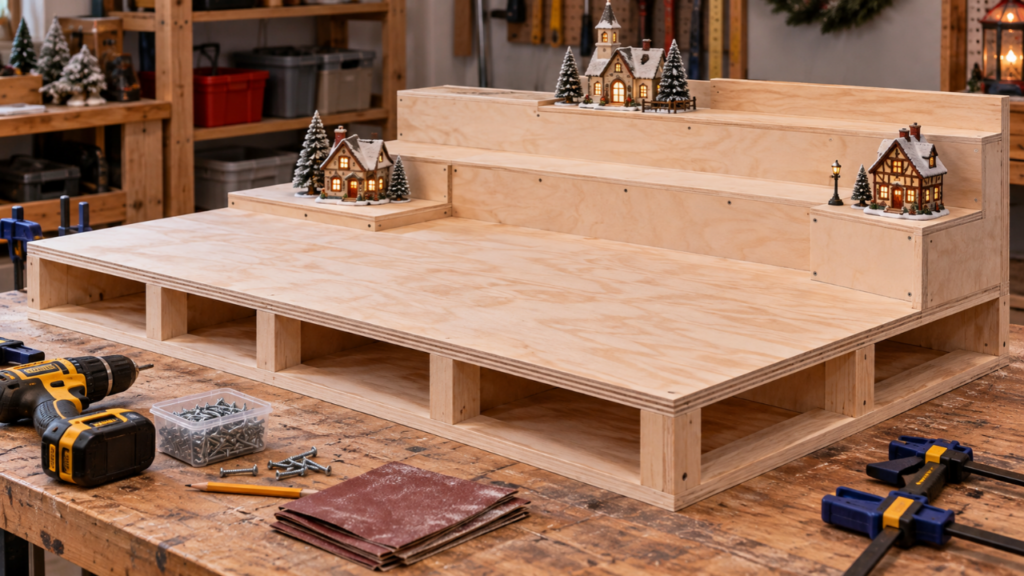
Add Stable Risers for a Tiered Layout
Risers give your winter wonderland depth. Wood boxes are the strongest choice for heavy pieces. Build a three sided box from 1x4s, or stack solid boards to the height you want.
Make each riser wide enough that houses sit fully on top with no edge hanging off. Screw risers to the base from underneath so they can’t slide. For lighter collections, sturdy wooden crates turned upside down work as a no saw riser.
Keep tiers low in front and taller in back. A back tier that towers over a narrow base makes the whole christmas village top heavy.
Shape Optional Foam Hills Without Relying on Foam for Heavy Loads
Foam hills add charm, and XPS foam is the right type. It’s dense and carves cleanly. Skip white bead foam, which crumbles into static filled bits that end up everywhere.
Use the stacking method: cut layers of foam into rough shapes, each smaller than the one below, and glue them together. Weigh the stack down overnight. Then carve the steps into slopes with a serrated knife or a rasp.
Skip hot wire cutters unless you have strong ventilation, since heated foam gives off harmful fumes. A plain knife works fine.
Put heavy houses on wood risers and save foam hills for trees, figures, and lighter buildings. If a heavy piece must sit on a hill, cut a flat spot and set a wood block inside the foam under it.
Position the Houses and Test for Wobble
Set each building in place and nudge it gently. Any rock or tilt means the surface underneath needs leveling. A thin shim or a dab of museum putty under the base holds most pieces steady.
Check the whole platform too. Bump the table lightly and watch the tallest pieces. If they sway, move them lower or closer to the center.
Route Lights, Finish The Scene, And Plan For Storage
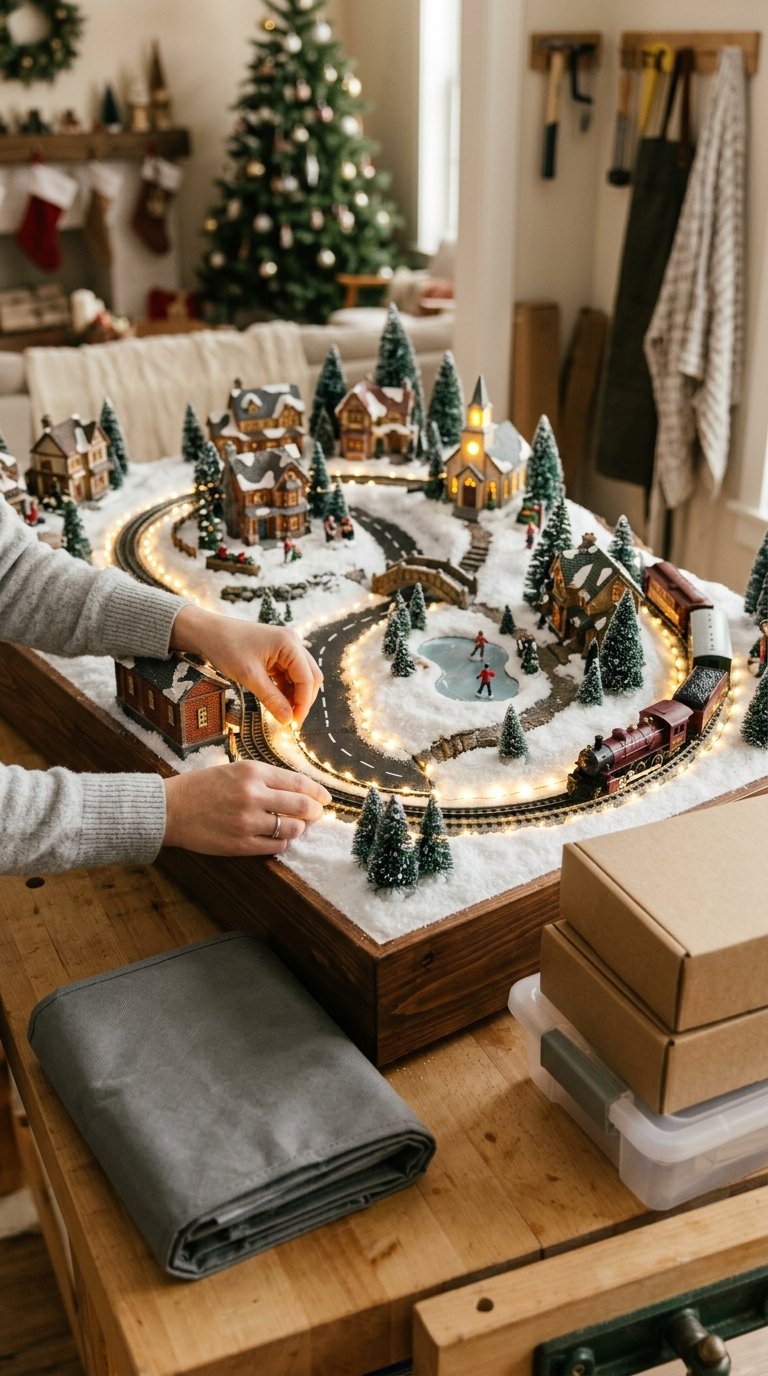
Lighting goes in before the snow, with cords tucked out of sight and every plug and transformer left open and reachable. Scenery stays removable, and the platform gets labeled so it packs down flat.
How Do You Hide Lighting Cords Safely?
Drill a hole about 1 inch wide in the base behind each house. Feed the cord down through the hole and run it underneath, held with adhesive clips along the frame. Behind the risers, cords tuck into the open back of each box.
Keep power strips, transformers, and plugs out in the open at the back or on the floor. These parts make heat, so never bury them under snow blankets, foam, or fabric.
A few safety basics:
- Use lights with a label from an independent testing lab.
- Check every strand for cracked sockets, bare wires, or loose plugs, and toss damaged sets.
- Don’t overload one outlet or extension cord. Follow each light set’s instructions for how many strands you can connect.
- Turn the village off when you go to bed or leave the house.
Battery operated fairy lights solve tricky spots like hilltops with no cord path. LED lights also run cooler than old bulbs, which helps around foam and fabric.
Add Snow, Trees, and Other Removable Scenery
Lay a snow blanket over the base first. It hides seams and screw heads in one step. Cut small slits where cords come up.
Loose fake snow adds drifts, but it gets into houses and is hard to clean. Use it sparingly and keep it away from cords. If you use spray artificial snow, read the label and spray in a ventilated room, since the spray irritates lungs when inhaled.
Miniature trees, fences, and figures finish the scene. Set them loose so they lift off for storage. Pick flame resistant holiday decor where you can.
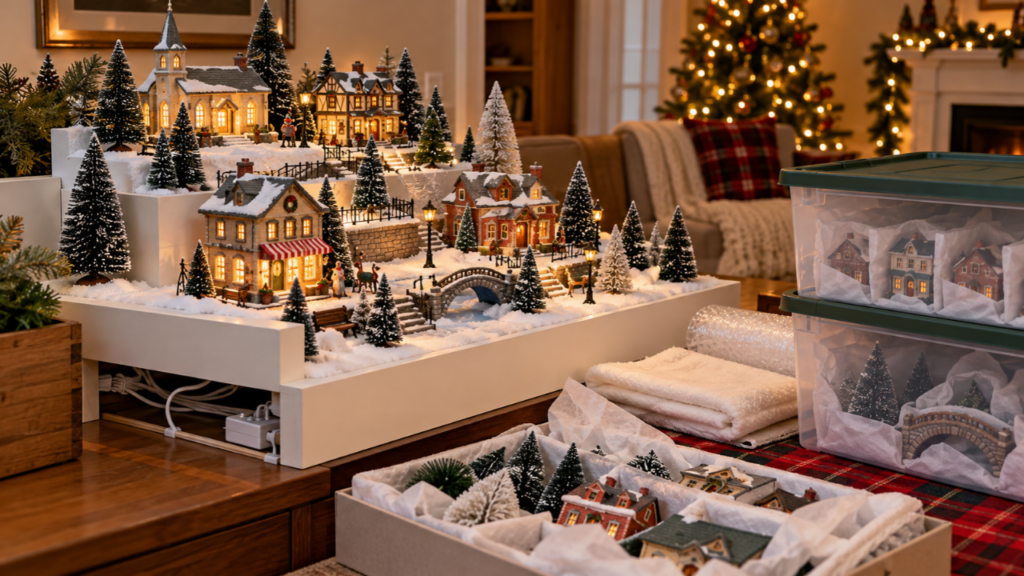
Avoid Common Stability and Electrical Mistakes
These are the problems I see most:
- Weak supports: a base that sags in the middle. Add a cross brace.
- Top heavy layouts: tall tiers on a narrow base. Widen the base or lower the back tier.
- Hidden connections: plugs buried under snow. Keep them in view.
- Foam carrying ceramic: heavy houses crushing hills. Move them to wood.
- Wet finishes: paint that’s still tacky sticks to house bottoms. Let it dry fully.
How Will You Take Apart and Store the Platform?
Unscrew the risers and stack them inside each other if you built them as nesting boxes. Keep screws in a labeled zip bag taped to the base.
Wrap houses in acid free tissue or soft wrap and store them in sturdy boxes that fit their size. Bubble wrap is fine for a short move, but plastic breaks down over long storage, so swap it out. Label each box with what’s inside and how to unpack it.
Store the plywood flat or upright against a wall, out of damp areas.
Keep The Village Simple, Stable, And Reusable
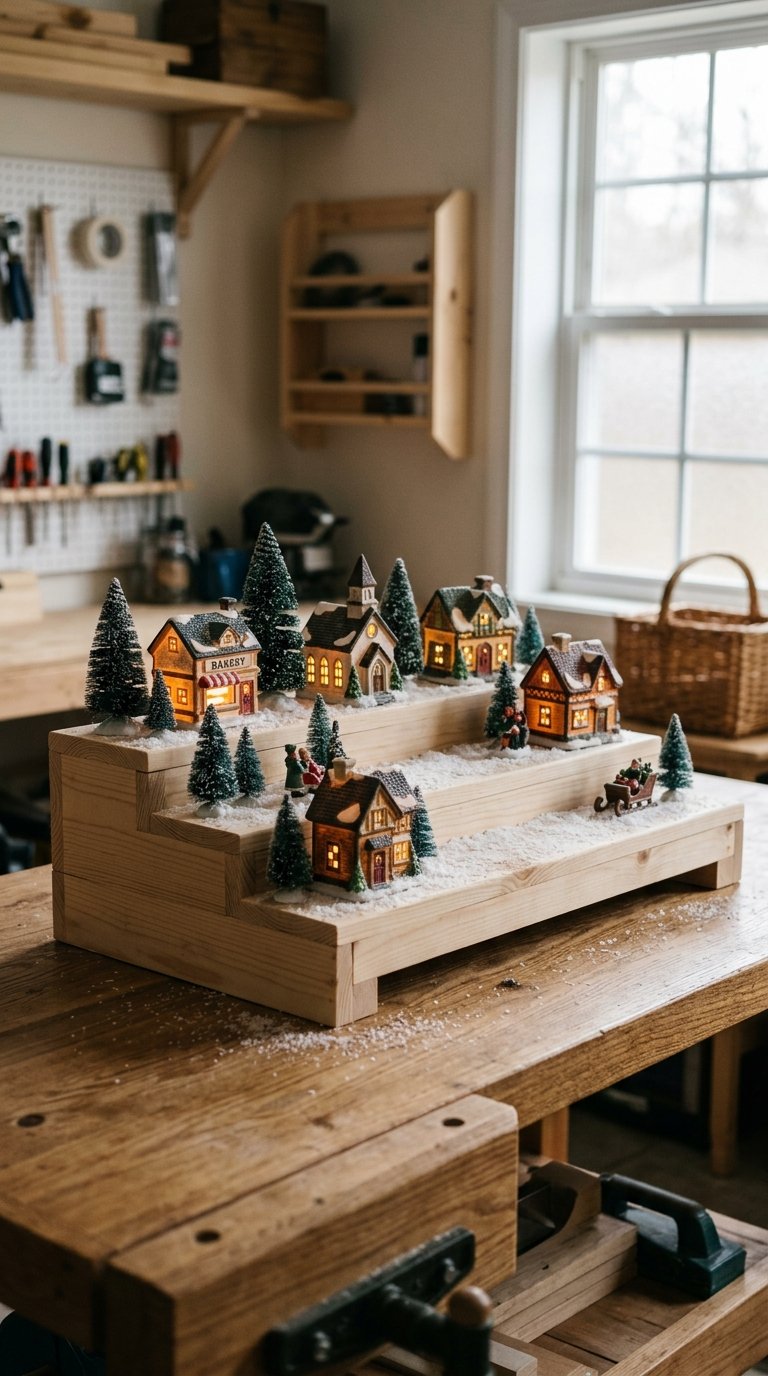
A simple, solid platform beats a complicated one every season. A braced plywood base with one or two wood risers holds a heavy collection, looks tidy, and sets up in under an hour once you’ve built it.
Keep your priorities in this order:
- Weigh and measure your houses first.
- Build a rigid base with supports under the middle and long edges.
- Put heavy pieces on wood and use foam for light details.
- Leave every plug and transformer uncovered and reachable.
- Screw parts together so they come apart.
Save fancy extras like rivers, rock faces, and extra tiers for later years. Once the basic platform works, you can add a hill or a new street without rebuilding.
Before packing up, write next year’s notes on a card: what wobbled, which cord came up short, and where you ran out of room. Tape it to the base so it’s the first thing you see when you unpack.
FAQs About My DIY Christmas Village Display Platform
How do I build a DIY Christmas village platform that won’t sag?
Use a sturdy plywood base with wooden supports underneath, especially if you’re displaying heavier ceramic Christmas houses.
Can I use foam for my Christmas village display ideas?
Yes, dense foam board works well for snowy hills and lightweight decorations, but heavy buildings should sit on solid wooden supports.
What’s the best way to make a small Christmas village display?
Start with a compact plywood board and one low riser to give your houses some height without crowding a table or shelf.
Final Thoughts About DIY Christmas Village Display Platform
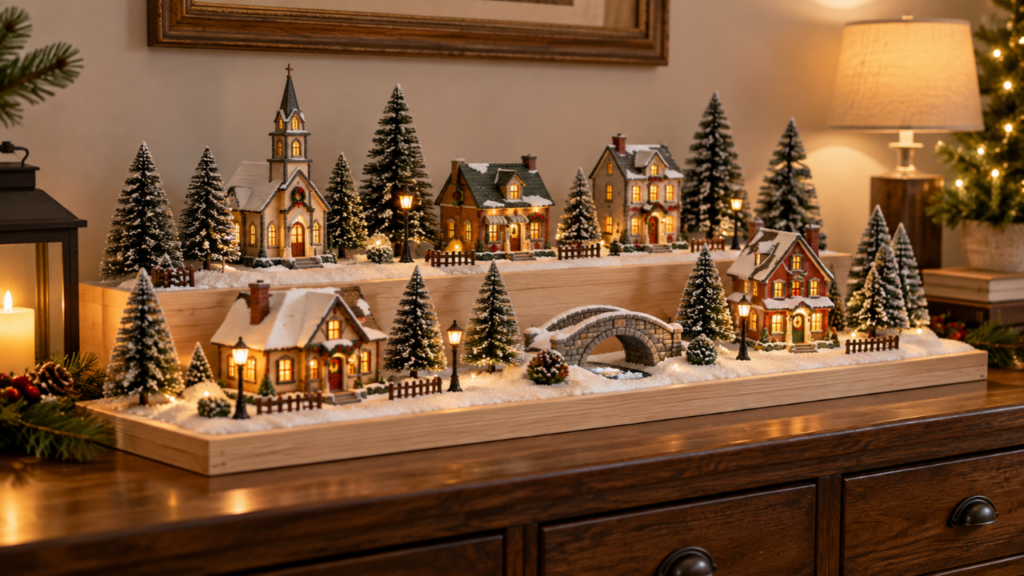
A DIY Christmas Village Display doesn’t have to be complicated to look good year after year. I always recommend starting with a solid plywood base, then adding just enough raised levels to show off your favorite little houses.
Keep the heavier pieces on wood, leave the electrical connections easy to reach, and make the risers removable so packing everything away isn’t a headache. Once you’ve got the basics in place, you can have fun adding snowy hills, little trees, and village streets to make the display your own.

Willie Drew
I’m Willie Drew, and I’m here to help you turn your home into a space you’re proud to show off using simple projects, smart tools, and realistic budgets.