

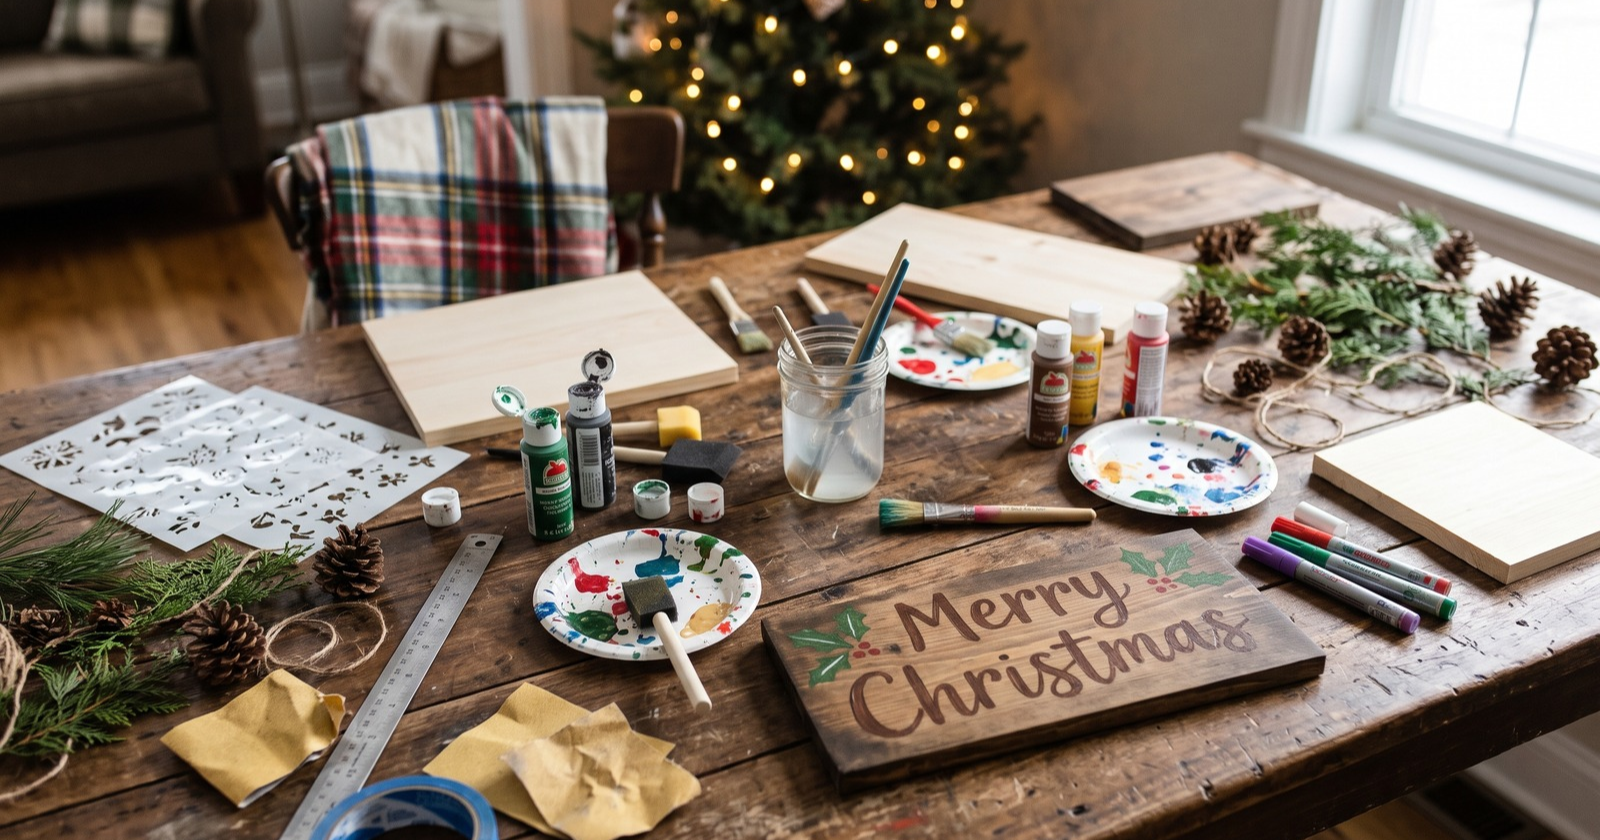
12 DIY Christmas Signs Made With Scrap Wood, Paint, And Stencils
You don’t need a workshop full of tools to make Christmas decorations that look good around your home. Sometimes, all it takes is a piece of wood, a little paint, and a simple holiday message.
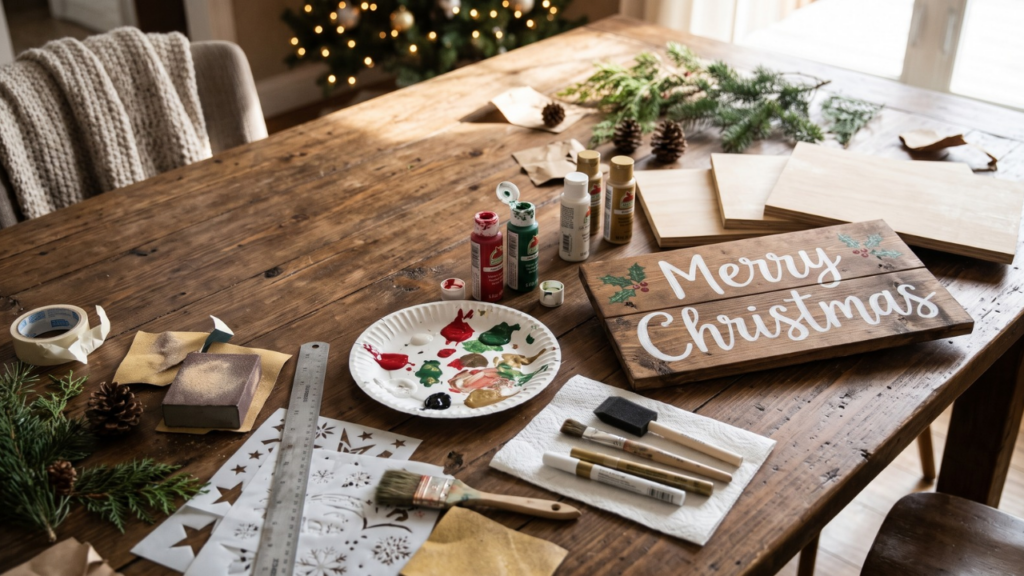
DIY Christmas signs are one of my favorite kinds of beginner projects because you can make them as simple or detailed as you want. An old picture frame can become a Christmas welcome sign. A leftover board can turn into a rustic decoration for your entryway. You can even make a small shelf sign at the kitchen table without using a power tool.
The key is choosing a project that fits your supplies, your skill level, and where you plan to display it.
Below, I’ll walk you through 12 easy Christmas sign projects, including what you’ll need, how to make each one, and where it works best. There are options for renters, small spaces, front porches, and anyone trying to decorate without spending much.
What You Need To Make DIY Christmas Signs
Before buying anything, look around your home for materials you can reuse. An unfinished wooden board, an empty frame, or leftover paint from another project may be enough to get started.
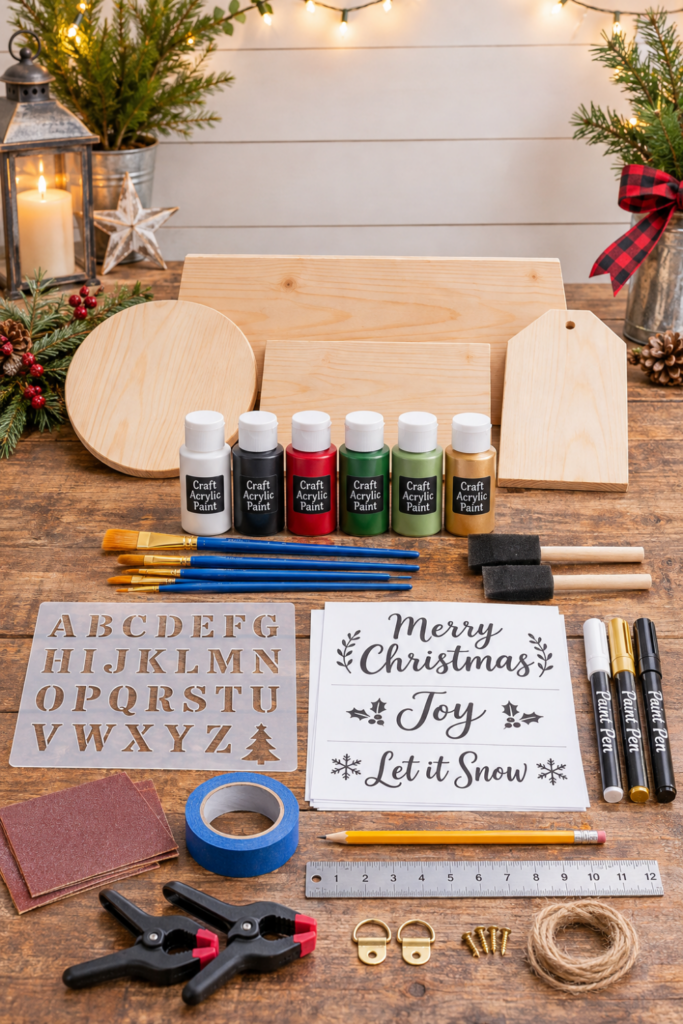
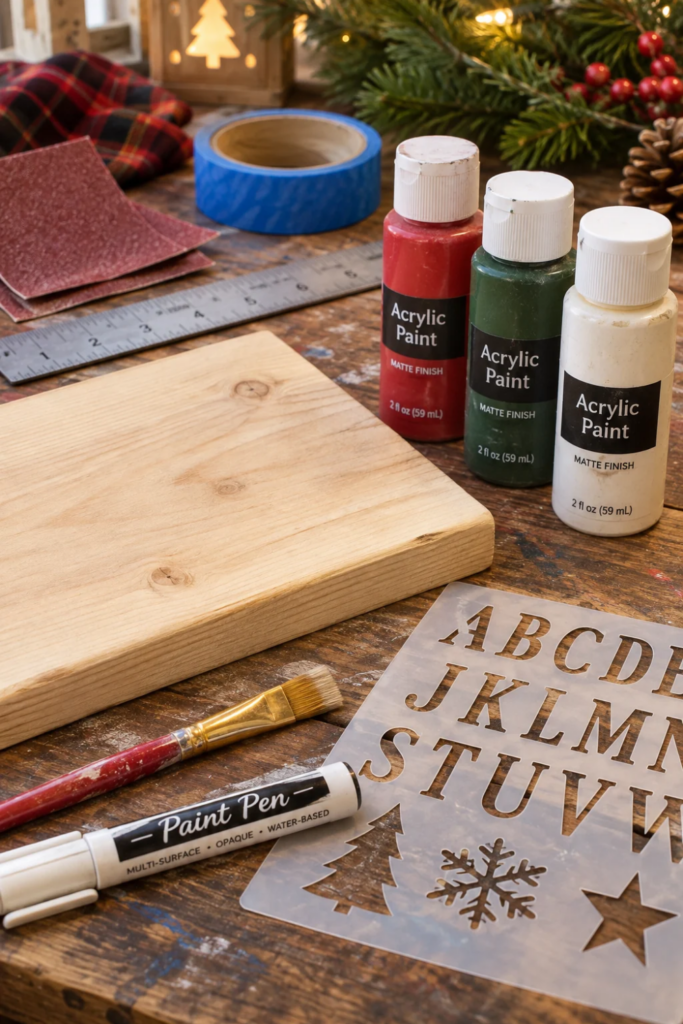
Here are the basic supplies I recommend.
Materials
- Unfinished wood signs, plywood, or leftover boards
- Acrylic craft paint in your favorite Christmas colors
- Small paintbrushes and foam brushes
- Letter stencils or printed lettering templates
- Paint pens for words and small details
- Sandpaper, usually 120 to 220 grit for unfinished wood
- Painter’s tape and a pencil
- Craft glue or wood glue
- Clear sealer suitable for your project
- Picture hanging hardware, if needed
Optional tools
- Tape measure and ruler
- Clamps
- Hand saw or power saw
- Drill and appropriate drill bits
- Safety glasses and dust protection
You won’t need every item on this list. A framed printable sign requires little more than paper, a printer, and a frame. A larger wooden porch sign may need additional preparation and weather protection.
Choose the Right Materials for Your First Sign
For a first project, I always recommend a pre cut unfinished wood blank. It’s easier to paint, and you don’t have to worry about measuring or cutting the board.
Acrylic craft paint works well for indoor signs. If you’re decorating outside, choose an exterior rated paint and clear finish compatible with the material. Check the product directions for drying and curing times.
If you already have sandpaper, leftover paint, and a piece of wood, start there. There’s no reason to buy a complete crafting kit for one small holiday project.
A quick safety tip: Sand rough edges before painting. When cutting or drilling, clamp the wood securely to a work surface, wear safety glasses, and keep your hands clear of the cutting area. Avoid sanding old painted boards if you don’t know what’s in the existing finish.
Smart Pick for Mini DIY Christmas Signs
5ARTH Natural Wood Slices, 30 Pack
I like this option for painting simple holiday words like “Joy,” “Noel,” or “Believe.” You can also add small Christmas tree designs using paint pens or stencils.
These projects range from simple framed prints to larger wooden signs. Most can be made without power tools, especially if you buy pre cut boards or reuse materials you already own.
1. DIY Wooden Merry Christmas Sign
A classic Merry Christmas sign is a good place to start. You can keep it traditional with red and white paint or use neutral colors for a simpler look.

Supplies: Unfinished wooden sign blank, sandpaper, acrylic paint, pencil, paint pen or letter stencil.
Difficulty: Easy
Estimated hands on time: 30 to 45 minutes, plus drying.
How to make it
- Lightly sand the board, especially the corners and edges. Wipe away the dust.
- Paint the background white, cream, red, or another color you like. Let it dry.
- Mark the center of the board and lightly sketch your lettering in pencil.
- Fill in the words “Merry Christmas” using a paint pen or stencil.
- Allow the lettering to dry before adding a compatible clear finish, if desired.
I like the idea of keeping this sign simple. You don’t need snowflakes, ribbons, and ornaments covering every corner. A clean background and readable lettering can look just as festive.
Beginner tip: Use block letters instead of cursive if you’re painting words for the first time.
2. Rustic Christmas Tree Farm Sign
A Christmas tree farm sign brings a little outdoor charm inside. Think natural wood, simple lettering, and a few hand painted pine trees.
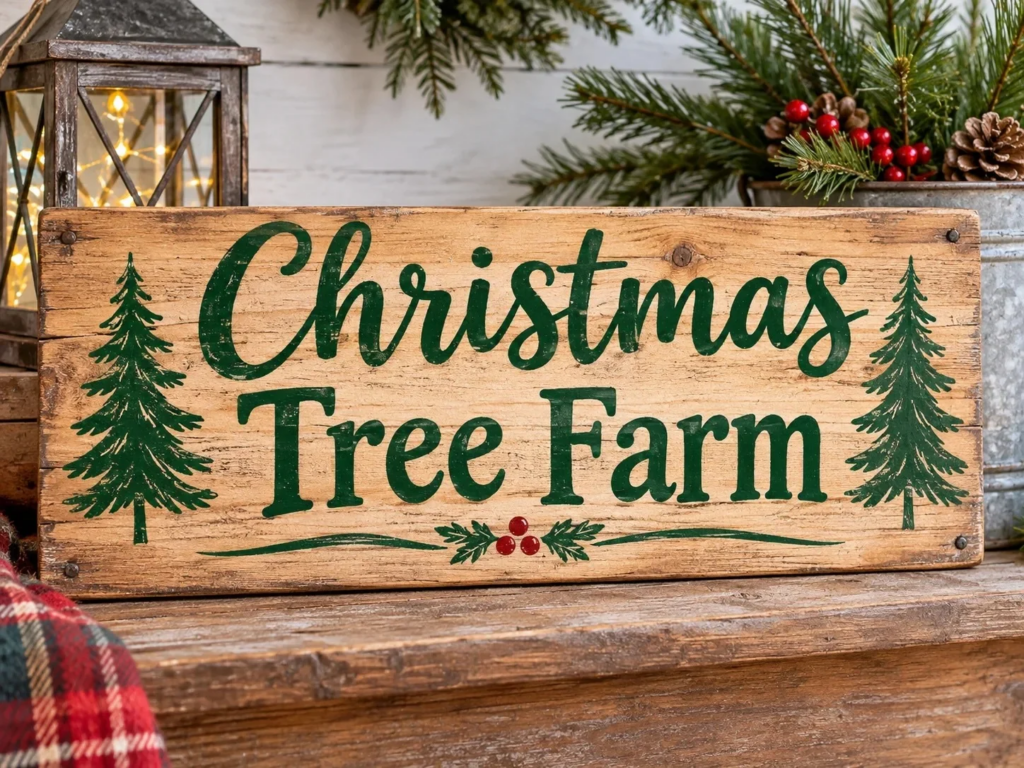
Supplies: Wooden board, green and white paint, small brush, pencil, sandpaper, optional wood stain.
Difficulty: Easy to moderate
Estimated hands on time: 45 to 60 minutes, plus drying.
How to make it
- Sand the board until the surface feels smooth.
- Leave the wood natural, apply a light stain, or paint it a muted background color.
- Pencil in “Christmas Tree Farm” or “Fresh Cut Christmas Trees.”
- Paint three simple pine trees using short, angled green brushstrokes.
- Add your lettering and let everything dry.
If you want an aged farmhouse look, lightly distress the edges after the paint has fully dried. A little goes a long way.
You can also use a small pine tree stencil if drawing isn’t your thing.
3. DIY Joy Christmas Sign
If painting a long holiday message feels intimidating, start with three letters.
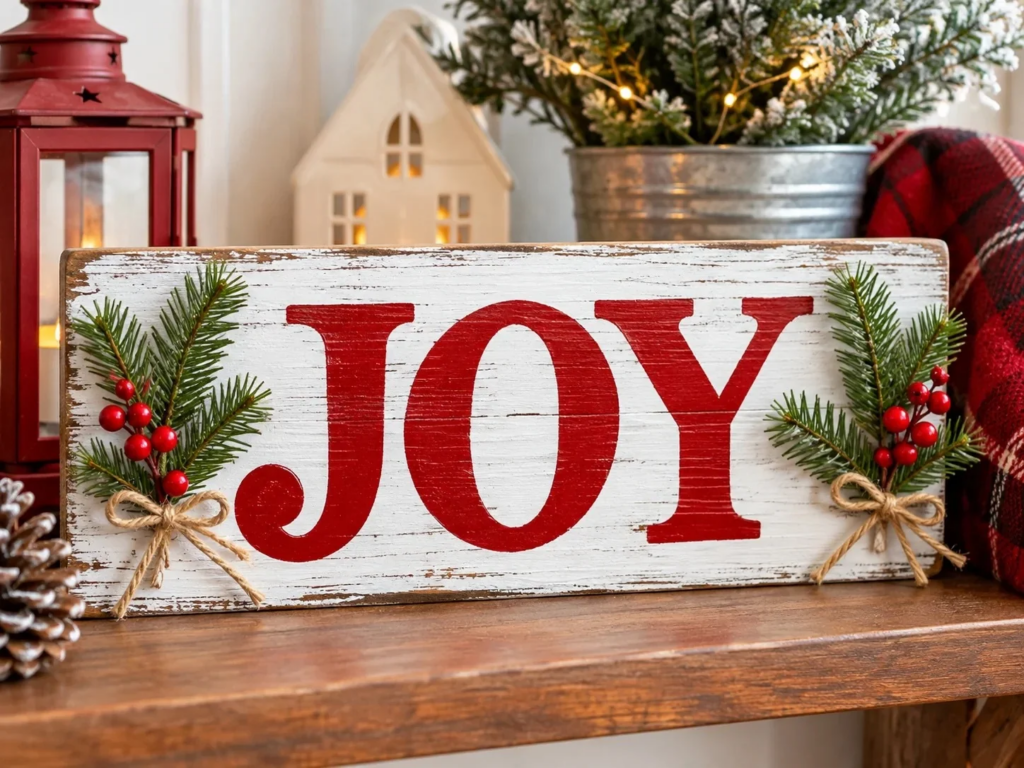
A JOY sign is simple, cheerful, and easy to make with wood or sturdy craft board.
Supplies: Small wood blank, paint, letter stencils, paintbrush, optional decorative ribbon.
Difficulty: Very easy
Estimated hands on time: 20 to 30 minutes, plus drying.
How to make it
- Paint the sign a solid color and allow it to dry.
- Divide the surface into three equal sections using light pencil marks.
- Position the letters J, O, and Y in the center.
- Paint each letter with a stencil or paint pen.
- Add a small bow or painted greenery if you want extra decoration.
Red letters on a white background are a classic choice. Black or dark green lettering works well for a quieter, more neutral Christmas look.
For a small apartment, I would keep this sign around 6 to 10 inches wide so it doesn’t crowd the shelf.
4. Farmhouse Christmas Porch Sign
A tall Christmas porch sign adds holiday color beside your front door without needing several different decorations.
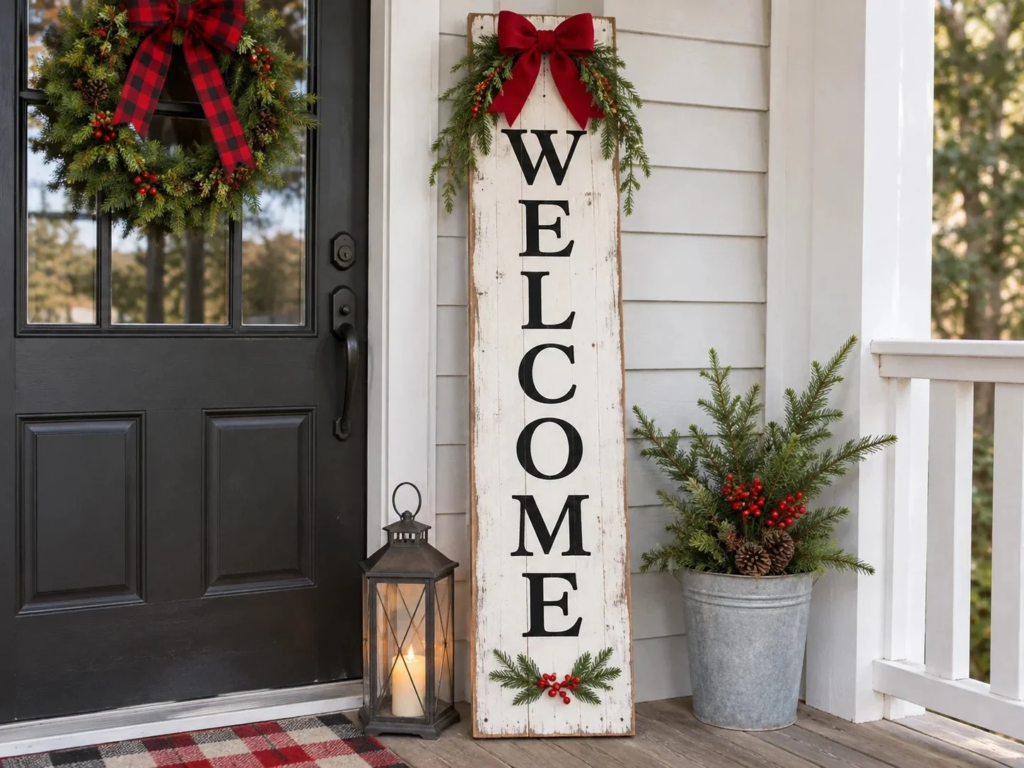
The important part is choosing a board that fits your entryway and won’t block the door or walking path.
Supplies: Pre cut tall wooden board, exterior rated paint, letter stencil, painter’s tape, exterior rated clear finish if required.
Difficulty: Easy to moderate
Estimated hands on time: 60 to 90 minutes, plus drying and curing.
How to make it
- Measure the available space beside your front door.
- Sand the board and clean off the dust.
- Apply an exterior rated background paint.
- Arrange the letters vertically to spell “WELCOME,” “NOEL,” or “MERRY.”
- Paint the lettering and allow it to dry.
- Apply a compatible outdoor finish according to the manufacturer’s directions.
A pre cut board is the easiest option because you won’t need a saw.
Watch out for: A tall wooden board can blow over. Secure it appropriately for outdoor conditions, and don’t place it where someone could trip over it or where it could obstruct the doorway.
Smart Paint Pick for DIY Christmas Signs
GOTIDEAL Acrylic Paint Set With 10 Brushes, 18 Colors
I like how you can use traditional Christmas reds and greens for one project, then switch to softer colors for a farmhouse style sign. It’s a practical choice for beginners who want to try different designs without buying every color separately.
5. DIY Christmas Countdown Sign
A Christmas countdown sign is a fun project for families, especially when kids enjoy changing the number each morning.
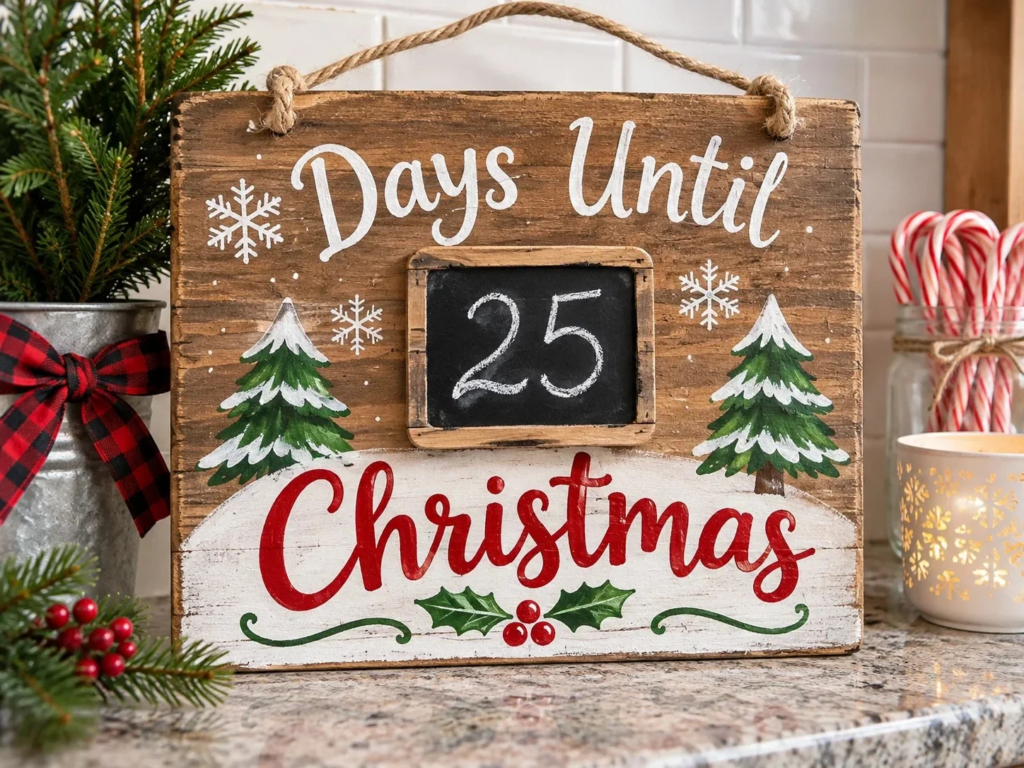
Instead of making 25 separate decorations, you can create one reusable sign.
Supplies: Wooden sign blank, chalkboard paint, regular craft paint, painter’s tape, chalk or chalk marker compatible with the finished surface.
Difficulty: Easy
Estimated hands on time: 30 to 45 minutes, plus drying and curing.
How to make it
- Paint the board in your chosen background color.
- Mark off a small rectangular area for the countdown number.
- Paint that section with chalkboard paint, following the product directions.
- Add the words “Days Until Christmas” above or below the rectangle.
- Let the chalkboard area cure and prepare it as directed before writing on it.
Each morning, wipe away the old number and write the new one.
I like this project because the sign becomes part of a family’s holiday routine without needing batteries or complicated parts.
Smart Pick for DIY Christmas Countdown Signs
SRUOLOC Washable Liquid Chalk Markers, 10 Colors
I like this idea for a reusable Christmas countdown displayed in the kitchen or family room. You can change the number each morning without repainting the entire sign.
6. Mini Christmas Shelf Sign
Not every Christmas sign needs to fill a wall. A tiny sign can be enough to make a bookshelf or small corner feel festive.

This is one of the easiest no power tool projects on the list.
Supplies: Small freestanding wood blank, paint, fine tip paint pen, optional mini stencil.
Difficulty: Very easy
Estimated hands on time: 15 to 25 minutes, plus drying.
How to make it
- Choose a small block or wood blank that stands securely on its own.
- Paint it cream, white, green, or red.
- Write a short message such as “Believe,” “Peace,” or “Let It Snow.”
- Let the paint dry before placing it on a shelf.
A little sign like this looks best beside one or two other pieces, such as a small bottle brush tree or a stack of holiday books.
For a crowded bookshelf, skip the extra greenery and just display the sign.
7. DIY Noel Christmas Sign
A Noel sign works well when you want Christmas decor that feels festive without being overly bright or busy.
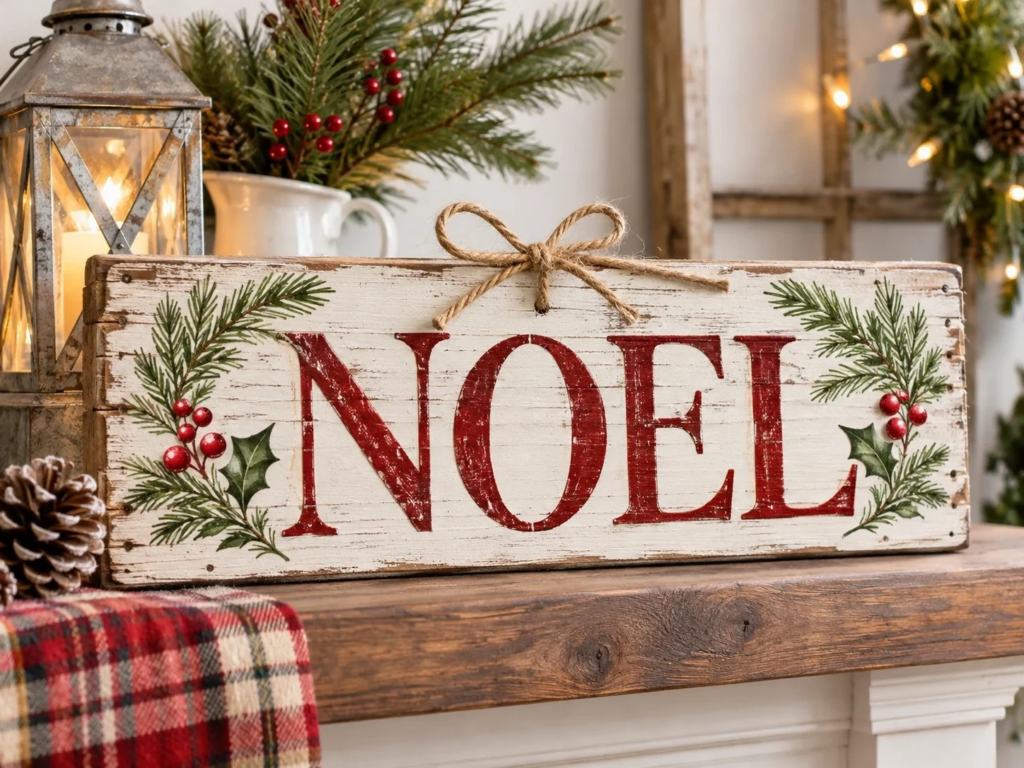
The four letters also make it a good project for practicing spacing and simple lettering.
Supplies: Rectangular wood blank or sturdy craft board, paint, pencil, ruler, gold or white paint pen.
Difficulty: Easy
Estimated hands on time: 25 to 35 minutes, plus drying.
How to make it
- Paint your sign a dark green, navy, cream, or black background.
- Measure and lightly mark the center.
- Sketch or stencil N O E L, leaving even spacing between the letters.
- Fill in the letters using a contrasting paint color.
- Add a small painted star or evergreen branch if you like.
Gold letters on dark green look especially nice, but you don’t have to use metallic paint. Simple white lettering works just as well.
If you’re decorating a bedroom, my guide to Christmas bedroom signs has more ideas for choosing the right size and display location.
8. Christmas Sign Using Scrap Wood
Before throwing away those short leftover boards from another project, take another look at them.
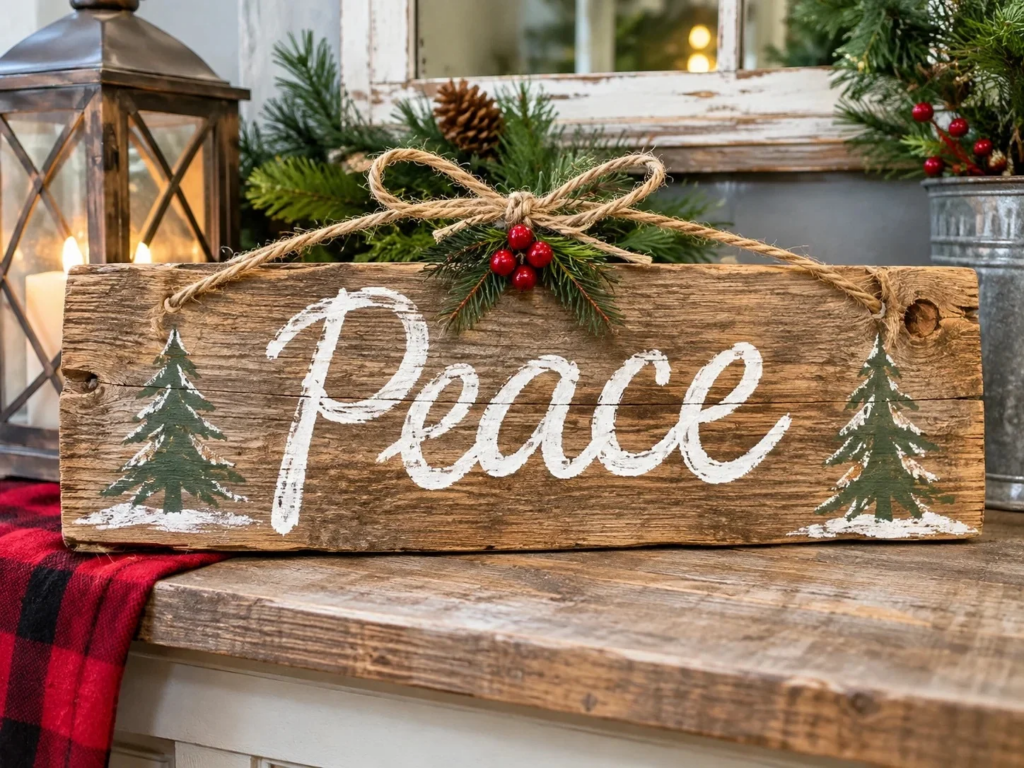
Even a small offcut can become a Christmas sign.
Supplies: Clean scrap wood, sandpaper, paint or stain, pencil, paint pen, optional hanging hardware.
Difficulty: Easy
Estimated hands on time: 30 to 45 minutes, plus drying.
How to make it
- Choose a solid piece of untreated wood with no loose nails, screws, or splintered sections.
- Sand the surface and edges.
- Paint the wood or leave the natural grain showing.
- Add a simple message such as “Peace,” “Merry,” or “Winter Wishes.”
- Let it dry, then display it on a stable shelf or attach suitable hanging hardware.
I always recommend starting with a single leftover board rather than joining several pieces for your first attempt. It keeps the project manageable.
You can also use several similar boards to make matching signs for different rooms.
For more ways to use leftover boards, take a look at these scrap wood project ideas.
9. DIY Christmas Sign With Stencils
Stencils are a practical choice if you want neat lettering but aren’t comfortable painting words by hand.

You don’t need a Cricut or another cutting machine to use them.
Supplies: Pre cut sign blank, reusable letter or snowflake stencils, painter’s tape, stencil brush or foam dauber, acrylic paint.
Difficulty: Very easy
Estimated hands on time: 25 to 40 minutes, plus drying.
How to make it
- Paint and dry your background.
- Lay the stencil flat against the sign and secure it with painter’s tape.
- Dip a foam dauber into a small amount of paint, then remove the excess.
- Gently dab straight up and down through the stencil openings.
- Carefully lift the stencil without smearing the design, following your stencil and paint instructions.
- Repeat with other words or shapes.
The biggest mistake beginners make is loading too much paint onto the brush. Excess paint can spread underneath the stencil and leave blurry edges.
Start with very little paint. You can always build up the color with another light coat.
Smart Pick for DIY Christmas Sign Lettering
Duozea Reusable Alphabet and Number Stencils, 28 Pack
I like how you can use the same stencils for different holiday messages, whether you’re painting “Merry Christmas,” “JOY,” or “NOEL.” They’re also handy for adding numbers to a Christmas countdown sign.
10. Framed Printable Christmas Sign
If you don’t want to paint or handle wood at all, try a framed Christmas printable.

This is especially useful for renters or anyone decorating on a tight budget.
Supplies: Existing picture frame, printed Christmas artwork, scissors or paper trimmer, optional cardstock.
Difficulty: Very easy
Estimated hands on time: 10 to 15 minutes.
How to make it
- Choose a Christmas design or create a simple message using a word processing or design program.
- Print the artwork to match the frame size.
- Remove the old picture and insert your Christmas print.
- Reassemble the frame and display it securely.
You can print “Merry Christmas,” “Peace on Earth,” or a simple evergreen illustration.
Use a printable you created yourself or one you have permission to print and display. For a clearer finish, try heavier paper if your printer supports it.
After Christmas, swap the original photo or artwork back into the frame.
11. DIY Christmas Welcome Sign
A Christmas welcome sign makes an entryway feel more inviting without needing a large holiday display.

This version works well with a recycled frame or a small wooden board.
Supplies: Old picture frame or wood blank, paint, pencil, letter stencil or paint pen, optional faux greenery.
Difficulty: Easy
Estimated hands on time: 30 to 45 minutes, plus drying.
How to make it
- Clean the frame or prepare the wood blank.
- Choose a simple phrase such as “Welcome Christmas” or “Home for the Holidays.”
- Paint the background or insert painted cardstock inside the frame.
- Add the lettering with a stencil or paint pen.
- Attach a small piece of faux greenery to the frame if desired, making sure it doesn’t interfere with hanging.
For an indoor entryway, I would use a lightweight frame rather than a thick wooden board. It’s easier to move and store.
Keep the display simple. A welcome sign, a small bowl for keys, and one holiday accent can be enough.
12. Reversible Christmas and Winter Sign
This project gives you a little more use out of one decoration.
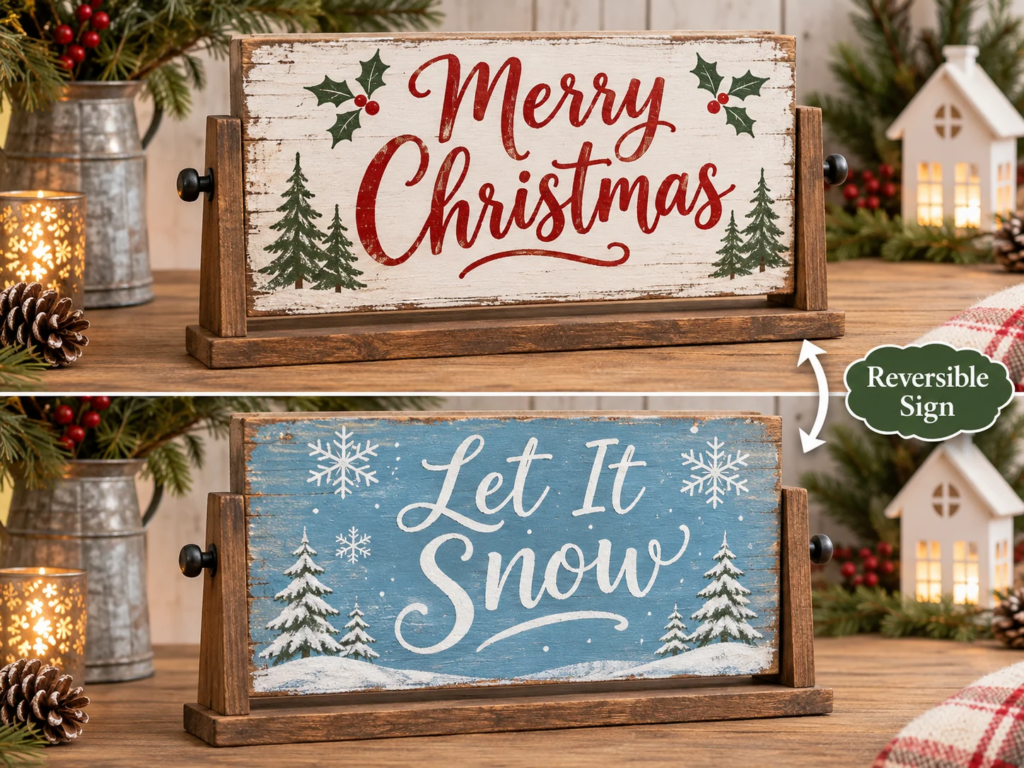
Paint Christmas on one side and a general winter message on the other. When the holiday is over, turn it around instead of packing it away.
Supplies: Smooth wooden board, two paint colors, stencils or paint pens, sandpaper, optional freestanding sign holder.
Difficulty: Easy to moderate
Estimated hands on time: 45 to 60 minutes, plus drying for both sides.
How to make it
- Sand both sides of the wood and wipe away dust.
- Paint the front with a Christmas message, such as “Merry Christmas.”
- Let it dry completely before turning the board over.
- Paint a winter message on the back, such as “Let It Snow” or “Hello Winter.”
- Allow both sides to dry and cure before placing the sign in a stable holder.
For a reversible sign, a freestanding display is usually easier than permanently attaching a hanger to one side.
Choose colors that work across both seasons. White, green, natural wood, and soft blue can make the transition easier.
FAQs About My DIY Christmas Signs
Can I Make Homemade Christmas Signs Without a Cricut?
Yes, you can make homemade Christmas signs using pre cut wooden boards, letter stencils, paint pens, or printed lettering templates.
How Do I Make Christmas Porch Signs That Last Outdoors?
For Christmas porch signs, use exterior rated paint, follow the finish manufacturer’s directions, and secure the board so it won’t blow over.
Are Christmas Chalkboard Signs Easy for Beginners?
Yes, Christmas chalkboard signs are simple to make using a wooden board, chalkboard paint, and chalk to create a reusable holiday countdown.
How To Display And Store Handmade Christmas Signs
A good sign should look right in the room, stay securely in place, and be easy to put away when Christmas is over.
Choose a Display Spot Before Building
Think about where the sign will go before choosing its size.
A wide sign may look great over a mantel but feel crowded on a narrow entry table. A small sign that’s perfect for a bookshelf might disappear on a large blank wall.
For renters, freestanding signs and reused picture frames are often the simplest options.
If you want to hang a wooden sign, choose hardware appropriate for its weight and the wall surface. Follow the hardware manufacturer’s instructions. Don’t assume adhesive strips will hold on textured walls or freshly painted surfaces, and avoid placing heavy signs above beds or seating areas.
Store Your Signs So You Can Reuse Them
When the holiday season ends:
- Make sure painted surfaces are fully cured before wrapping or stacking them.
- Wrap wooden signs with soft cloth or acid free tissue to reduce scratches.
- Store flat signs upright in a sturdy container, with padding between them.
- Keep framed prints protected from moisture and pressure.
- Label the storage container so you can find everything next Christmas.
I like keeping small handmade signs together instead of letting them get mixed into boxes of ornaments and lights. It’s easier to find them, and they’re less likely to get damaged.
Smart Pick for DIY Christmas Sign Lettering
ARTISTRO 36-Color Dual Tip Acrylic Paint Markers
I like this option for beginners because you can draw Christmas trees, snowflakes, and holiday messages without constantly switching between paintbrushes. The red, green, white, and metallic shades also give you plenty of choices for decorating wooden signs.
Make Your First Christmas Sign Simple
The nice thing about making your own Christmas signs is that you can start small. You don’t have to buy a cutting machine, build a workshop, or learn fancy lettering techniques.
A small wooden JOY sign or a framed Christmas printable is enough for a first project. Once you feel comfortable with painting and lettering, you can try larger signs, rustic finishes, and reusable seasonal designs.
I always recommend choosing the place you want to decorate first, then making a sign that fits it.
Use what you already have, keep the design manageable, and enjoy creating something you can bring out again next Christmas.

Willie Drew
I’m Willie Drew, and I’m here to help you turn your home into a space you’re proud to show off using simple projects, smart tools, and realistic budgets.