

How To Put A Drill Bit On An Impact Driver Drill
If you are new to impact drivers, installing a drill bit can feel a little different from using a regular drill. There is no traditional three jaw chuck to tighten. Instead, most impact drivers use a quick release collet designed for 1/4 inch hex shank bits.
The good news is that once you understand how the collar works, changing bits only takes a few seconds. I’ve found that the key is using the right type of bit and making sure it locks fully into place before you start drilling.
Quick answer: Pull the impact driver’s quick release collar forward, insert a 1/4 inch hex shank drill bit all the way into the holder, then release the collar. Give the bit a light tug to make sure it is locked before using the tool.
How To Put A Drill Bit On An Impact Driver In 4 Steps
Step 1: Choose the Correct Drill Bit
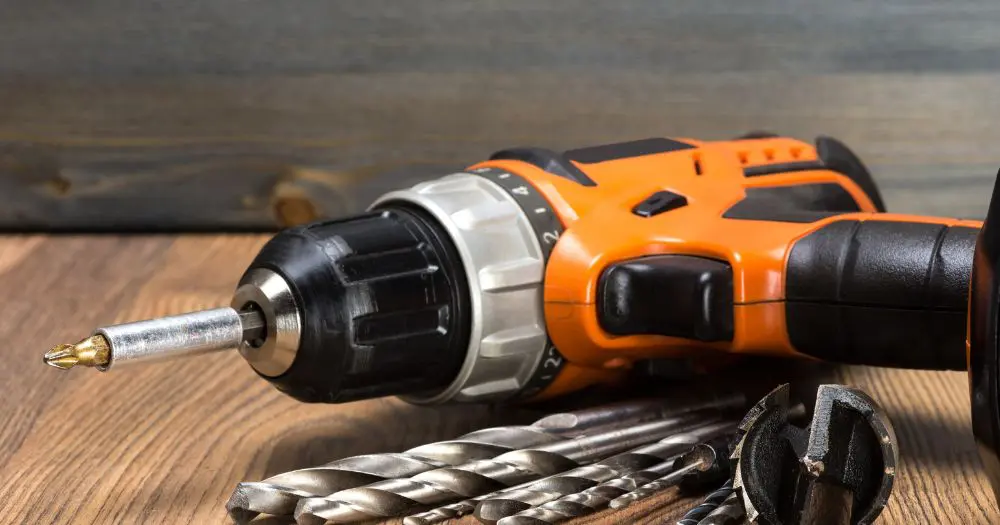
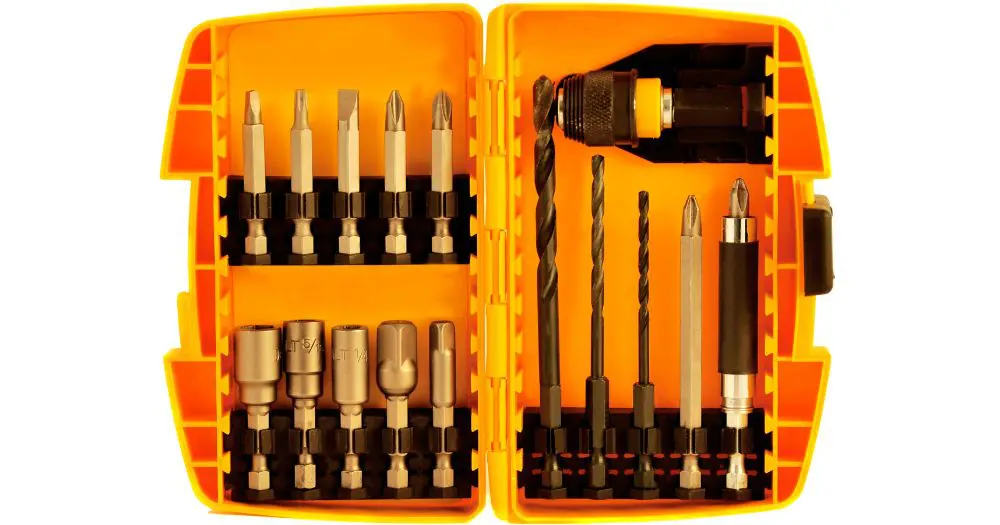
Start with a drill bit made for an impact driver. Look for a 1/4 inch hex shank at the bottom of the bit. That six sided end is what locks into the impact driver’s quick release holder.
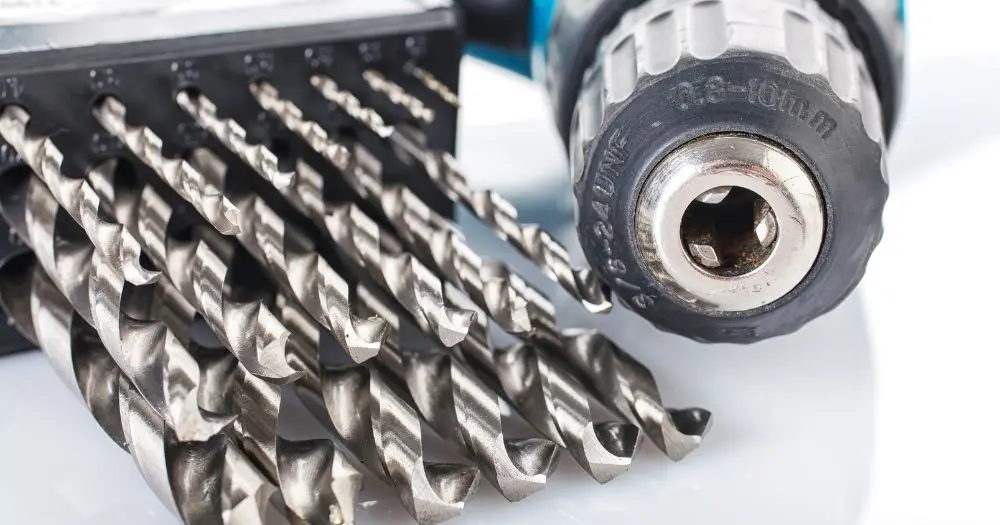
A standard round shank drill bit usually cannot be inserted directly into an impact driver. If you need to use one, you will need a compatible drill chuck adapter. For simple household projects, I usually recommend using impact rated hex shank bits because they are quicker to install and keep the setup simple.
Step 2: Pull the Quick Release Collar Forward
Before changing the bit, take your finger off the trigger. For extra safety, remove the battery if you are working with the tool for more than a quick bit change.
At the front of the impact driver is a metal collar around the bit holder. Pull this collar forward. This opens the locking mechanism so the hex shank bit can slide into place.
Step 3: Insert the Drill Bit Fully
While holding the collar forward, slide the hex end of the drill bit straight into the holder. Push it in until it is fully seated.
Do not force the bit. If it does not slide in easily, pull the collar forward again and make sure you are inserting the hex end straight into the opening.
Step 4: Release the Collar and Check the Bit
Release the collar and let it return to its normal position. The locking mechanism should catch the groove in the hex shank and hold the bit securely.
Give the drill bit a gentle tug before using the impact driver. It may have a tiny amount of normal movement, but it should not pull out of the holder.
Can You Use Regular Drill Bits In An Impact Driver?
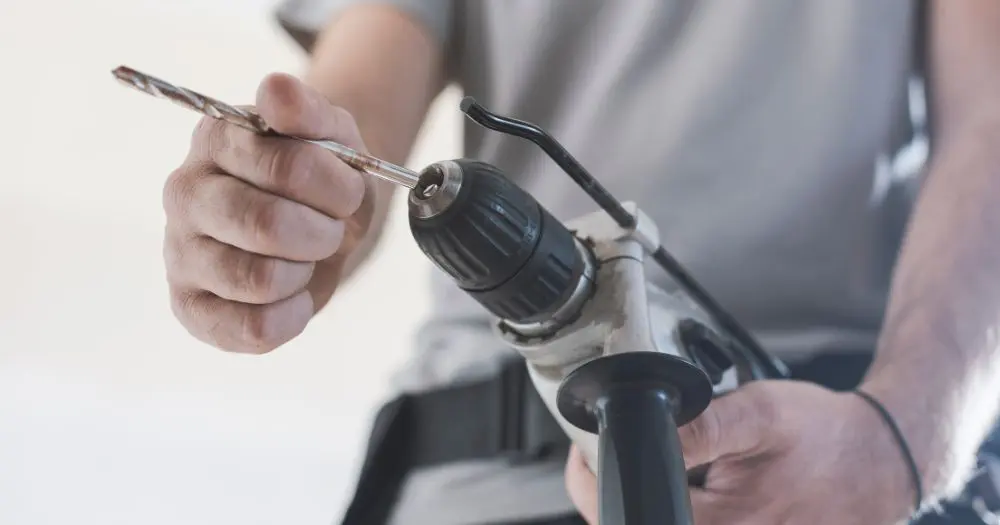
Not directly in most cases. Regular drill bits normally have smooth, round shanks, while an impact driver is designed to hold 1/4 inch hex shank accessories.
You have two practical options. Use drill bits that already have a 1/4 inch hex shank, or use a compatible drill chuck adapter that has a hex shank on one end and a small drill chuck on the other.
For everyday DIY work, I love how simple hex shank bits are. You can switch between drilling and driving screws quickly without reaching for a chuck key or tightening a traditional drill chuck.
What If the Drill Bit Will Not Lock In?
If the bit keeps falling out, check these simple things first:
- Make sure the bit has a 1/4 inch hex shank.
- Push the bit completely into the holder.
- Pull the quick release collar fully forward before inserting the bit.
- Release the collar completely after the bit is seated.
- Check the shank for dirt, rust, or damage.
- Inspect the collet if several different bits refuse to lock.
If the holder feels sticky, dirty, or difficult to move, our impact driver maintenance and troubleshooting guide covers some of the common problems worth checking.
When Should You Use A Drill Instead?
An impact driver can drill many everyday holes when paired with the right bit, but it is not always the best tool for every job.
A regular drill gives you a traditional adjustable chuck and more control for jobs that require round shank drill bits or very precise drilling. An impact driver is especially handy when you want to switch quickly between drilling pilot holes and driving screws.
If you are deciding which tool makes more sense for a project, see our guide to impact drivers vs. drills.
FAQs About How To Put A Drill Bit On An Impact Driver Drill
Do impact drivers accept drill bits?
Yes. Most impact drivers can use drill bits that have a 1/4 inch hex shank. Standard round shank bits usually require a chuck adapter.
Why does my impact driver bit move slightly?
A small amount of front to back movement can be normal with a quick release impact driver collet. The important thing is that the bit is locked and cannot be pulled completely out without releasing the collar.
How do I remove the drill bit?
Take your finger off the trigger, pull the quick release collar forward, and pull the bit straight out. If it feels stuck, do not yank it sideways. Make sure the collar is fully released first.
Final Thoughts
Putting a drill bit into an impact driver is simple once you know how the quick release holder works. Use a compatible 1/4 inch hex shank bit, pull the collar forward, insert the bit completely, and release the collar to lock it in place.
What it really comes down to is checking that the bit is secure before you start. That quick tug test only takes a second and can save you plenty of frustration once the project is underway.
If you are still getting familiar with the tool, read What Is an Impact Driver and How Does It Work? next.

Willie Drew
I’m Willie Drew, and I’m here to help you turn your home into a space you’re proud to show off using simple projects, smart tools, and realistic budgets.