

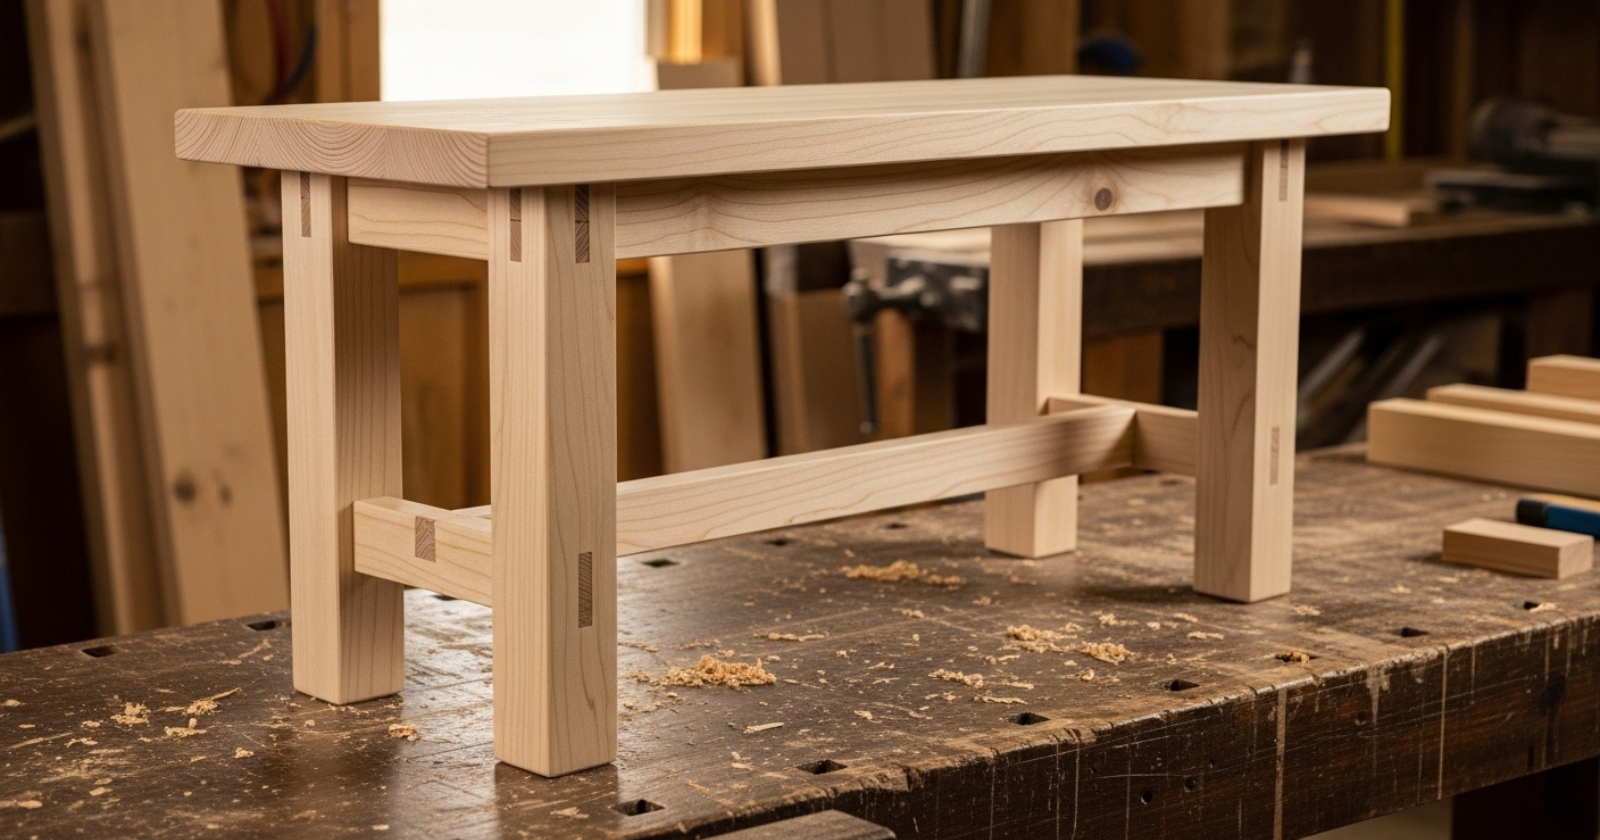
How To Build A Bench With Simple Tools
I love projects that add function and warmth to a space, and this guide on how to build a bench does exactly that.
This simple DIY bench is sturdy, beginner friendly, and easy to customize for entryways, bedrooms, kitchens, or even outdoor spaces.
I designed this build to work with basic tools and affordable lumber so it’s realistic for a weekend project.
If you’re looking for extra seating with built in storage, this bench is a great place to start.
DIY Farmhouse Bench Steps
Tools And Supplies
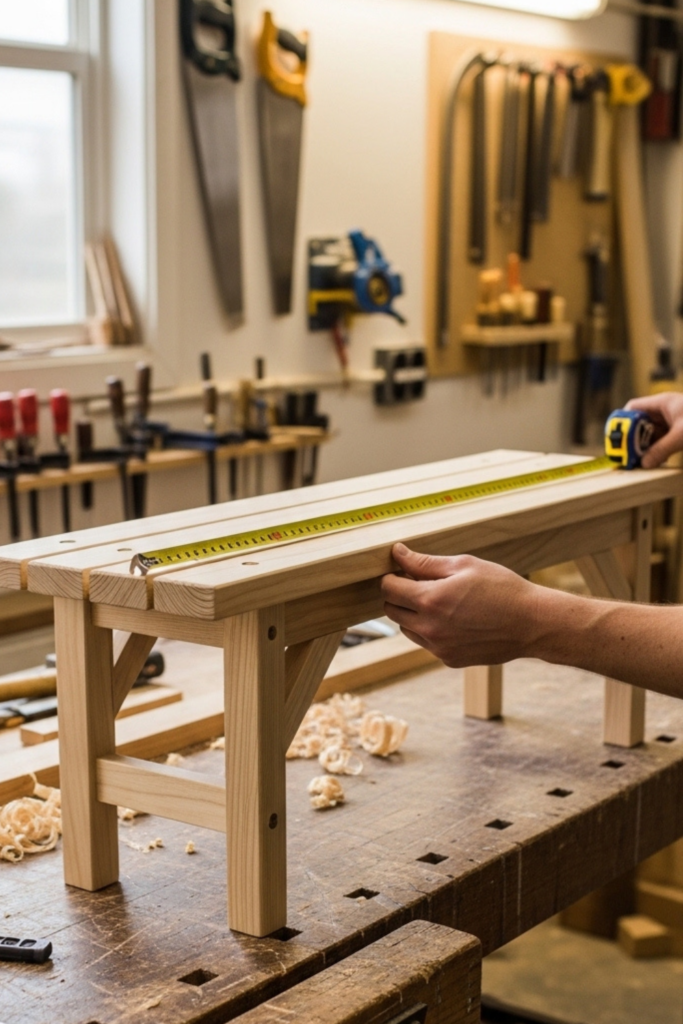
Step 1: Map Out Your Project
First, decide where the bench will go and measure the space so you can choose the right length and depth.
Confirm you have the basic tools you’ll need, and borrow what you don’t to avoid extra spending.
Review your materials list and make any swaps now, like a different wood type or a wider seat.
Set up a clear, well lit work area and plan enough time to build without rushing.
Step 2: Measure And Cut Your Wood Pieces
Put on safety goggles and gloves before cutting.
Use a pencil and tape measure to mark each cut clearly, then double-check your measurements to avoid wasted boards.
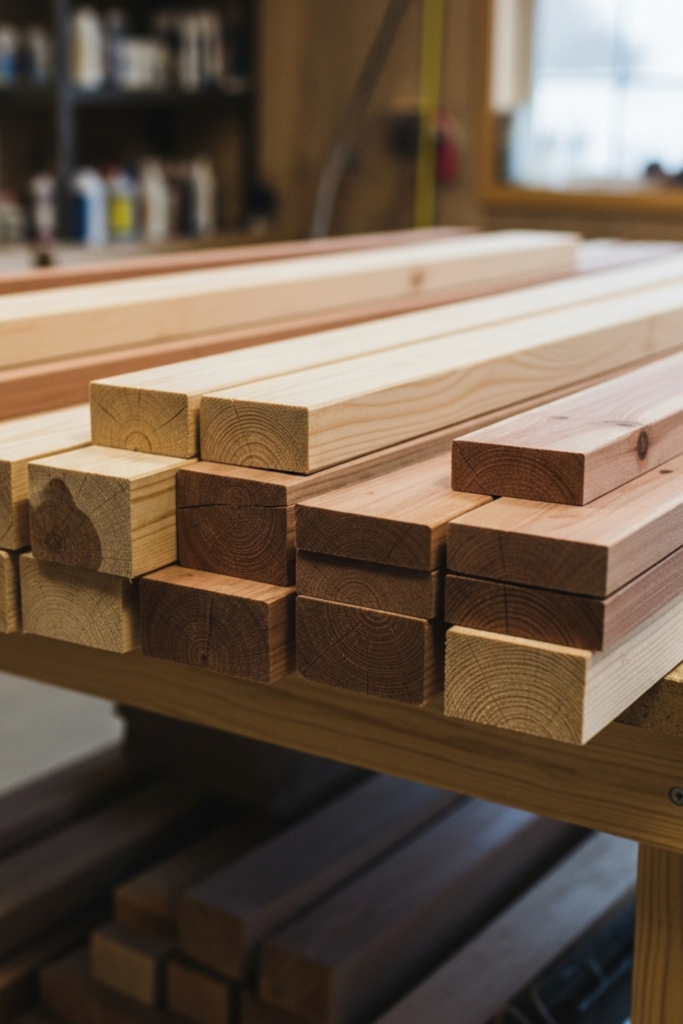
Most of this bench is built with 2×4 lumber, keeping the project simple and affordable.
Make the following cuts:
- Select four straight 2×4 boards for the bench seat.
- Cut two 8-foot 2×2 boards into ten 14-inch pieces for braces.
- Cut two 2×4 boards into eight 17-inch legs, trimming the ends slightly so the bench sits flat.
- Cut additional 2×4 boards into eight 19-inch pieces and four 18-inch pieces for the bottom shelves.
Label each piece as you go to make assembly faster and avoid confusion later.ou go to make assembly faster and avoid confusion later.
Step 3: Build The Bench Seat
Lay the four 2×4 seat boards side by side on a flat surface.
Check that the edges line up, then clamp them in place so they don’t shift while you fasten everything together.
Place two 14-inch 2×2 braces across the boards, one near each end. Pre-drill your holes to prevent splitting, then screw the braces into each seat board.
Add the remaining braces evenly spaced for extra strength and to keep the seat from warping.
Once it’s secured, flip the seat over and make sure it sits flat without rocking.
Step 4: Secure the Legs To the Seat
Position two legs on each side of the bench, forming a slight “V” shape so the angled ends sit flat on the floor.
Use a carpenter’s square to keep each leg straight and aligned with the outer braces.
Pre drill the holes, then secure each leg to the brace with two screws. Repeat this process for all four leg sets.
Take your time here properly aligned legs are what keep the bench sturdy and wobble free.
Step 5: Strengthen The Legs With Bottom Braces
Turn the bench upside down so the legs are easy to access.
Measure about two inches down from the top of each leg and mark where the braces will sit. Keeping these braces level is key to a stable bench.
Position the 14-inch brace pieces between the legs with the flat side facing inward.
Use a square to keep everything aligned, then pre-drill and screw each brace into place. Add extra braces around the center legs for added strength.
These bottom braces prevent shifting and help the bench hold up to everyday use.
Step 6: Put Together And Attach The Bottom Shelves
Group the shelf boards before assembling:
- Divide the eight 19-inch pieces into two sets of four.
- Keep the four 18-inch pieces together for the center shelf.
Apply wood glue to each group of four boards and clamp them side by side to create wider shelf panels. Let the glue set fully before moving on.
Dry-fit each shelf between the legs to confirm the length and spacing, especially the center shelf.
Once aligned, place the shelves on top of the bottom braces and secure them from underneath with screws.
This keeps the fasteners hidden and gives the bench a cleaner look. your farmhouse bench.
Step 7: Smooth Everything With Sanding
Turn the bench upright and sand all surfaces, starting with medium-grit sandpaper and finishing with a finer grit.
Focus on edges, corners, and any rough spots on the seat and shelves to prevent splinters.
Wipe or vacuum away all dust, especially in joints and corners.
A smooth surface helps paint or stain apply evenly and gives the bench a polished, finished feel.
This keeps the fasteners hidden and gives the bench a cleaner look.
Step 8: Finish With Paint Or Stain
Choose paint for a clean, solid look or stain if you want the wood grain to show. Apply thin, even coats and follow the dry times on the label so the finish doesn’t stay tacky.
For paint, use a primer first if the wood is raw or knotty. For stain, wipe off the excess after a few minutes for a more even tone.
Once everything is dry, add a clear protective topcoat if the bench will see heavy use or moisture.
Let the bench cure fully before using it so the finish holds up longer.
Step 9 Add Final Touches And Style Your Bench
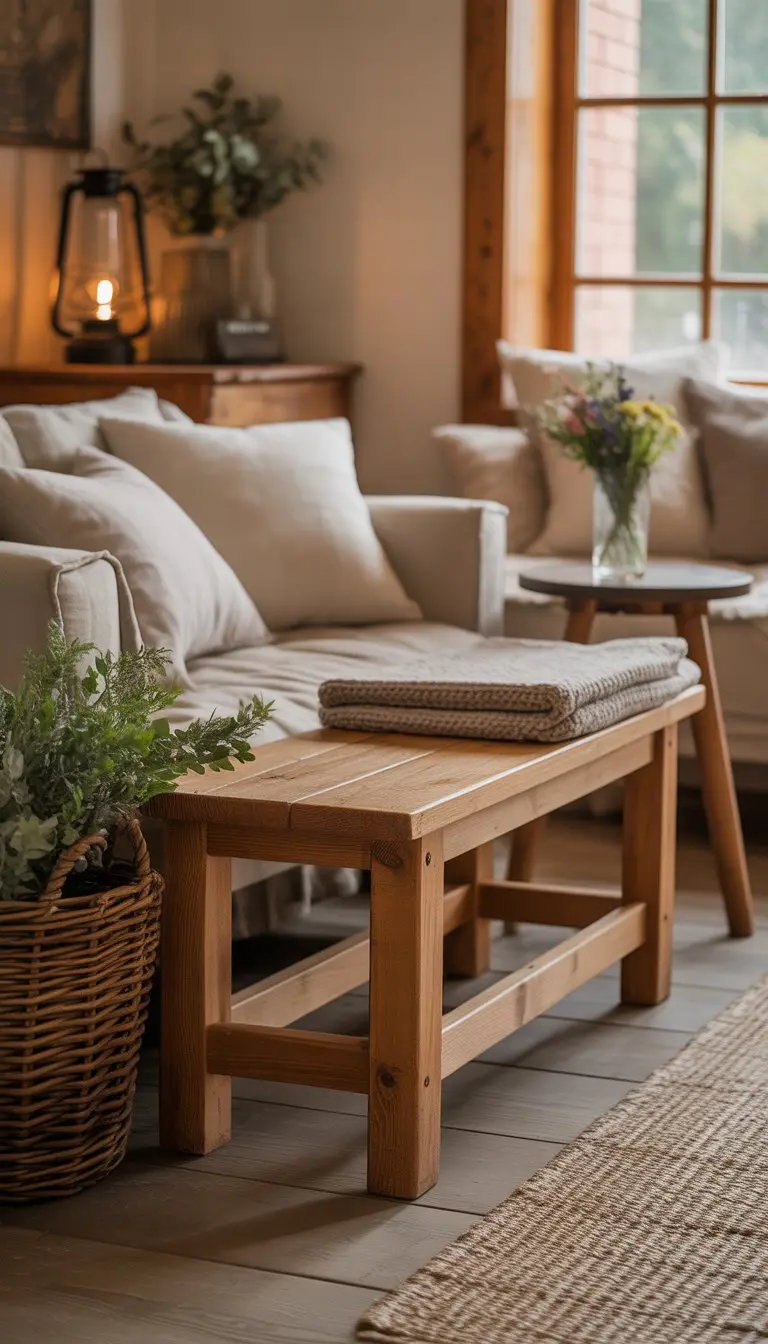
Once the finish has cured, move the bench into place and check that it sits level. Add felt pads to the feet if it will sit on hardwood floors to prevent scratches.
If you want a softer look, layer on a cushion, pillow, or folded throw.
Use baskets or bins underneath for extra storage, keeping shoes, blankets, or everyday items neatly tucked away.
Small details like these make the bench feel finished and ready for daily use.
FAQ’s About My How To Build A Bench
What Type of wood is best when learning how to build a bench?
When learning how to build a bench, standard 2×4 lumber is a great choice because it is affordable, easy to find, and strong enough for everyday use.
Is This DIY Bench Suitable For Small Spaces?
Yes, this bench works well in small spaces like entryways, mudrooms, and bedrooms.
How Long Does It take To Build A Bench From Start To Finish?
Most people can complete this bench in a single weekend. Cutting and assembly can usually be done in one day,

Willie Drew
I’m Willie Drew, and I’m here to help you turn your home into a space you’re proud to show off using simple projects, smart tools, and realistic budgets.